| RIP Update | 30 | The interval at which RIP advertises known route |
|
|
| |||
| Time | seconds | information. |
|
|
|
| Range: |
|
|
|
| advertisements |
|
| Default Route | Disabled | Enables or disables advertising this switch as a default |
|
| Advertisement |
| router. |
|
| Static Route | Disabled | Enables or disables advertisement of static routes. |
|
| Advertisement |
|
|
|
| Ignore Host | Disabled | If enabled, the switch will not import a default route from |
|
| Route |
| other routers. |
|
|
|
|
|
|
Configuring Global Settings for OSPF
To implement OSPF for a large network, you must first organize the network into logical areas to limit the number of OSPF routers that actively exchange Link State Advertisements (LSAs). You can then define an OSPF interface by assigning an IP interface configured on this switch to one of these groups. This OSPF interface will send and receive OSPF traffic to neighboring OSPF routers.
You can further optimize the exchange of OSPF traffic by specifying an area range that covers a large number of subnetwork addresses. This is an important technique for limiting the amount of traffic exchanged between Area Border Routers (ABRs).
And finally, you must specify a virtual link to any OSPF area that is not physically attached to the OSPF backbone. Virtual links can also be used to provide a redundant link between contiguous areas to prevent areas from being partitioned, or to merge backbone areas.
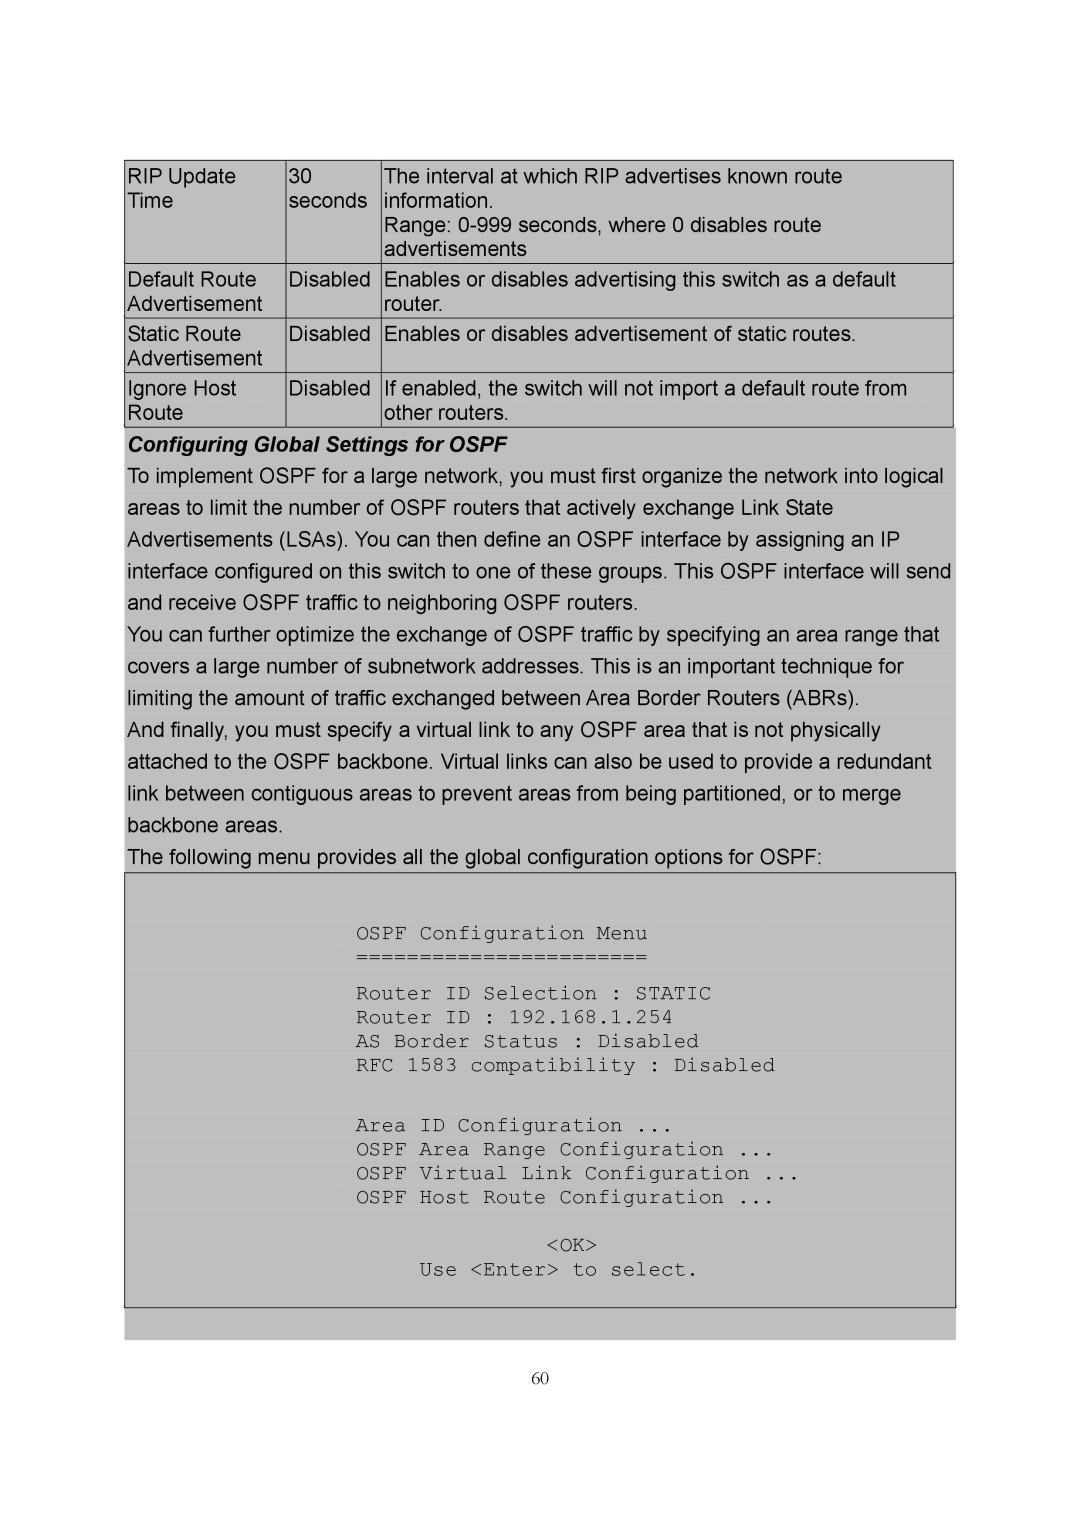
The following menu provides all the global configuration options for OSPF:
OSPF Configuration Menu
=======================
Router ID Selection : STATIC
Router ID : 192.168.1.254
AS Border Status : Disabled
RFC 1583 compatibility : Disabled
Area ID Configuration ...
OSPF Area Range Configuration ...
OSPF Virtual Link Configuration ...
OSPF Host Route Configuration ...
<OK>
Use <Enter> to select.
60
