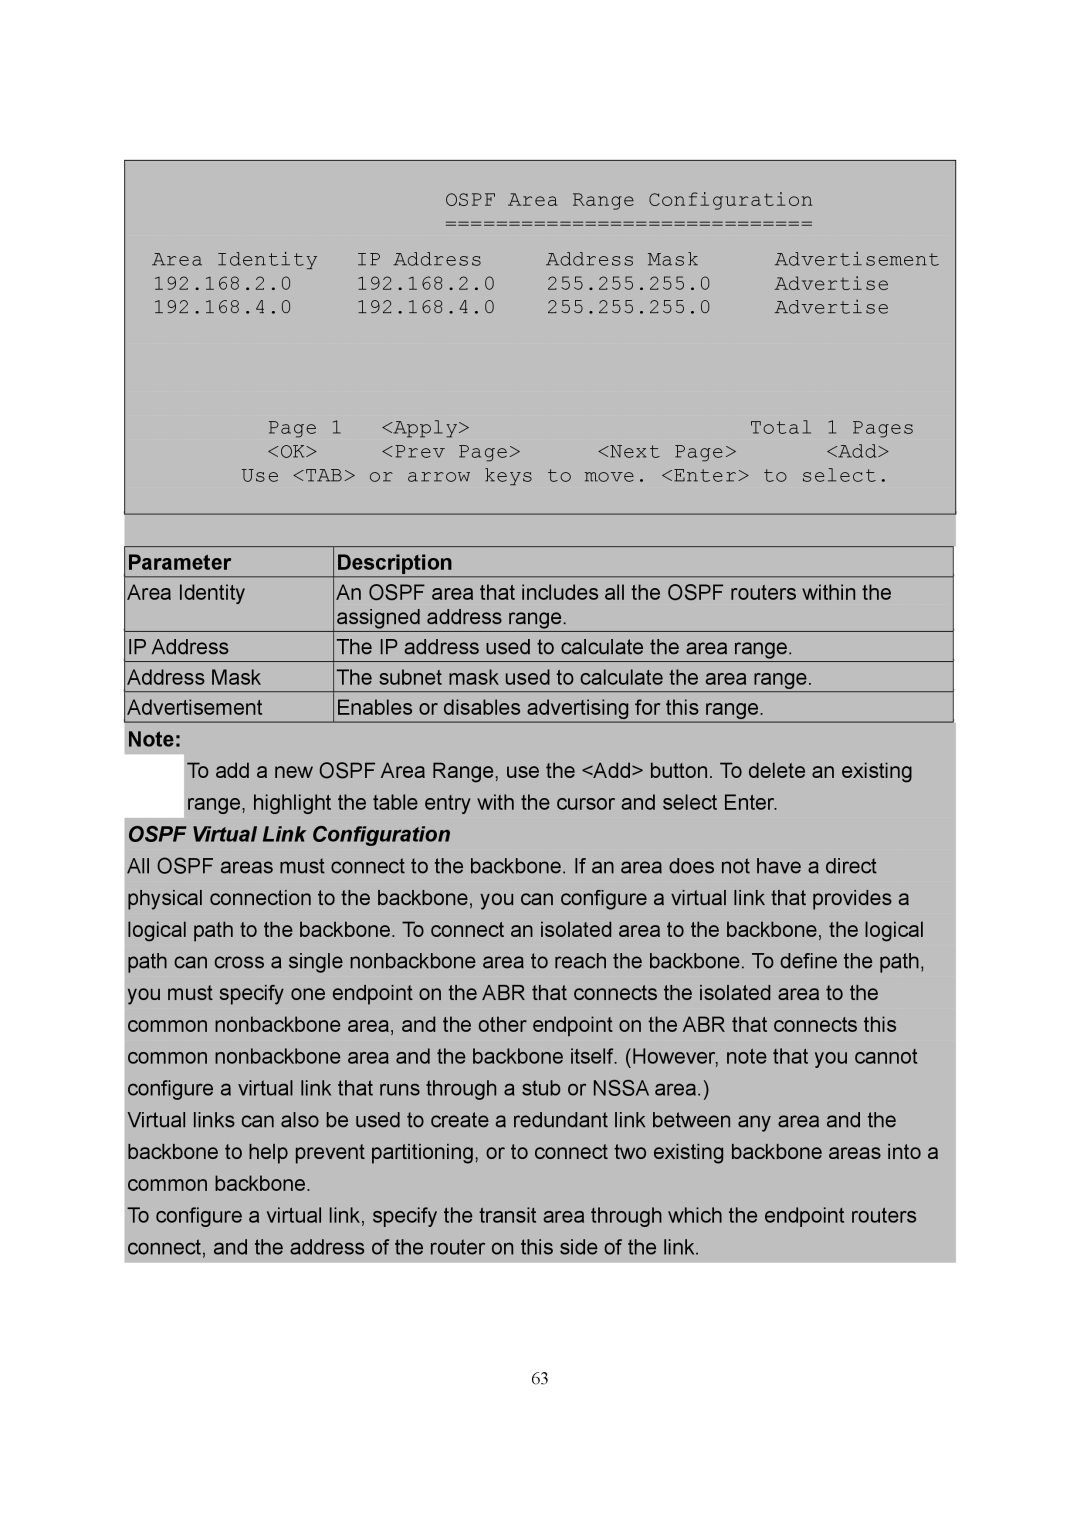
OSPF Area Range Configuration
=============================
Area Identity | IP Address | Address Mask | Advertisement |
192.168.2.0 | 192.168.2.0 | 255.255.255.0 | Advertise |
192.168.4.0 | 192.168.4.0 | 255.255.255.0 | Advertise |
Page 1 <Apply> | Total | 1 Pages | ||
<OK> | <Prev Page> | <Next Page> | <Add> | |
Use <TAB> or arrow keys to move. <Enter> to select. | ||||
|
|
|
|
|
|
|
|
|
|
Parameter | Description |
|
|
|
Area Identity | An OSPF area that includes all the OSPF routers within the |
| ||
| assigned address range. |
|
|
|
IP Address | The IP address used to calculate the area range. |
|
| |
Address Mask | The subnet mask used to calculate the area range. |
|
| |
Advertisement | Enables or disables advertising for this range. |
|
| |
|
|
|
|
|
Note:
To add a new OSPF Area Range, use the <Add> button. To delete an existing range, highlight the table entry with the cursor and select Enter.
OSPF Virtual Link Configuration
All OSPF areas must connect to the backbone. If an area does not have a direct physical connection to the backbone, you can configure a virtual link that provides a logical path to the backbone. To connect an isolated area to the backbone, the logical path can cross a single nonbackbone area to reach the backbone. To define the path, you must specify one endpoint on the ABR that connects the isolated area to the common nonbackbone area, and the other endpoint on the ABR that connects this common nonbackbone area and the backbone itself. (However, note that you cannot configure a virtual link that runs through a stub or NSSA area.)
Virtual links can also be used to create a redundant link between any area and the backbone to help prevent partitioning, or to connect two existing backbone areas into a common backbone.
To configure a virtual link, specify the transit area through which the endpoint routers connect, and the address of the router on this side of the link.
63
