Section TOC
Master TOC
D-5 MAINTENANCED-5
Service InstructionsFor Engine Air&FilterInstallation Tips
Return to
Return to Section TOC
Return to
Return to Master TOC
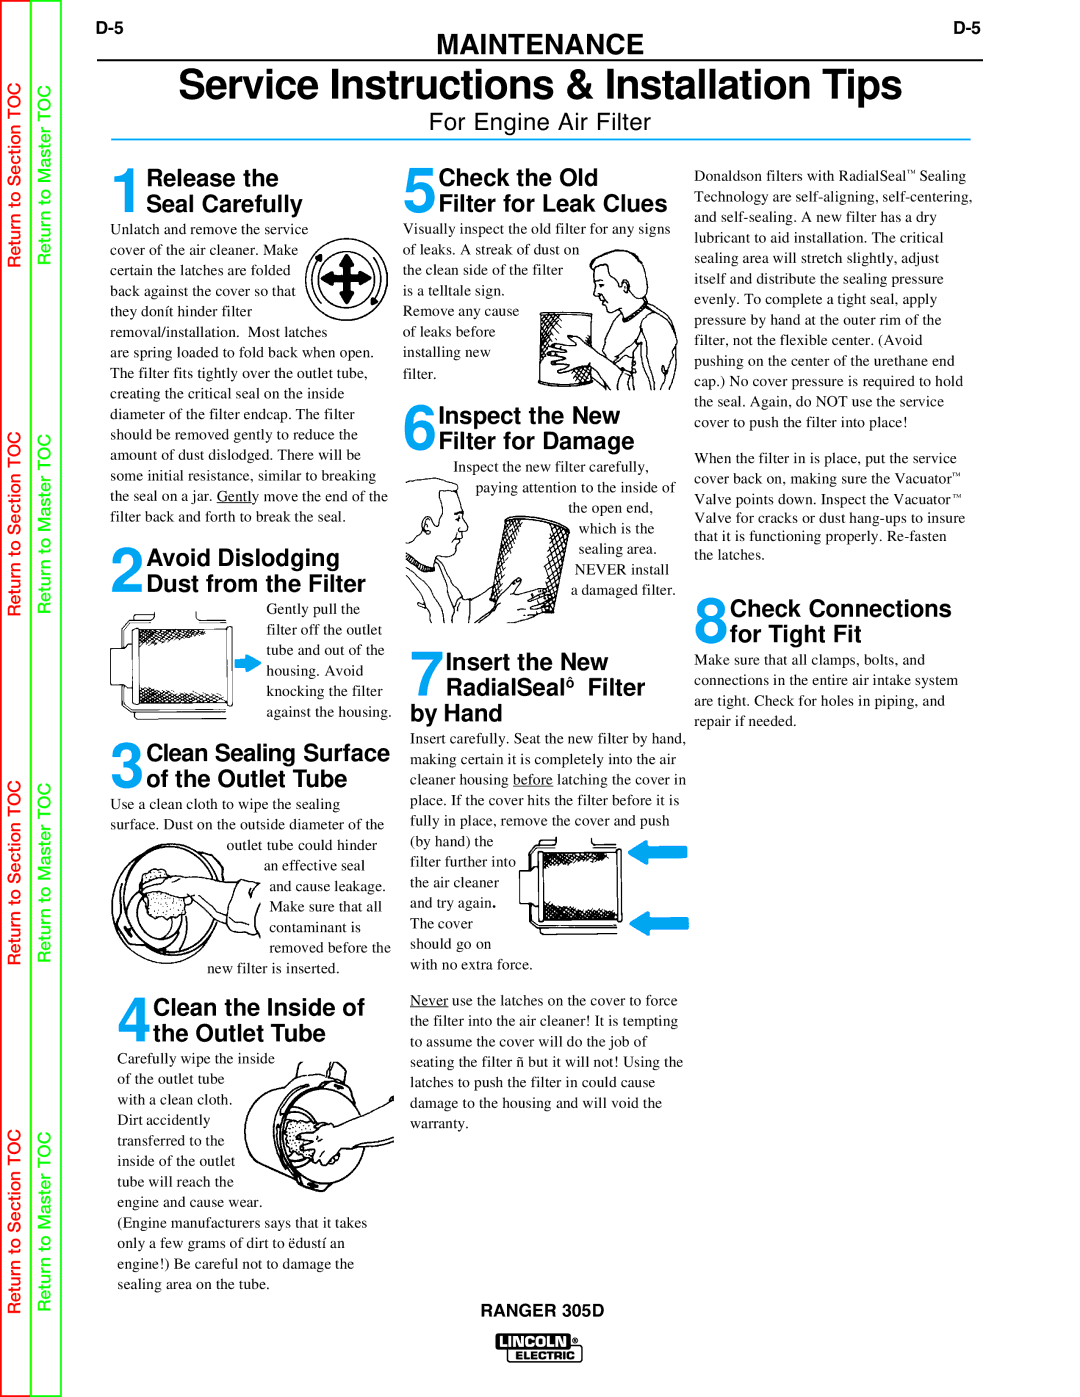
1Release the Seal Carefully
Unlatch and remove the service cover of the air cleaner. Make certain the latches are folded back against the cover so that they donít hinder filter removal/installation. Most latches
are spring loaded to fold back when open. The filter fits tightly over the outlet tube, creating the critical seal on the inside diameter of the filter endcap. The filter should be removed gently to reduce the amount of dust dislodged. There will be some initial resistance, similar to breaking the seal on a jar. Gently move the end of the filter back and forth to break the seal.
2Avoid Dislodging Dust from the Filter
Gently pull the filter off the outlet tube and out of the
5Check the Old Filter for Leak Clues
Visually inspect the old filter for any signs of leaks. A streak of dust on
the clean side of the filter is a telltale sign. Remove any cause
of leaks before installing new filter.
6Inspect the New Filter for Damage
Inspect the new filter carefully, paying attention to the inside of
the open end, which is the sealing area.
NEVER install a damaged filter.
Donaldson filters with RadialSeal™ Sealing Technology are
When the filter in is place, put the service cover back on, making sure the Vacuator™ Valve points down. Inspect the Vacuator ™ Valve for cracks or dust
8Check Connections for Tight Fit
Return to Section TOC
Section TOC
Return to Master TOC
Master TOC
housing. Avoid knocking the filter against the housing.
3Clean Sealing Surface
of the Outlet Tube
Use a clean cloth to wipe the sealing surface. Dust on the outside diameter of the
outlet tube could hinder an effective seal and cause leakage. Make sure that all contaminant is removed before the
new filter is inserted.
4Clean the Inside of
the Outlet Tube
Carefully wipe the inside of the outlet tube
with a clean cloth. Dirt accidently transferred to the inside of the outlet tube will reach the engine and cause wear.
7Insert the New RadialSealô Filter
by Hand
Insert carefully. Seat the new filter by hand, making certain it is completely into the air cleaner housing before latching the cover in place. If the cover hits the filter before it is fully in place, remove the cover and push (by hand) the
filter further into the air cleaner. and try again The cover should go on with no extra force.
Never use the latches on the cover to force the filter into the air cleaner! It is tempting to assume the cover will do the job of seating the filter ñ but it will not! Using the latches to push the filter in could cause damage to the housing and will void the warranty.
Make sure that all clamps, bolts, and connections in the entire air intake system are tight. Check for holes in piping, and repair if needed.