Overland Storage REO 9000 with ProtectionPAC Software
Expanding the Capacity of a REO 9000 by Adding Disk Drives
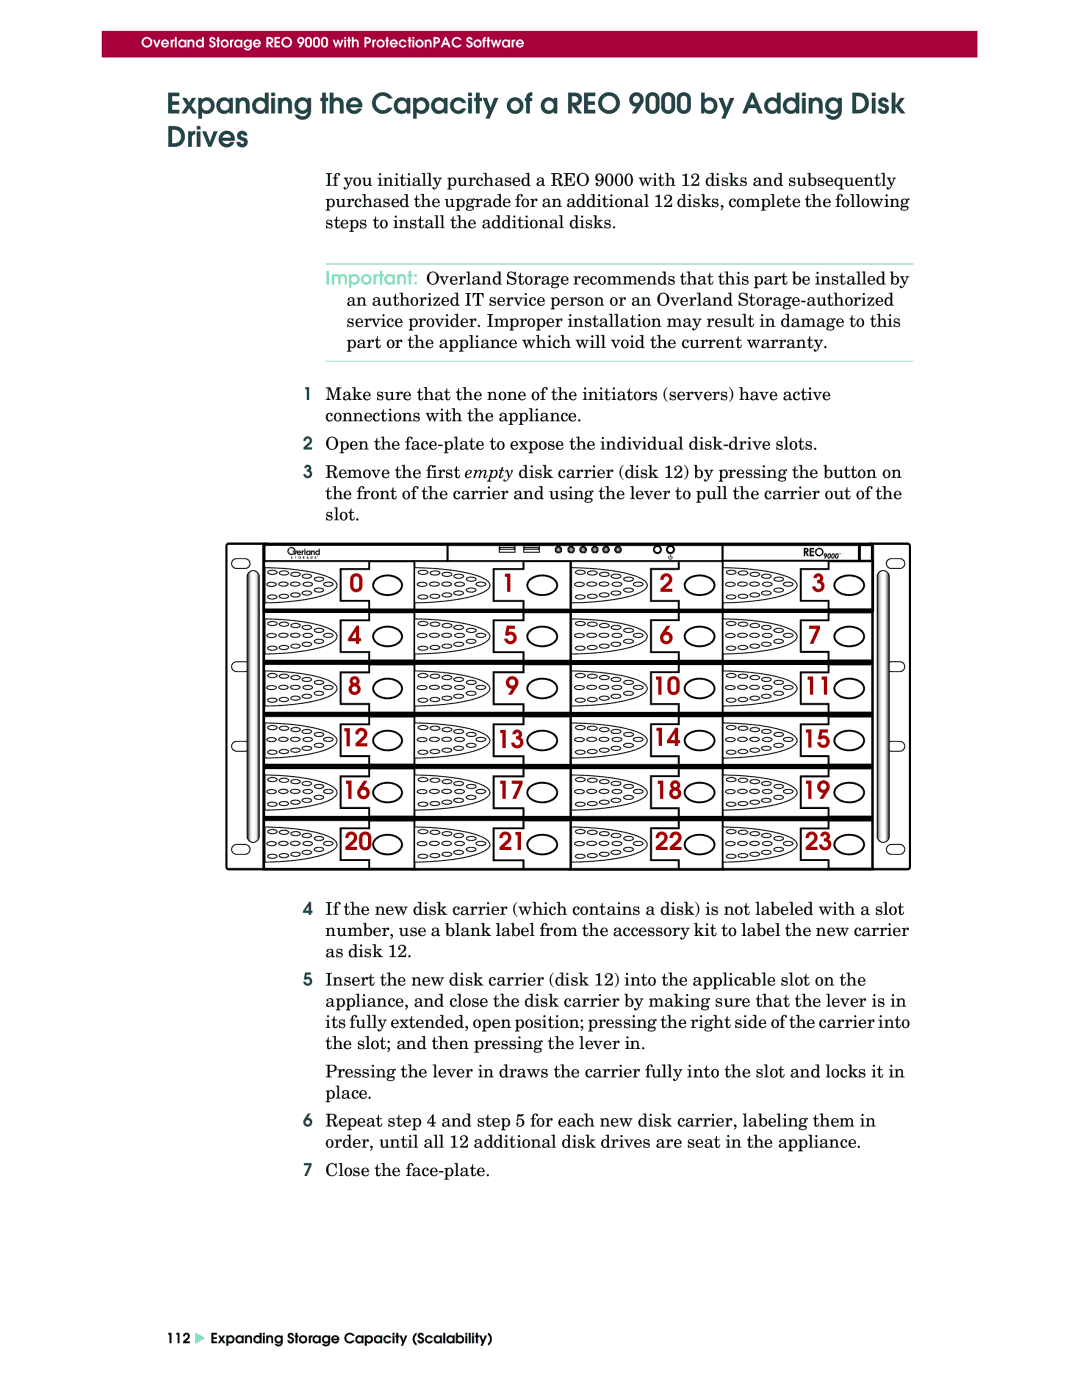
If you initially purchased a REO 9000 with 12 disks and subsequently purchased the upgrade for an additional 12 disks, complete the following steps to install the additional disks.
Important: Overland Storage recommends that this part be installed by an authorized IT service person or an Overland
1Make sure that the none of the initiators (servers) have active connections with the appliance.
2Open the
3Remove the first empty disk carrier (disk 12) by pressing the button on the front of the carrier and using the lever to pull the carrier out of the slot.
0 | 1 | 2 | 3 |
4 | 5 | 6 | 7 |
8 | 9 | 10 | 11 |
12 | 13 | 14 | 15 |
16 | 17 | 18 | 19 |
20 | 21 | 22 | 23 |
4If the new disk carrier (which contains a disk) is not labeled with a slot number, use a blank label from the accessory kit to label the new carrier as disk 12.
5Insert the new disk carrier (disk 12) into the applicable slot on the appliance, and close the disk carrier by making sure that the lever is in its fully extended, open position; pressing the right side of the carrier into the slot; and then pressing the lever in.
Pressing the lever in draws the carrier fully into the slot and locks it in place.
6Repeat step 4 and step 5 for each new disk carrier, labeling them in order, until all 12 additional disk drives are seat in the appliance.
7Close the
112 X Expanding Storage Capacity (Scalability)