Overland Storage REO 9000 with ProtectionPAC Software
3Click Apply.
4Repeat these steps for Data Port 2 using an IP address that falls within the Data Port 2 subnet.
Tip: Overland Storage recommends that you use a ping command to ensure that the management system sees each port on the REO Appliance.
5If you purchased the
Entering the Fibre Channel Information
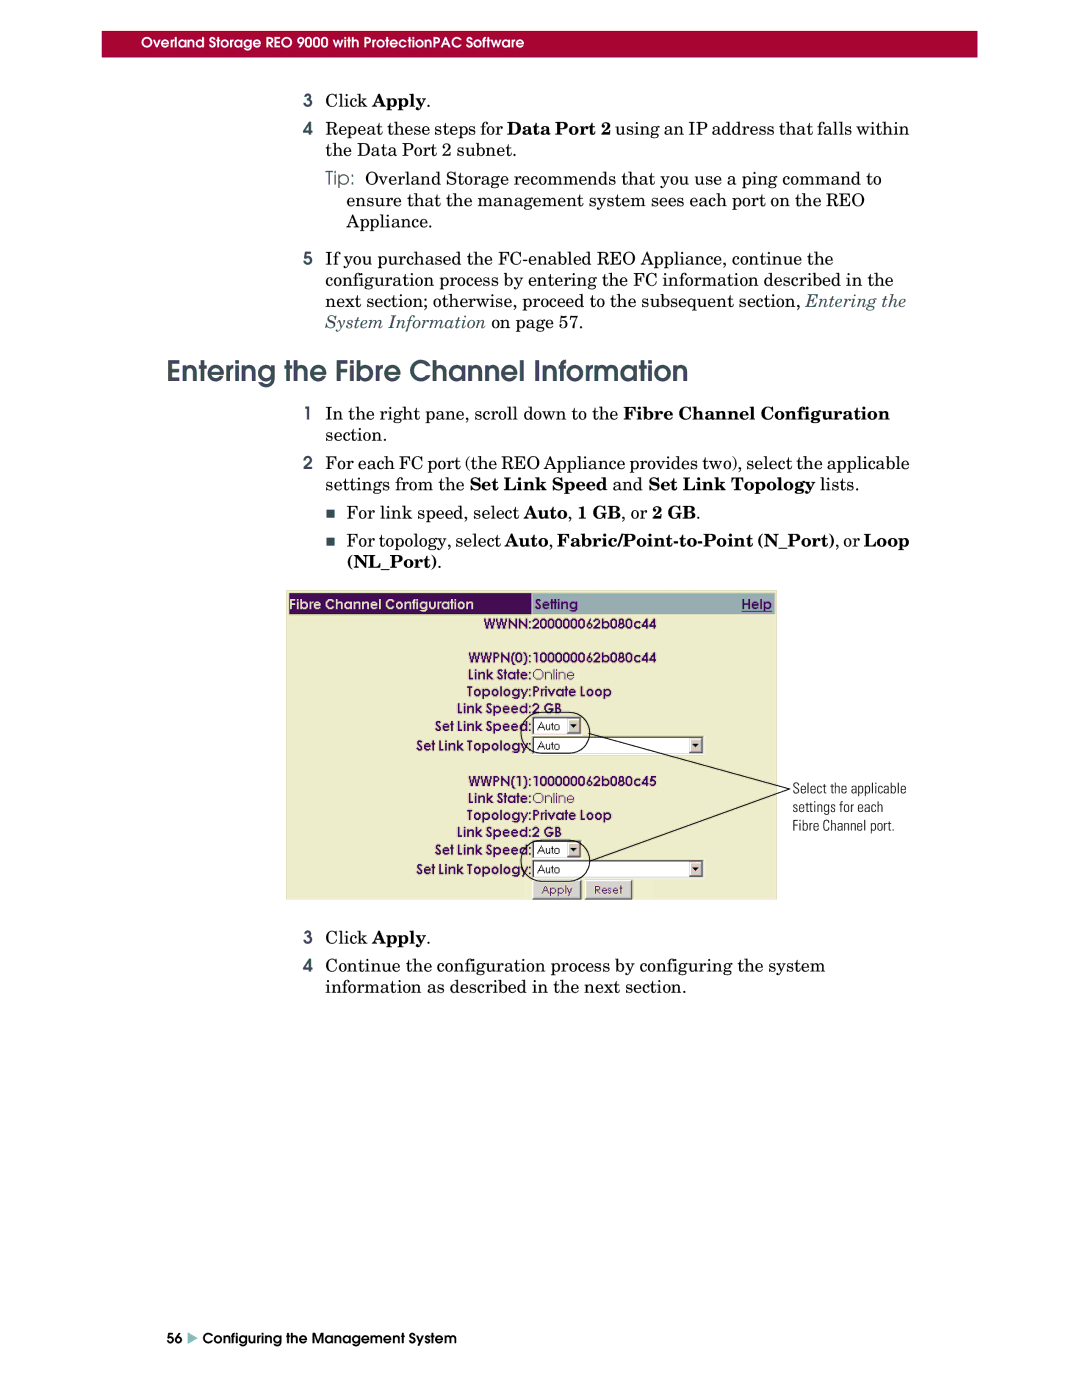
1In the right pane, scroll down to the Fibre Channel Configuration section.
2For each FC port (the REO Appliance provides two), select the applicable settings from the Set Link Speed and Set Link Topology lists.
For link speed, select Auto, 1 GB, or 2 GB.
For topology, select Auto,
Select the applicable
settings for each
Fibre Channel port.
3Click Apply.
4Continue the configuration process by configuring the system information as described in the next section.
56 X Configuring the Management System
