Setup Guide
3When the warning message appears that indicates all data currently residing on the REO Appliance will be deleted, click OK to continue.
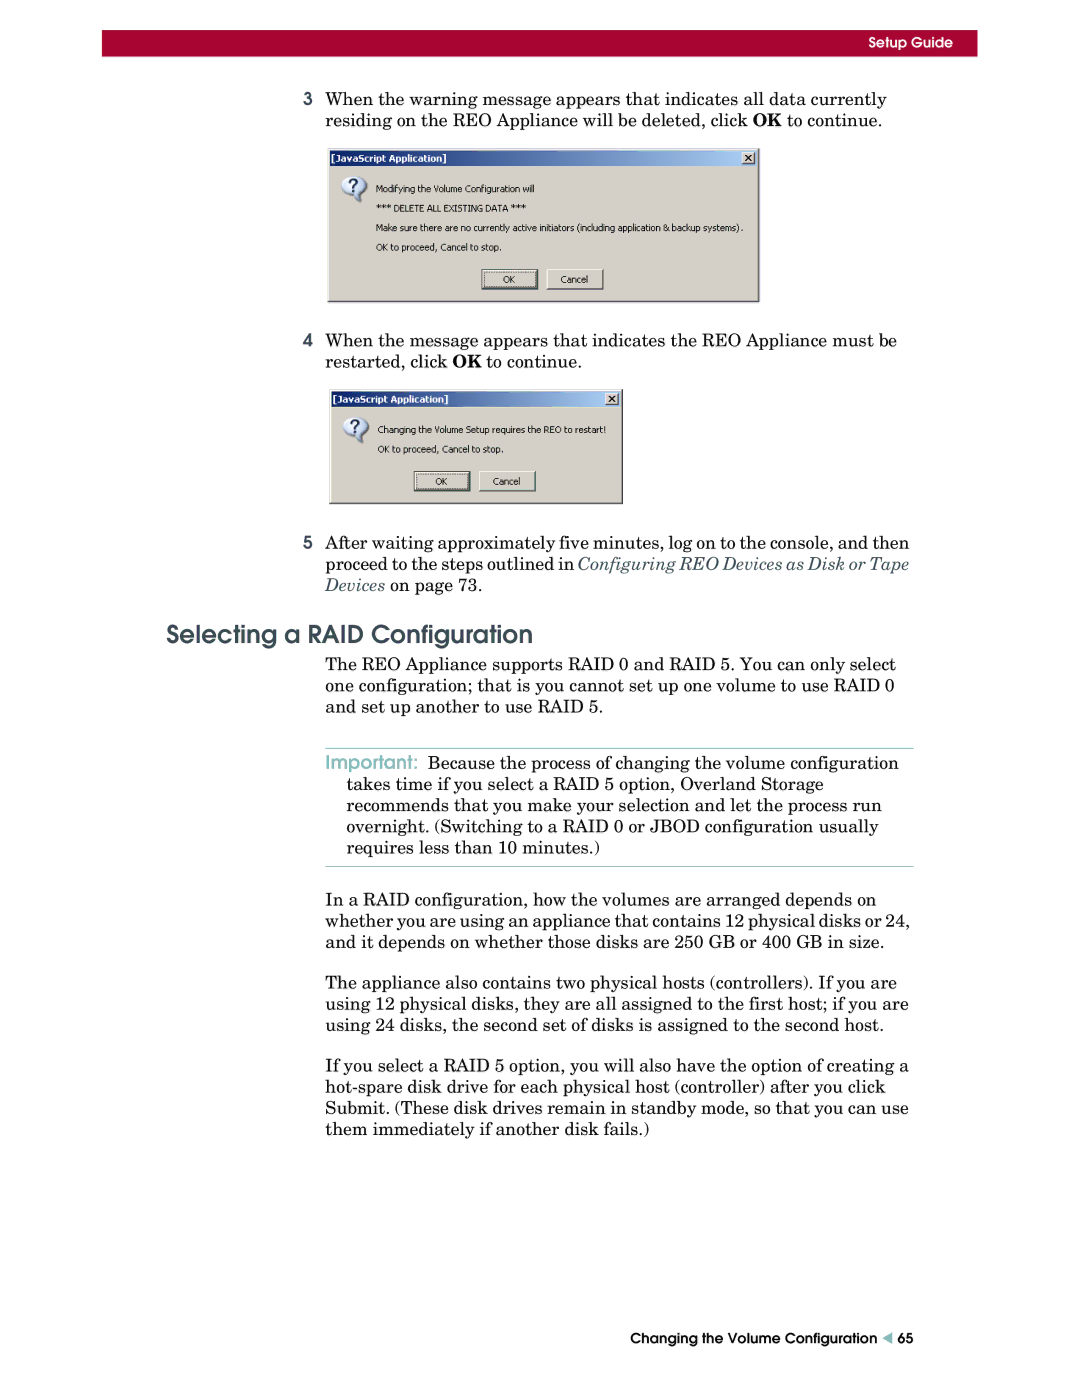
4When the message appears that indicates the REO Appliance must be restarted, click OK to continue.
5After waiting approximately five minutes, log on to the console, and then proceed to the steps outlined in Configuring REO Devices as Disk or Tape Devices on page 73.
Selecting a RAID Configuration
The REO Appliance supports RAID 0 and RAID 5. You can only select one configuration; that is you cannot set up one volume to use RAID 0 and set up another to use RAID 5.
Important: Because the process of changing the volume configuration takes time if you select a RAID 5 option, Overland Storage recommends that you make your selection and let the process run overnight. (Switching to a RAID 0 or JBOD configuration usually requires less than 10 minutes.)
In a RAID configuration, how the volumes are arranged depends on whether you are using an appliance that contains 12 physical disks or 24, and it depends on whether those disks are 250 GB or 400 GB in size.
The appliance also contains two physical hosts (controllers). If you are using 12 physical disks, they are all assigned to the first host; if you are using 24 disks, the second set of disks is assigned to the second host.
If you select a RAID 5 option, you will also have the option of creating a
Changing the Volume Configuration W 65