Setup Guide
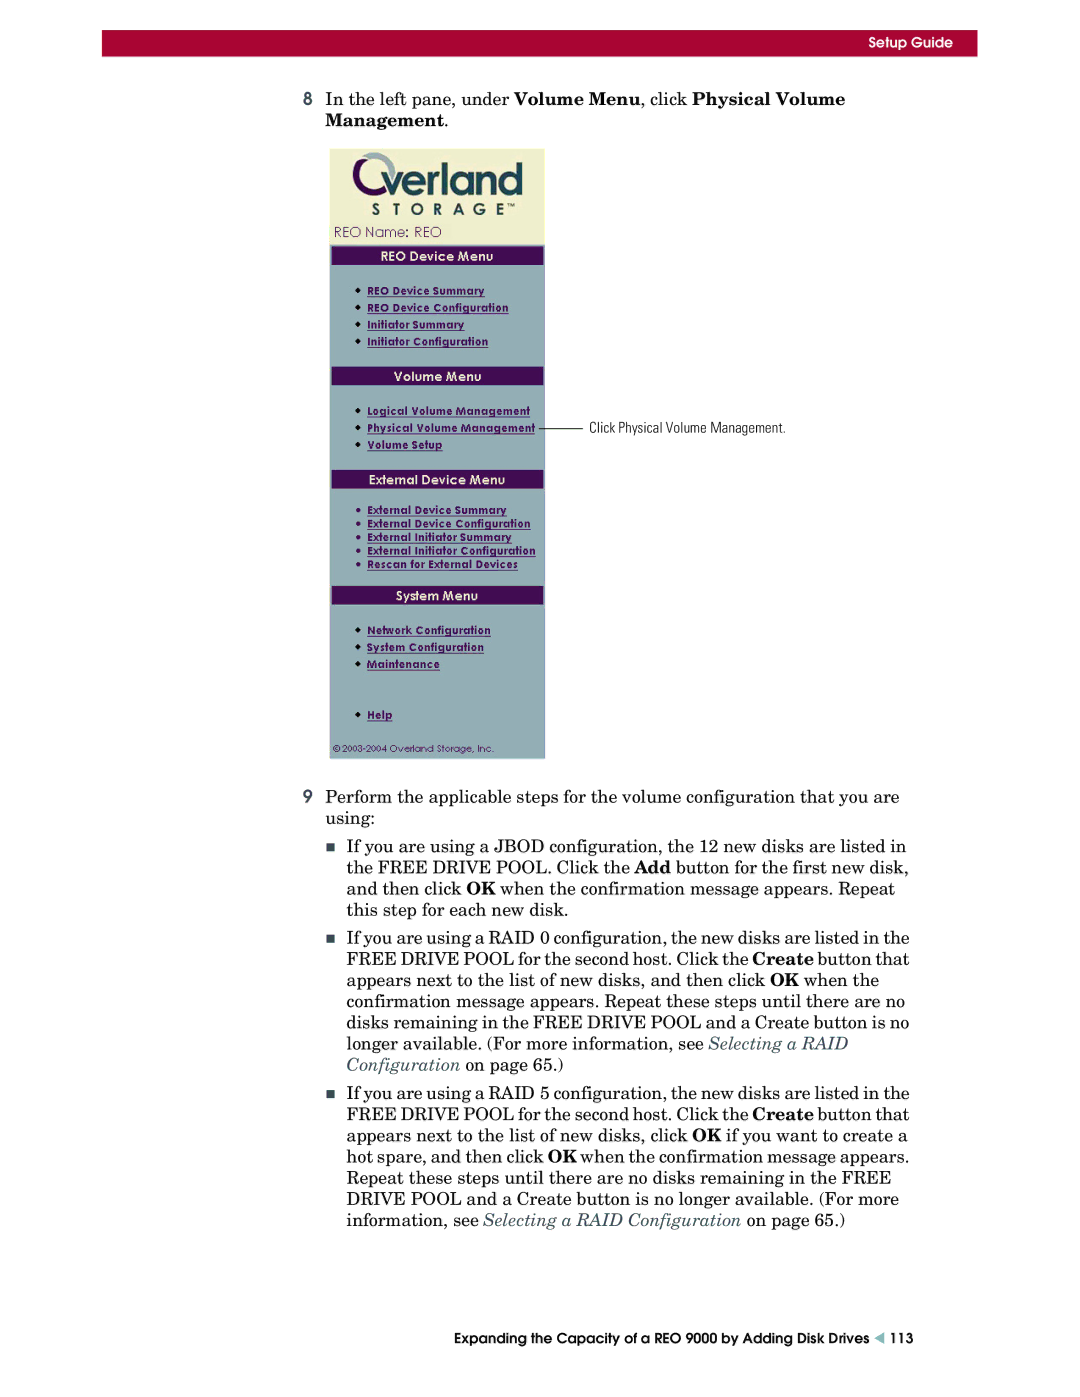
8In the left pane, under Volume Menu, click Physical Volume Management.
Click Physical Volume Management.
9Perform the applicable steps for the volume configuration that you are using:
If you are using a JBOD configuration, the 12 new disks are listed in the FREE DRIVE POOL. Click the Add button for the first new disk, and then click OK when the confirmation message appears. Repeat this step for each new disk.
If you are using a RAID 0 configuration, the new disks are listed in the FREE DRIVE POOL for the second host. Click the Create button that appears next to the list of new disks, and then click OK when the confirmation message appears. Repeat these steps until there are no disks remaining in the FREE DRIVE POOL and a Create button is no longer available. (For more information, see Selecting a RAID Configuration on page 65.)
If you are using a RAID 5 configuration, the new disks are listed in the FREE DRIVE POOL for the second host. Click the Create button that appears next to the list of new disks, click OK if you want to create a hot spare, and then click OK when the confirmation message appears. Repeat these steps until there are no disks remaining in the FREE DRIVE POOL and a Create button is no longer available. (For more information, see Selecting a RAID Configuration on page 65.)