Setup Guide
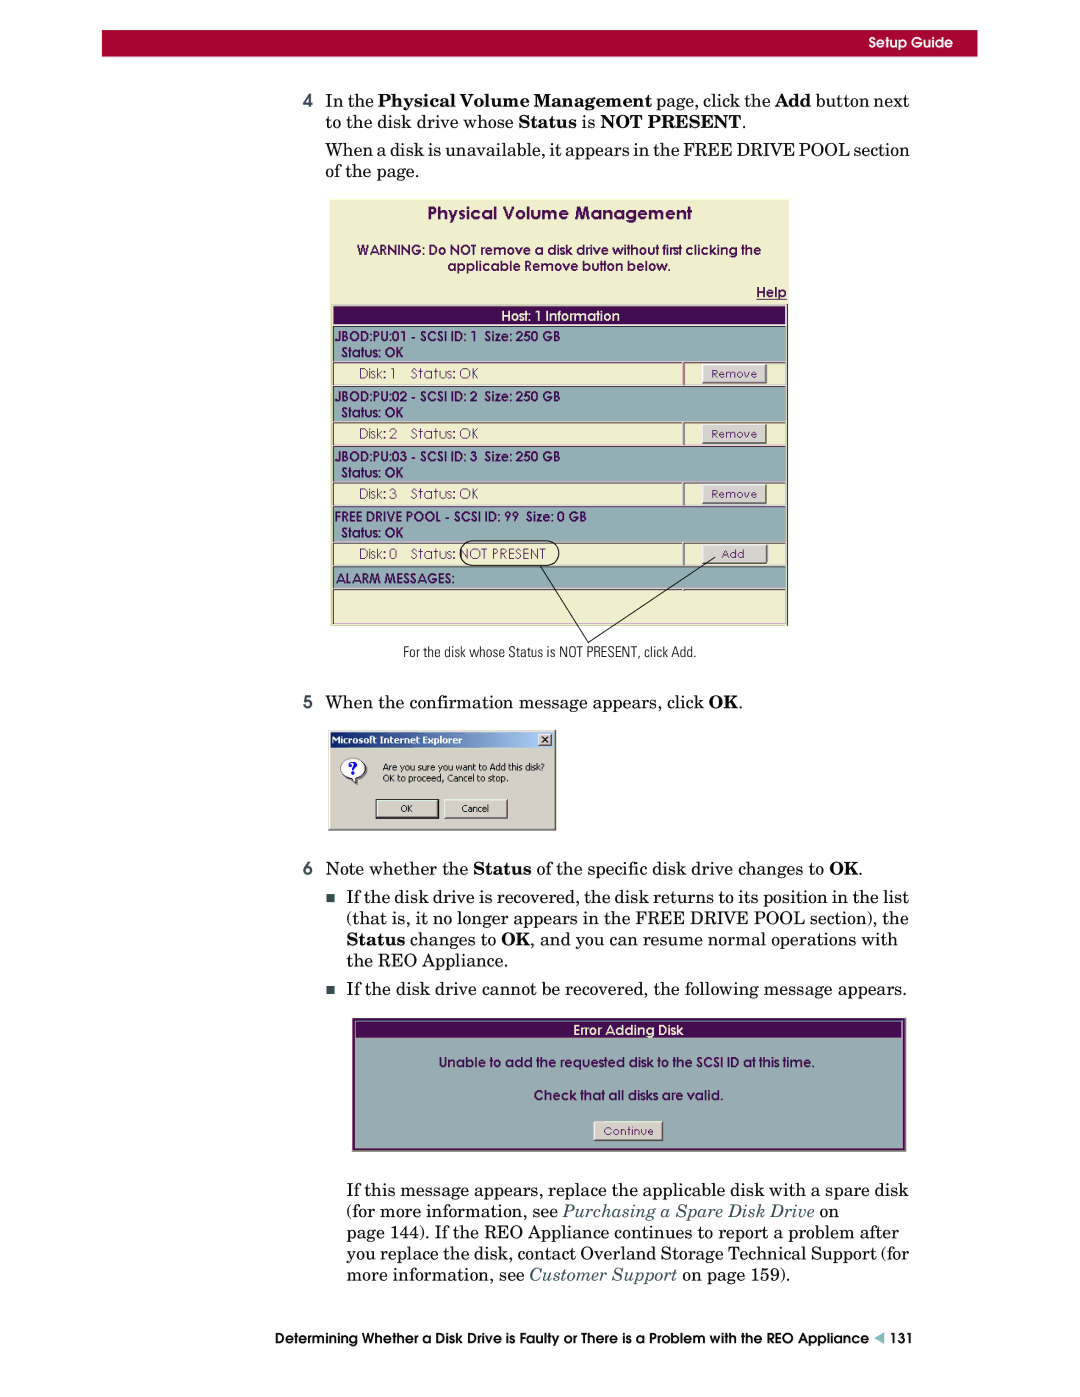
4In the Physical Volume Management page, click the Add button next to the disk drive whose Status is NOT PRESENT.
When a disk is unavailable, it appears in the FREE DRIVE POOL section of the page.
For the disk whose Status is NOT PRESENT, click Add.
5When the confirmation message appears, click OK.
6Note whether the Status of the specific disk drive changes to OK.
If the disk drive is recovered, the disk returns to its position in the list (that is, it no longer appears in the FREE DRIVE POOL section), the Status changes to OK, and you can resume normal operations with the REO Appliance.
If the disk drive cannot be recovered, the following message appears.
If this message appears, replace the applicable disk with a spare disk (for more information, see Purchasing a Spare Disk Drive on
page 144). If the REO Appliance continues to report a problem after you replace the disk, contact Overland Storage Technical Support (for more information, see Customer Support on page 159).
Determining Whether a Disk Drive is Faulty or There is a Problem with the REO Appliance W 131