Section 8: Adjustment Procedures
6Loosen two screws (10) and manipulate bracket (11) to tighten ribbon rewind belt (12). Retighten screws (10).
NOTE: The lower roller may be adjusted by inserting a medium sized standard screwdriver into the slot located along the lower periphery of the roller bracket and twisting. The scale is located adjacent to the adjustment slot.
7Restore power and test cycle to ensure proper function.
8Close/replace housing covers.
NOTE: Figure
PITCH SENSOR SETUP FOR NOTCH TAGS
The following procedure applies to labels with notches along the left perimeter of the label stock. Ignore this procedure otherwise.
1Switch off the printer and disconnect the power supply cord.
2Remove the front housing cover.
NOTE: Figure
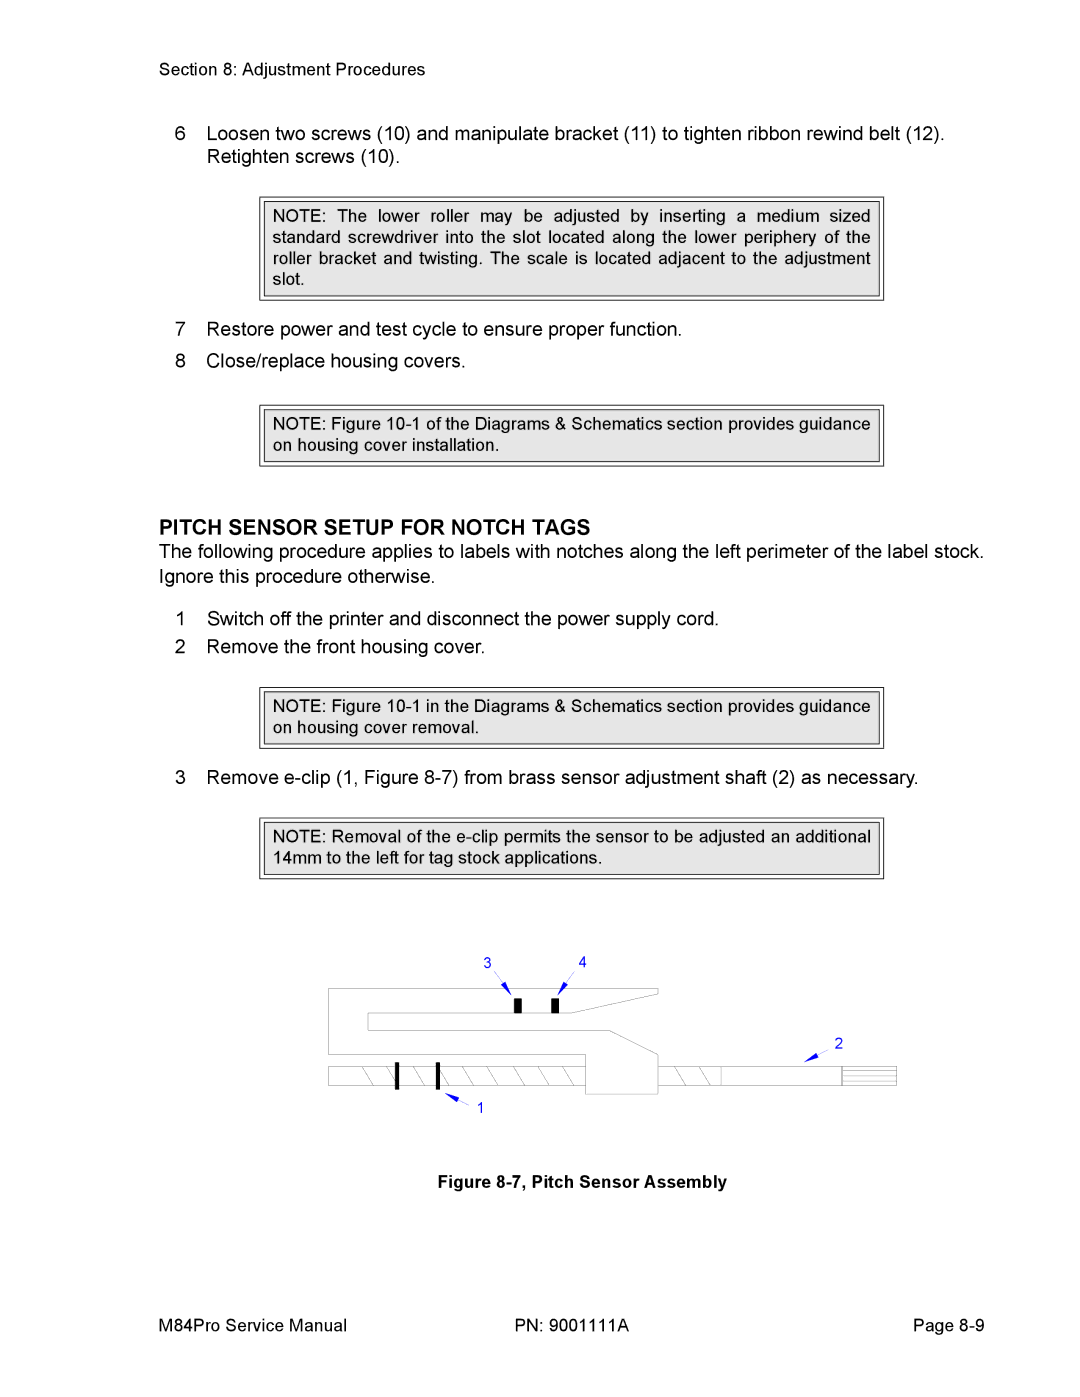
3 Remove
NOTE: Removal of the
34
2
![]() 1
1
Figure 8-7, Pitch Sensor Assembly
M84Pro Service Manual | PN: 9001111A | Page |