Section 5: Printer Configuration
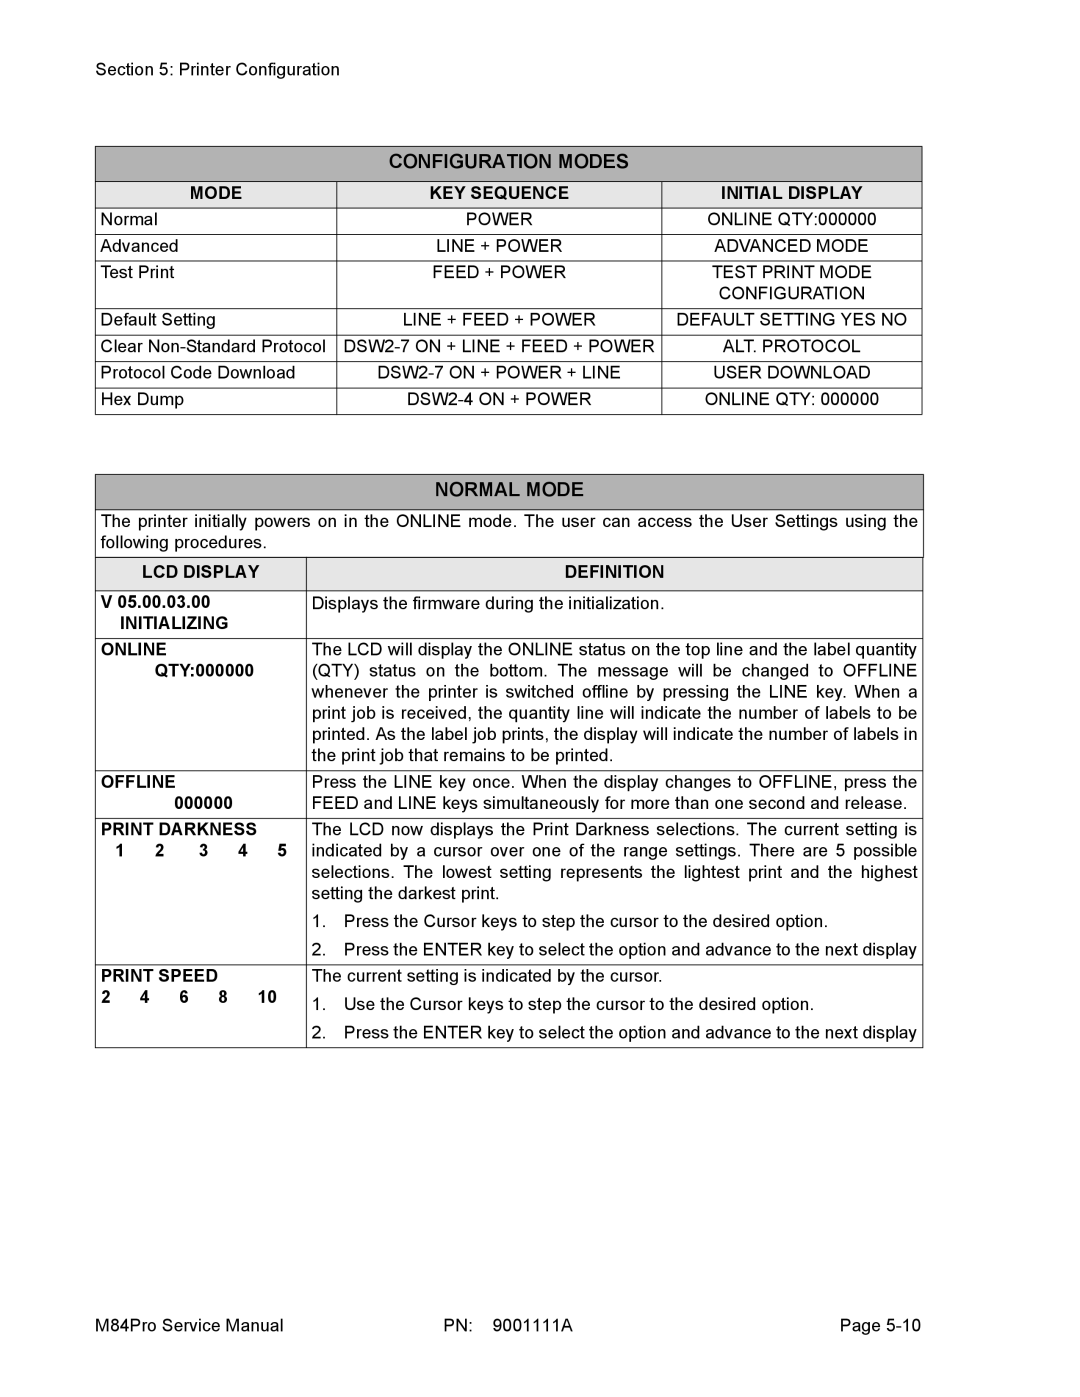
CONFIGURATION MODES
MODE | KEY SEQUENCE | INITIAL DISPLAY |
Normal | POWER | ONLINE QTY:000000 |
|
|
|
Advanced | LINE + POWER | ADVANCED MODE |
|
|
|
Test Print | FEED + POWER | TEST PRINT MODE |
|
| CONFIGURATION |
|
|
|
Default Setting | LINE + FEED + POWER | DEFAULT SETTING YES NO |
|
|
|
Clear | ALT. PROTOCOL | |
|
|
|
Protocol Code Download | USER DOWNLOAD | |
|
|
|
Hex Dump | ONLINE QTY: 000000 | |
|
|
|
NORMAL MODE
The printer initially powers on in the ONLINE mode. The user can access the User Settings using the following procedures.
| LCD DISPLAY | DEFINITION | |||
|
|
|
| ||
V 05.00.03.00 |
|
| Displays the firmware during the initialization. | ||
INITIALIZING |
|
| |||
ONLINE |
|
|
| The LCD will display the ONLINE status on the top line and the label quantity | |
| QTY:000000 |
| (QTY) status on the bottom. The message will be changed to OFFLINE | ||
|
|
|
|
| whenever the printer is switched offline by pressing the LINE key. When a |
|
|
|
|
| print job is received, the quantity line will indicate the number of labels to be |
|
|
|
|
| printed. As the label job prints, the display will indicate the number of labels in |
|
|
|
|
| the print job that remains to be printed. |
OFFLINE |
|
| Press the LINE key once. When the display changes to OFFLINE, press the | ||
|
| 000000 |
| FEED and LINE keys simultaneously for more than one second and release. | |
PRINT DARKNESS |
| The LCD now displays the Print Darkness selections. The current setting is | |||
1 | 2 | 3 | 4 | 5 | indicated by a cursor over one of the range settings. There are 5 possible |
|
|
|
|
| selections. The lowest setting represents the lightest print and the highest |
|
|
|
|
| setting the darkest print. |
|
|
|
|
| 1. Press the Cursor keys to step the cursor to the desired option. |
|
|
|
|
| 2. Press the ENTER key to select the option and advance to the next display |
|
|
|
| ||
PRINT SPEED |
|
| The current setting is indicated by the cursor. | ||
2 | 4 | 6 | 8 | 10 | 1. Use the Cursor keys to step the cursor to the desired option. |
|
|
|
|
| |
|
|
|
|
| 2. Press the ENTER key to select the option and advance to the next display |
|
|
|
|
|
|
M84Pro Service Manual | PN: 9001111A | Page |
