Section 3: Operation
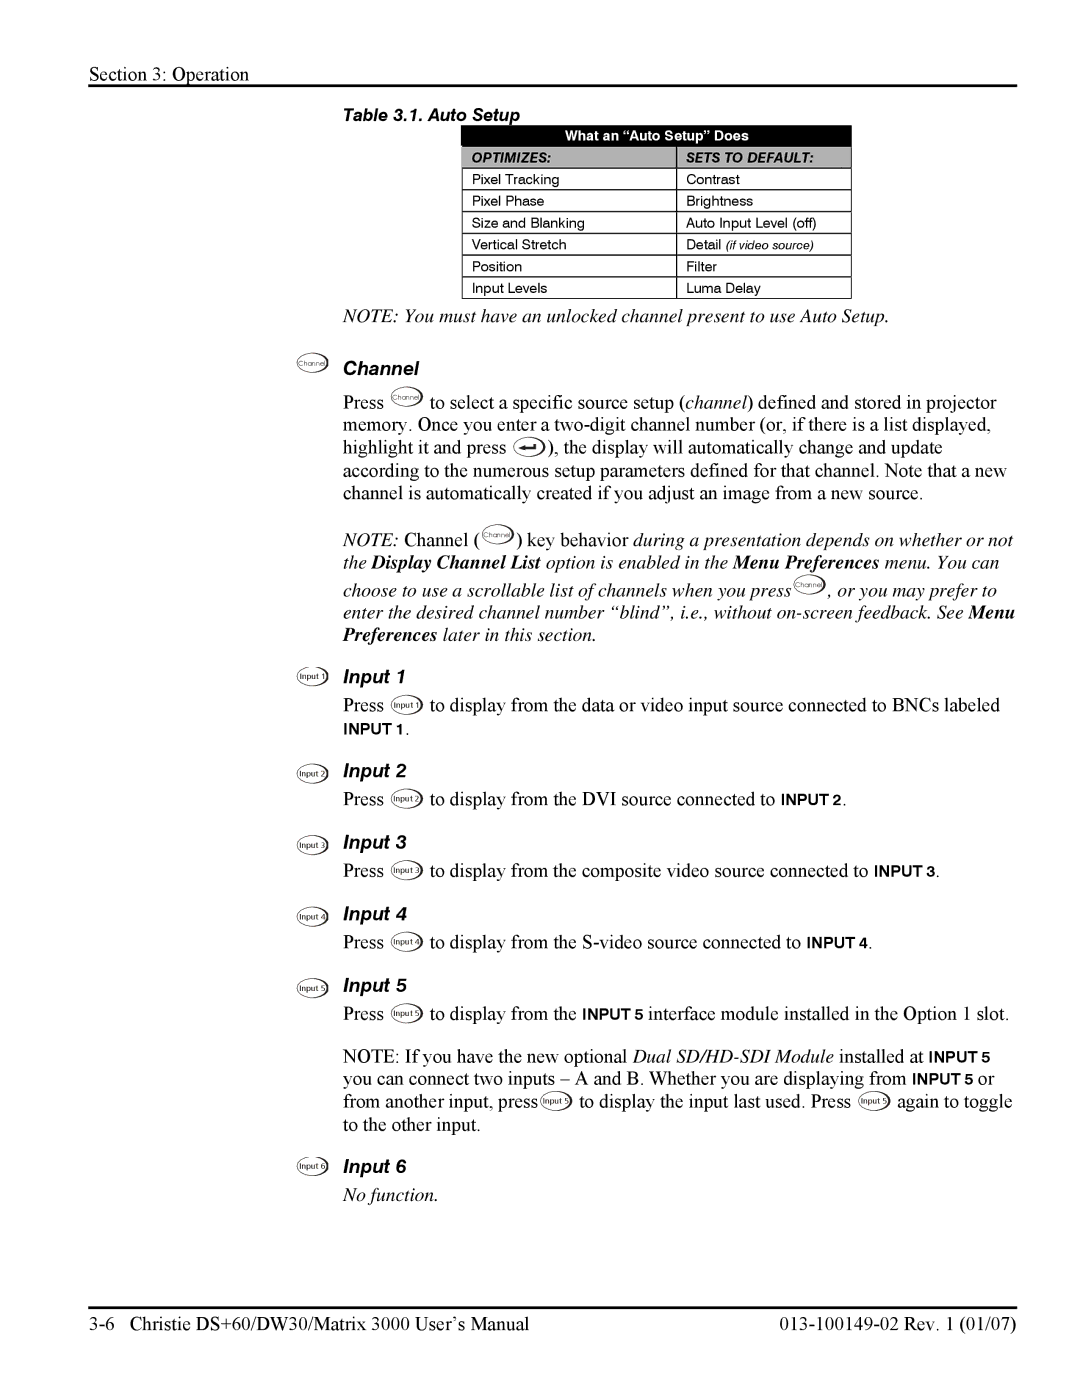
Table 3.1. Auto Setup
What an “Auto Setup” Does
OPTIMIZES: | SETS TO DEFAULT: |
Pixel Tracking | Contrast |
Pixel Phase | Brightness |
Size and Blanking | Auto Input Level (off) |
|
|
Vertical Stretch | Detail (if video source) |
Position | Filter |
|
|
Input Levels | Luma Delay |
NOTE: You must have an unlocked channel present to use Auto Setup.
Channel Channel
Press Channel to select a specific source setup (channel) defined and stored in projector memory. Once you enter a
highlight it and press ![]() ), the display will automatically change and update according to the numerous setup parameters defined for that channel. Note that a new channel is automatically created if you adjust an image from a new source.
), the display will automatically change and update according to the numerous setup parameters defined for that channel. Note that a new channel is automatically created if you adjust an image from a new source.
NOTE: Channel ( Channel ) key behavior during a presentation depends on whether or not the Display Channel List option is enabled in the Menu Preferences menu. You can
choose to use a scrollable list of channels when you press Channel , or you may prefer to enter the desired channel number “blind”, i.e., without
Input 1
Input 2
Input 3
Input 4
Input 5
Input 1 |
|
Press Input 1 | to display from the data or video input source connected to BNCs labeled |
INPUT 1. |
|
Input 2 |
|
Press Input 2 | to display from the DVI source connected to INPUT 2. |
Input 3 |
|
Press Input 3 | to display from the composite video source connected to INPUT 3. |
Input 4 |
|
Press Input 4 | to display from the |
Input 5 |
|
Press Input 5 | to display from the INPUT 5 interface module installed in the Option 1 slot. |
NOTE: If you have the new optional Dual
Input 6 Input 6
