Section 3: Operation
Swap Main and PIP Image
Toggle the current
NOTE: There may be a slight delay when swapping the Primary and Secondary images.
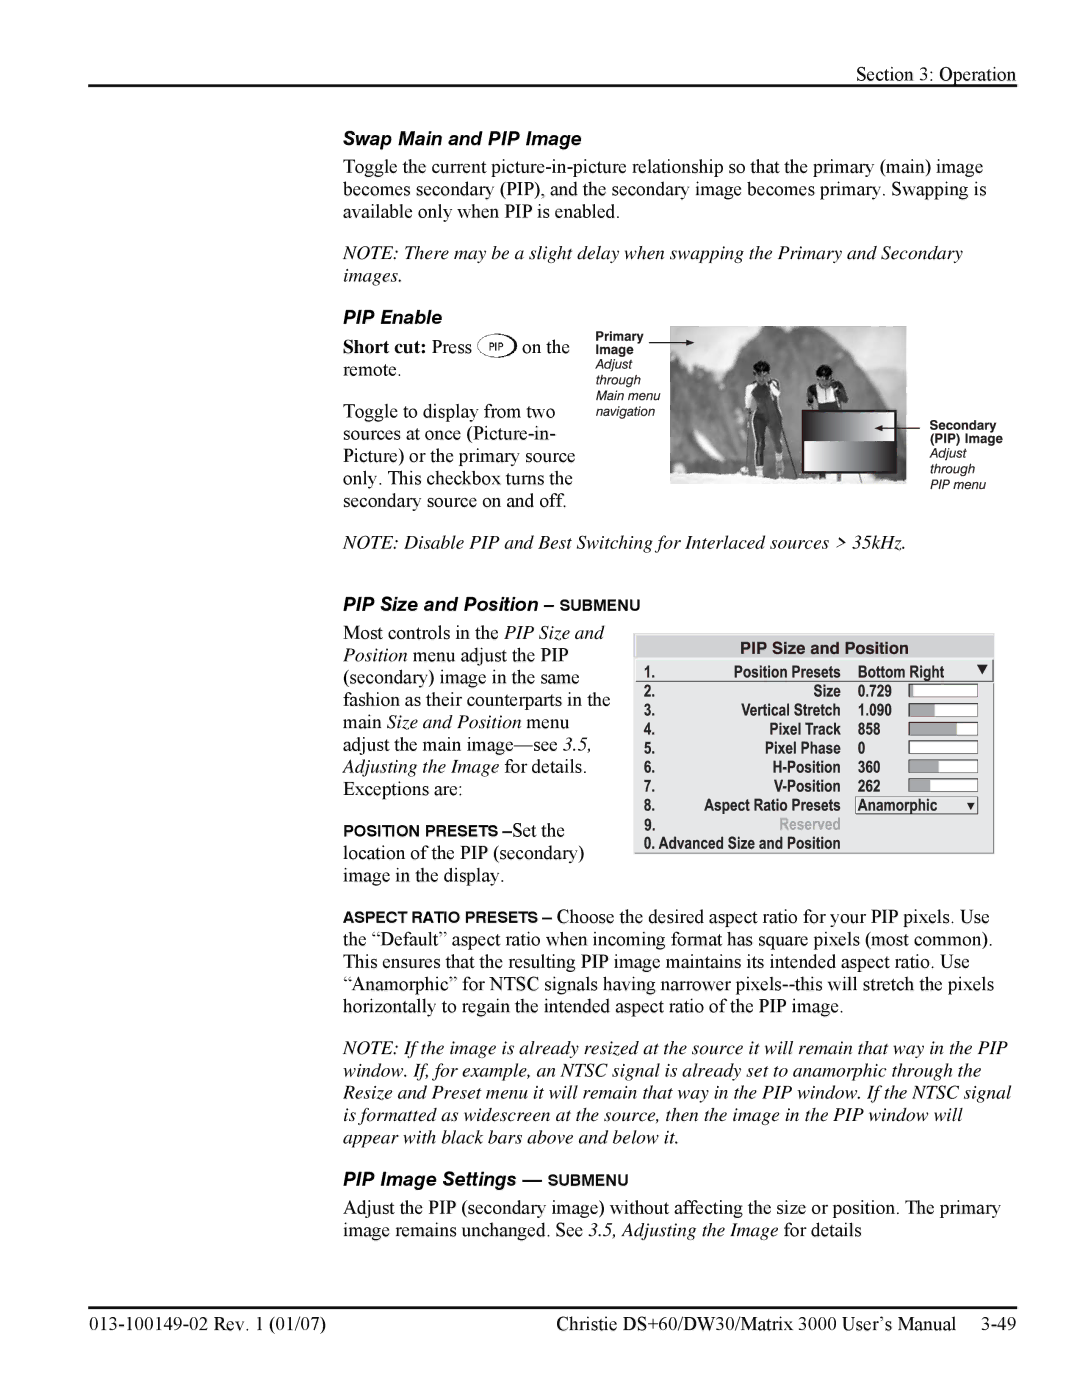
PIP Enable
Short cut: Press  on the remote.
Toggle to display from two sources at once
NOTE: Disable PIP and Best Switching for Interlaced sources > 35kHz.
PIP Size and Position – SUBMENU
Most controls in the PIP Size and Position menu adjust the PIP (secondary) image in the same fashion as their counterparts in the main Size and Position menu adjust the main
POSITION PRESETS
ASPECT RATIO PRESETS – Choose the desired aspect ratio for your PIP pixels. Use the “Default” aspect ratio when incoming format has square pixels (most common). This ensures that the resulting PIP image maintains its intended aspect ratio. Use “Anamorphic” for NTSC signals having narrower
NOTE: If the image is already resized at the source it will remain that way in the PIP window. If, for example, an NTSC signal is already set to anamorphic through the Resize and Preset menu it will remain that way in the PIP window. If the NTSC signal is formatted as widescreen at the source, then the image in the PIP window will appear with black bars above and below it.
PIP Image Settings — SUBMENU
Adjust the PIP (secondary image) without affecting the size or position. The primary image remains unchanged. See 3.5, Adjusting the Image for details
Christie DS+60/DW30/Matrix 3000 User’s Manual |