Section 2: Installation and Setup
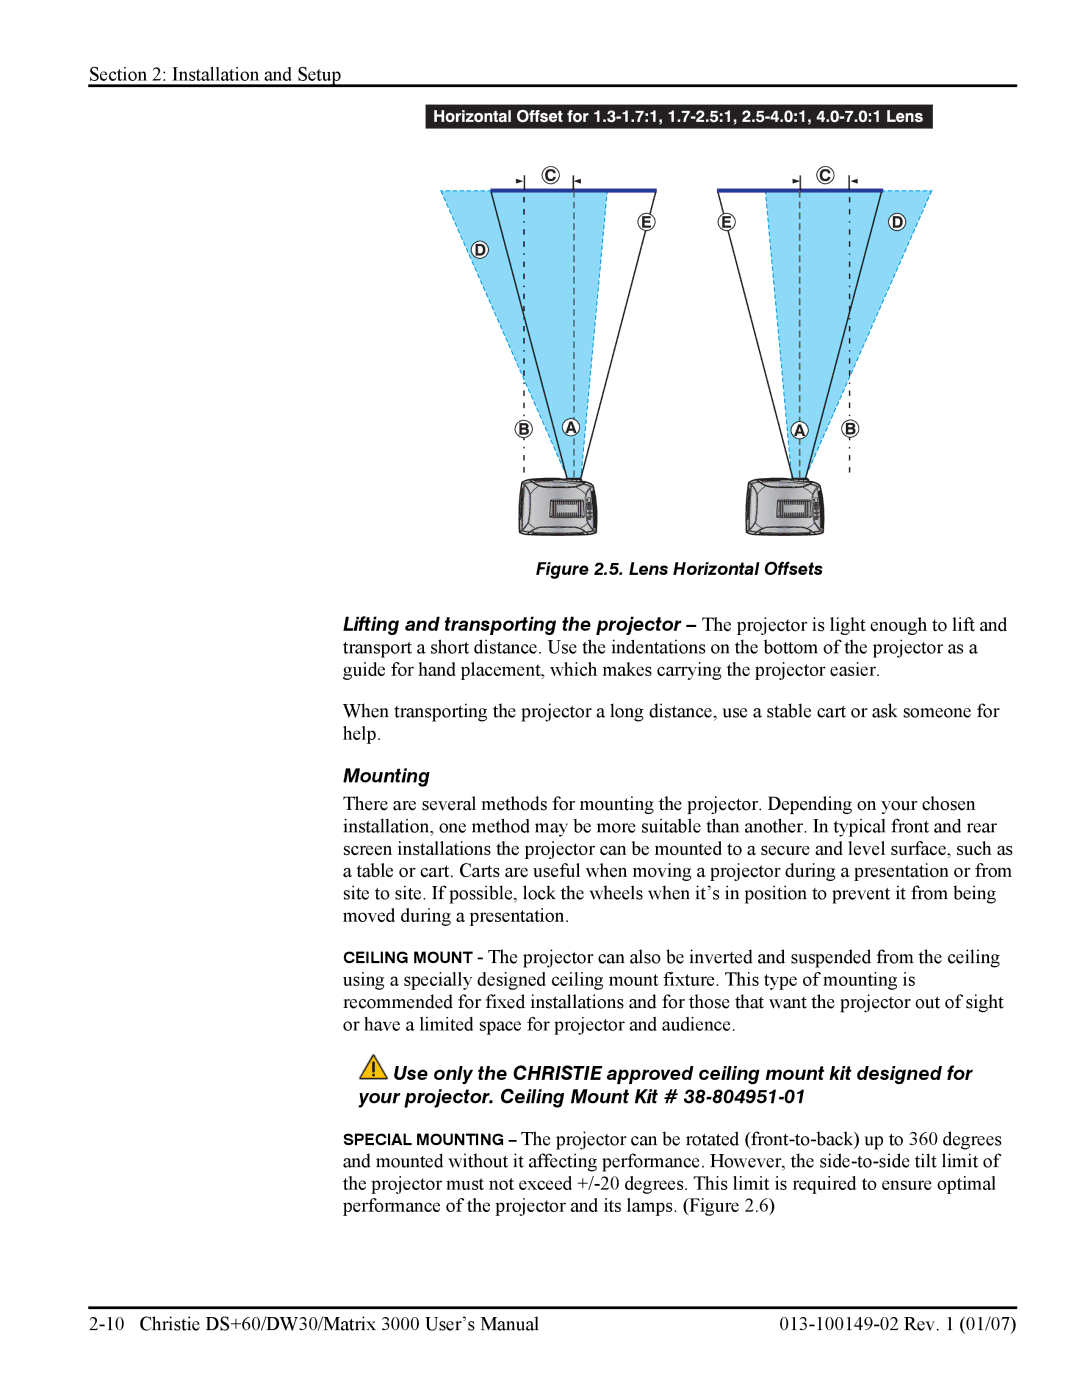
Figure 2.5. Lens Horizontal Offsets
Lifting and transporting the projector – The projector is light enough to lift and transport a short distance. Use the indentations on the bottom of the projector as a guide for hand placement, which makes carrying the projector easier.
When transporting the projector a long distance, use a stable cart or ask someone for help.
Mounting
There are several methods for mounting the projector. Depending on your chosen installation, one method may be more suitable than another. In typical front and rear screen installations the projector can be mounted to a secure and level surface, such as a table or cart. Carts are useful when moving a projector during a presentation or from site to site. If possible, lock the wheels when it’s in position to prevent it from being moved during a presentation.
CEILING MOUNT - The projector can also be inverted and suspended from the ceiling using a specially designed ceiling mount fixture. This type of mounting is recommended for fixed installations and for those that want the projector out of sight or have a limited space for projector and audience.
![]() Use only the CHRISTIE approved ceiling mount kit designed for your projector. Ceiling Mount Kit #
Use only the CHRISTIE approved ceiling mount kit designed for your projector. Ceiling Mount Kit #
SPECIAL MOUNTING – The projector can be rotated