4. Operation
Using the Setup Menu
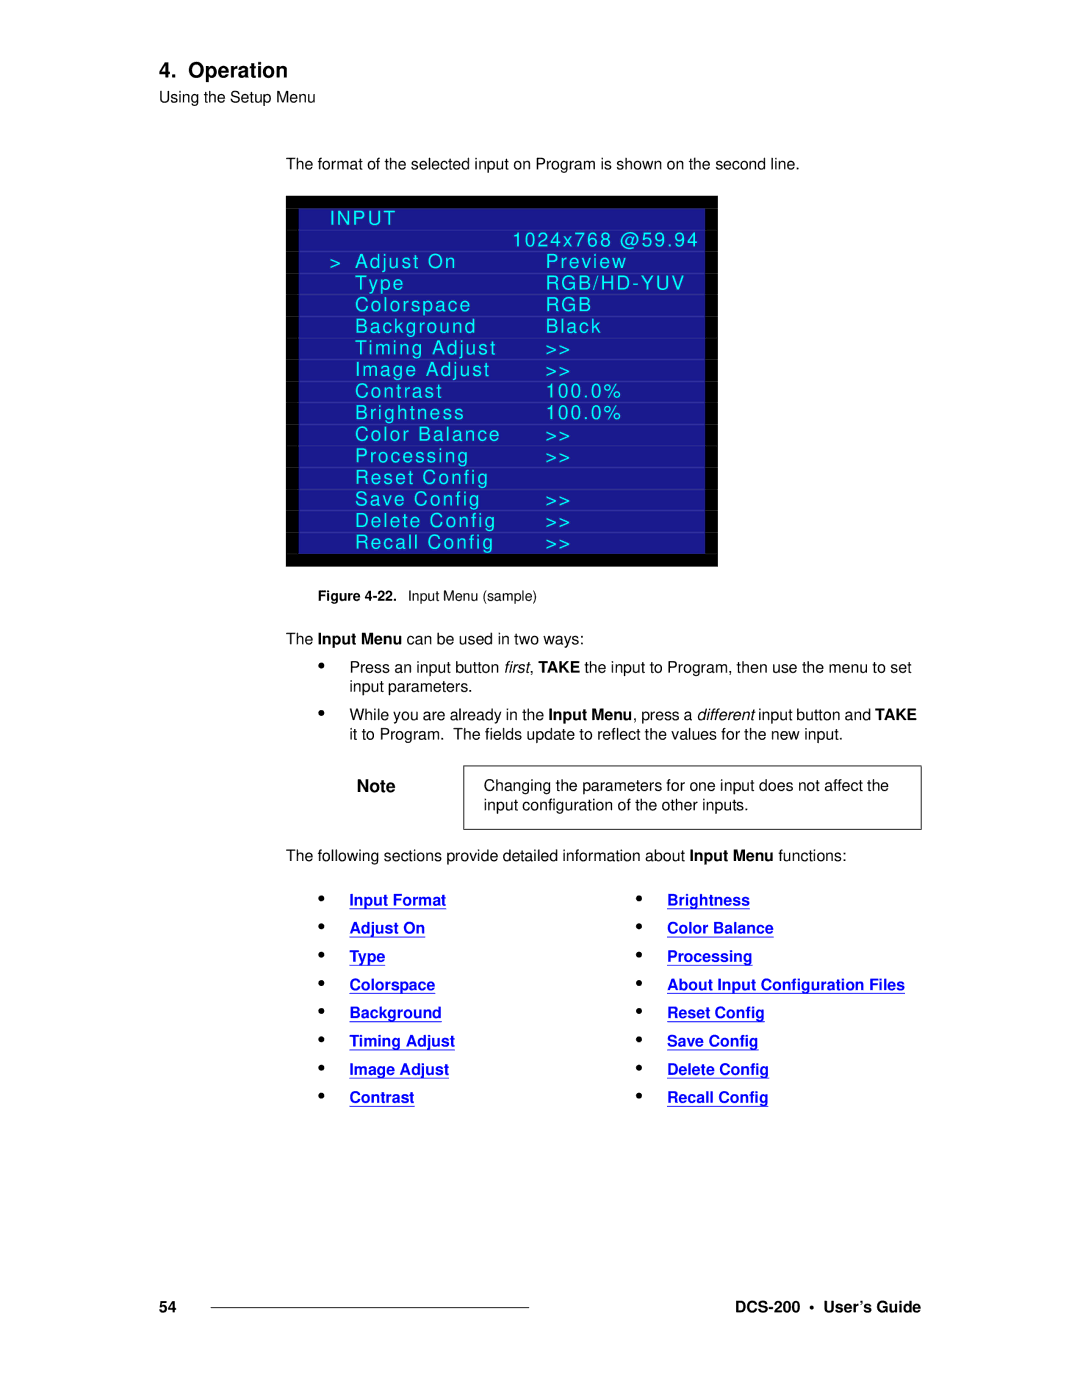
The format of the selected input on Program is shown on the second line.
|
|
|
|
| INPUT | 1024x768 @59.94 |
|
|
|
| |
| > Adjust On | Preview |
|
| Type |
|
|
| Colorspace | RGB |
|
| Background | Black |
|
| Timing Adjust | >> |
|
| Image Adjust | >> |
|
| Contrast | 100.0% |
|
| Brightness | 100.0% |
|
| Color Balance | >> |
|
| Processing | >> |
|
| Reset Config |
|
|
| Save Config | >> |
|
| Delete Config | >> |
|
| Recall Config | >> |
|
|
|
|
|
Figure 4-22. Input Menu (sample)
The Input Menu can be used in two ways:
•
•
Press an input button first, TAKE the input to Program, then use the menu to set input parameters.
While you are already in the Input Menu, press a different input button and TAKE it to Program. The fields update to reflect the values for the new input.
Note
Changing the parameters for one input does not affect the input configuration of the other inputs.
The following sections provide detailed information about Input Menu functions:
•
•
•
•
•
•
•
•
Input Format
Adjust On
Type
Colorspace
Background
Timing Adjust
Image Adjust
Contrast
•
•
•
•
•
•
•
•
Brightness
Color Balance
Processing
About Input Configuration Files
Reset Config
Save Config
Delete Config
Recall Config
54 |
|
|
|
