4. Operation
Using the Setup Menu
•When sampling is set to OverSample, values represent the oversampling factor being used.
For all Horizontal “active area” fields, all units are measured in pixels:
•H Total — adjusts the total pixel count per line. This value cannot be adjusted if the input type is DVI / SDI.
•H Position — adjusts the offset of start of active area from H sync.
•H Active — sets the size of the active area.
For all Vertical “active area” fields, all unit are measured in lines.
•V Total — indicates the total line count per frame. This value is measured, and can never be adjusted. Its value will always be shown in brackets.
•
•
V Position — sets the offset of start of active area from V sync. V Active — sets the size of the active area.
^ÇàìëíáåÖ=p~ãéäÉ=mÜ~ëÉ
The
•
•
Adjustment range: -16 to 15
Default: 0
Use the following steps to adjust sample clock phase of each scaler, for inputs whose “type” is analog.
1.From the Input Menu, navigate to the Timing Adjust Menu, and scroll to the Phase A or Phase B line.
2.In the Inputs Section, select an input whose “type” is analog.
3.TAKE the input to Program. The button lights solid.
4.Pend the same input for the next transition. In this mode, only one button will now be lit solid, and no buttons will be blinking.
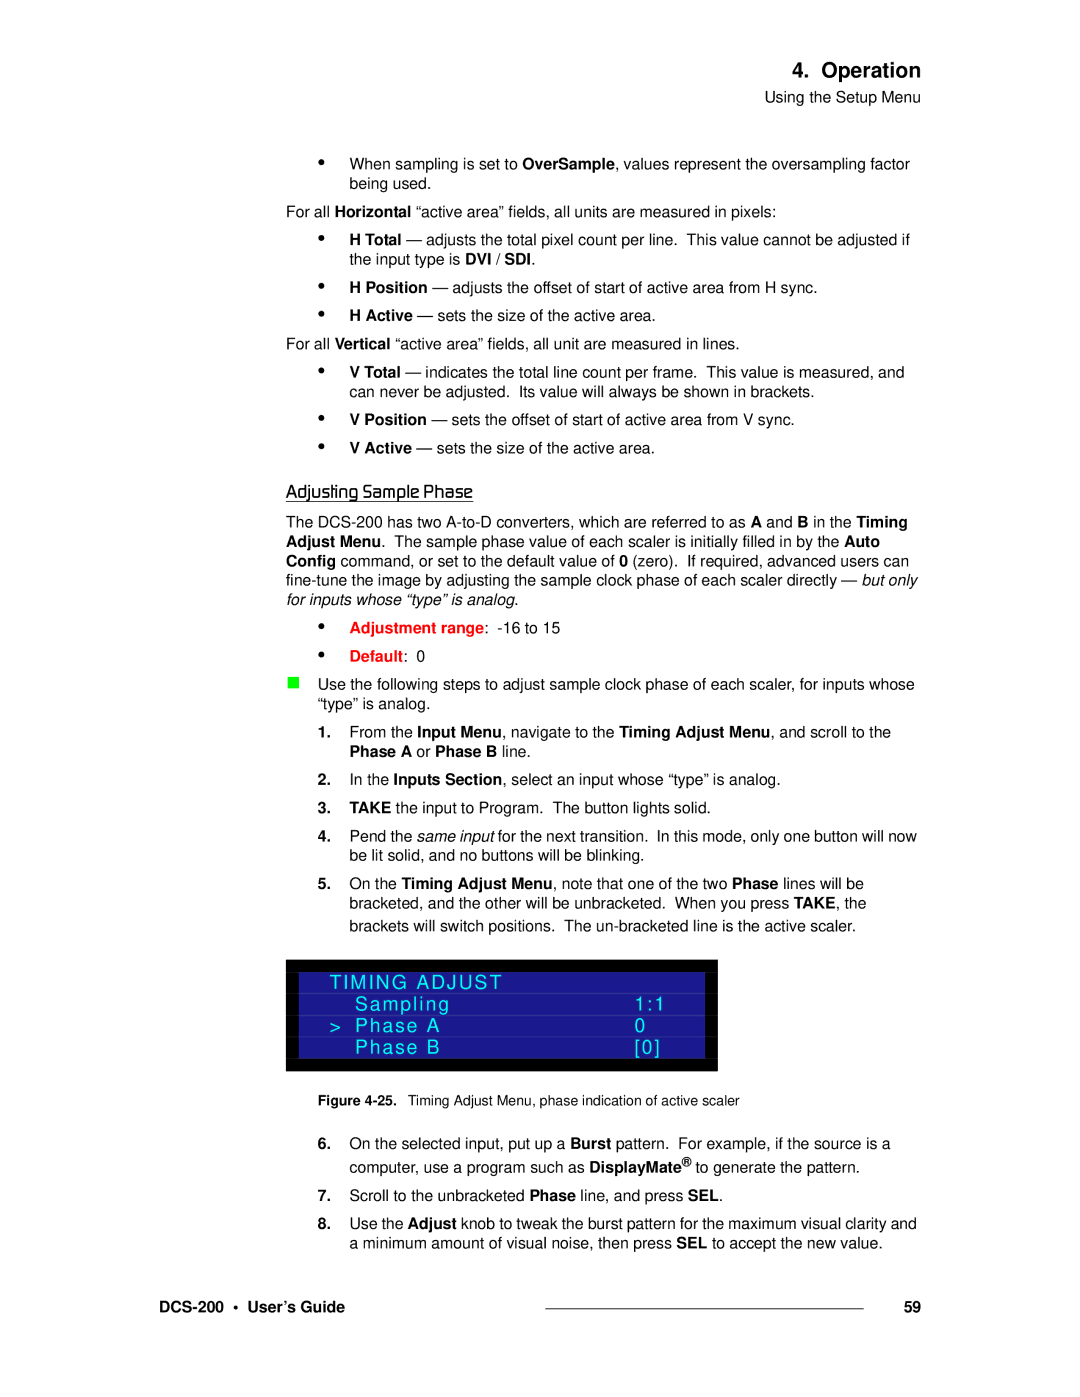
5.On the Timing Adjust Menu, note that one of the two Phase lines will be bracketed, and the other will be unbracketed. When you press TAKE, the brackets will switch positions. The
|
|
|
|
| TIMING ADJUST |
|
|
| Sampling | 1:1 |
|
| > Phase A | 0 |
|
| Phase B | [0] |
|
|
|
|
|
Figure 4-25. Timing Adjust Menu, phase indication of active scaler
6.On the selected input, put up a Burst pattern. For example, if the source is a computer, use a program such as DisplayMate® to generate the pattern.
7.Scroll to the unbracketed Phase line, and press SEL.
8.Use the Adjust knob to tweak the burst pattern for the maximum visual clarity and a minimum amount of visual noise, then press SEL to accept the new value.
|
| 59 |
|