LOGO |
4. Operation
Using the LOGO
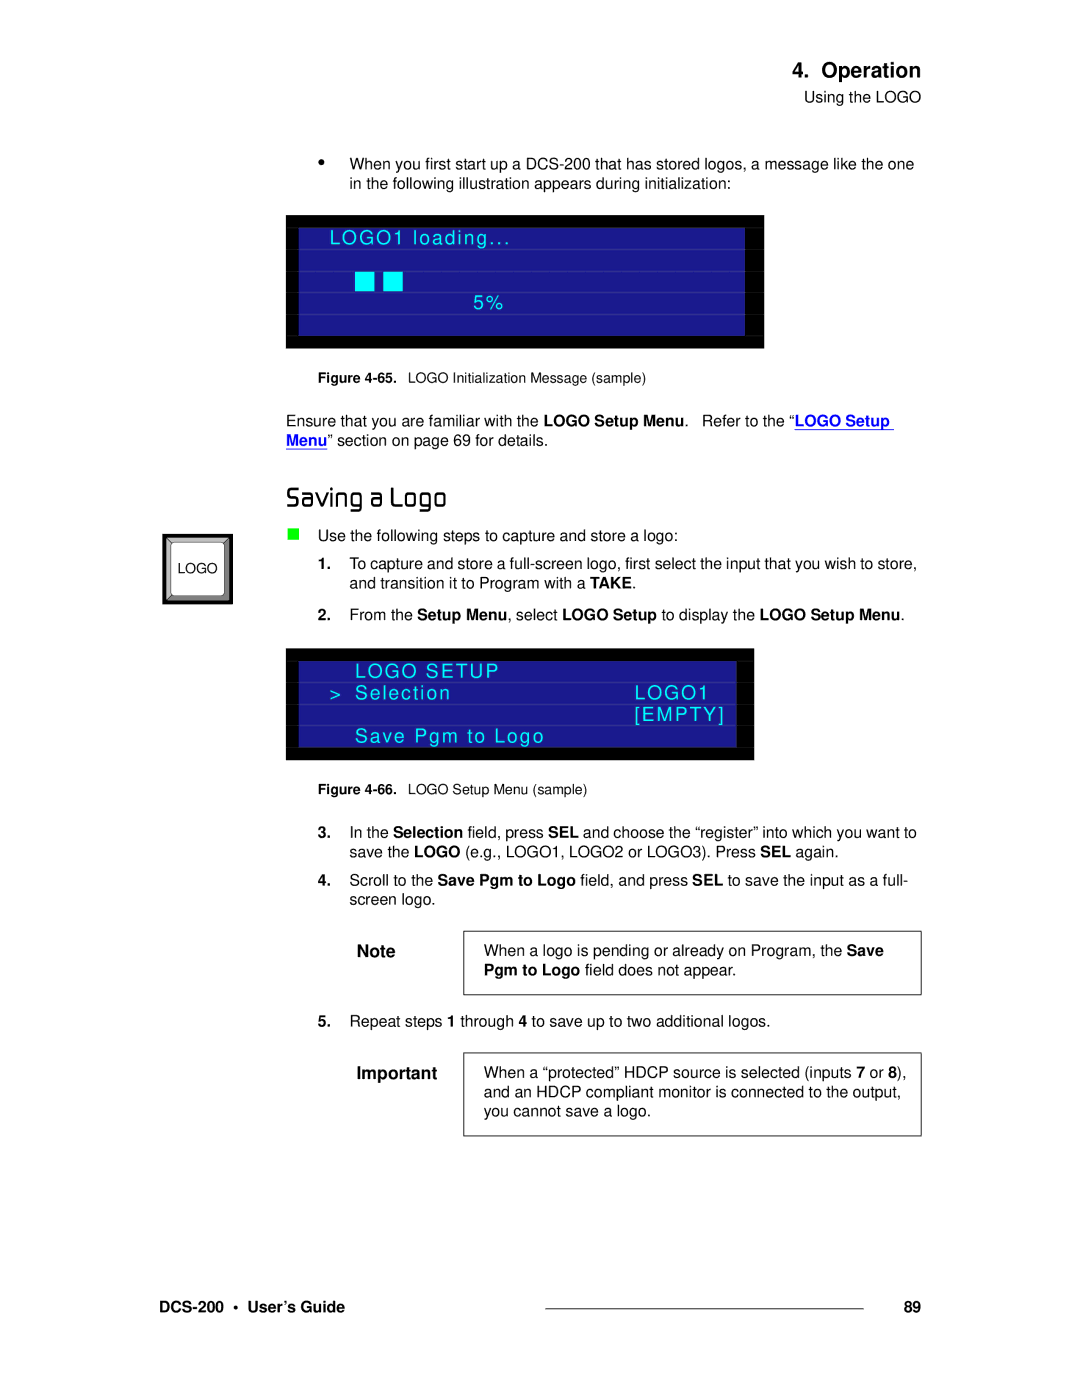
•When you first start up a
LOGO1 loading...
5%
Figure 4-65. LOGO Initialization Message (sample)
Ensure that you are familiar with the LOGO Setup Menu. Refer to the “LOGO Setup Menu” section on page 69 for details.
p~îáåÖ=~=içÖç
Use the following steps to capture and store a logo:
1.To capture and store a
2.From the Setup Menu, select LOGO Setup to display the LOGO Setup Menu.
LOGO SETUP
> SelectionLOGO1 [EMPTY]
Save Pgm to Logo
Figure 4-66. LOGO Setup Menu (sample)
3.In the Selection field, press SEL and choose the “register” into which you want to save the LOGO (e.g., LOGO1, LOGO2 or LOGO3). Press SEL again.
4.Scroll to the Save Pgm to Logo field, and press SEL to save the input as a full- screen logo.
Note | When a logo is pending or already on Program, the Save |
| Pgm to Logo field does not appear. |
|
|
5.Repeat steps 1 through 4 to save up to two additional logos.
Important | When a “protected” HDCP source is selected (inputs 7 or 8), |
| and an HDCP compliant monitor is connected to the output, |
| you cannot save a logo. |
|
|
|
| 89 |
|