Appendix A Migrating to Generation 3
Migration Procedures for the MDS 9513 Director
Se n d d o c u m e n t a t i o n c o m m e n t s t o m d s f e e d b a ck - d o c @ c i s c o . c o m .
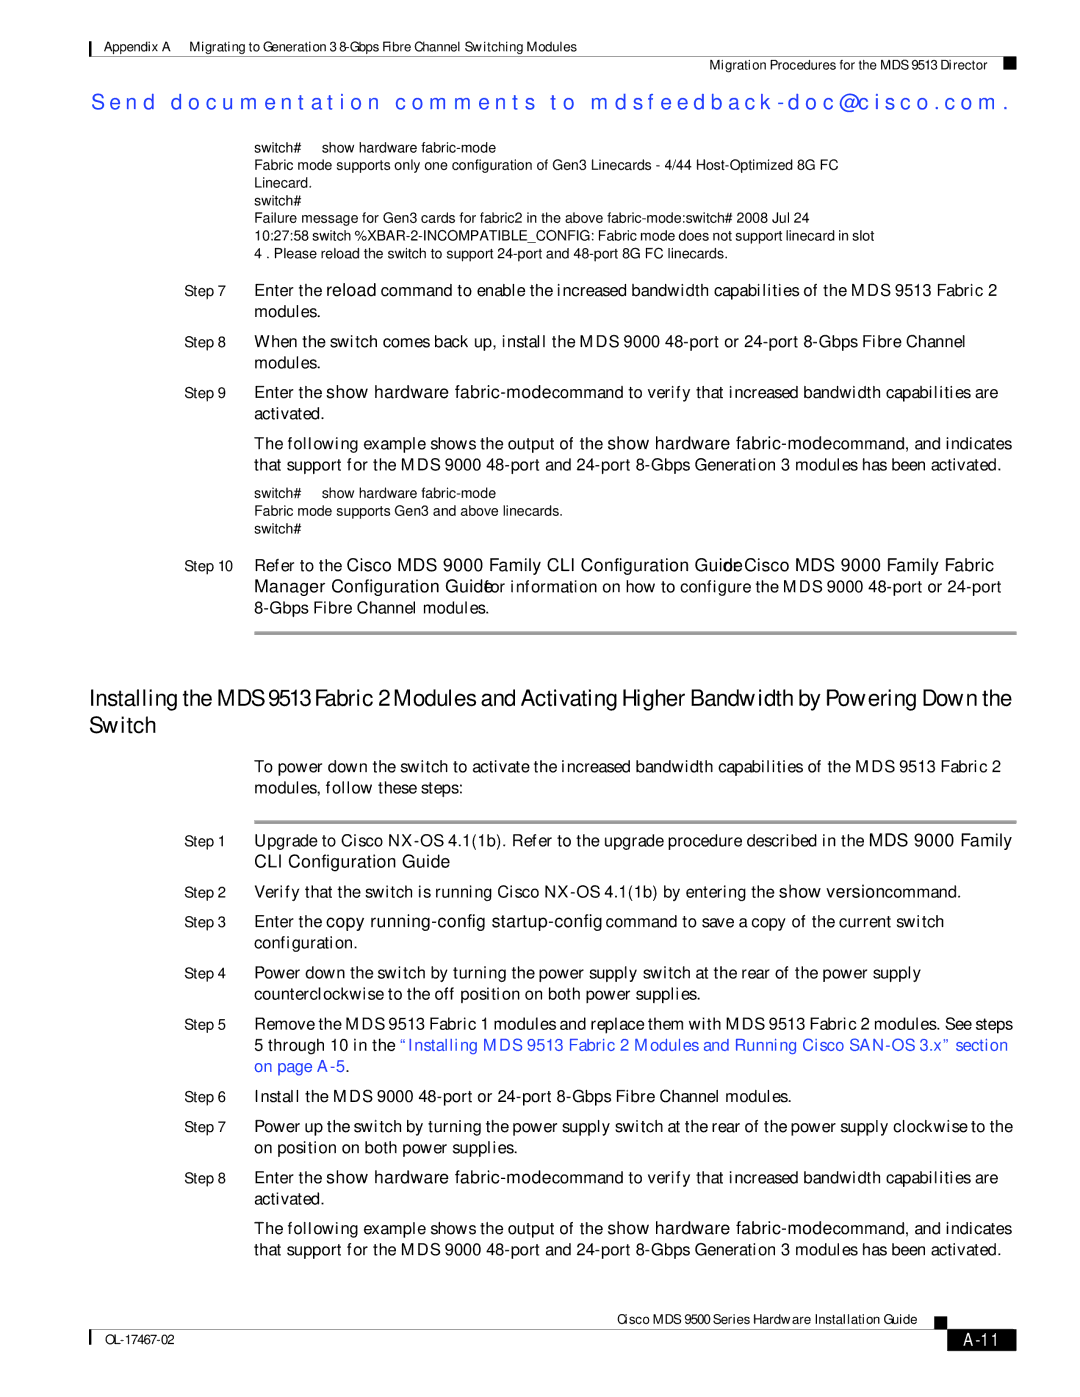
switch# show hardware fabric-mode
Fabric mode supports only one configuration of Gen3 Linecards - 4/44
switch#
Failure message for Gen3 cards for fabric2 in the above
Step 7 Enter the reload command to enable the increased bandwidth capabilities of the MDS 9513 Fabric 2 modules.
Step 8 When the switch comes back up, install the MDS 9000
Step 9 Enter the show hardware
The following example shows the output of the show hardware
switch# show hardware
Fabric mode supports Gen3 and above linecards. switch#
Step 10 Refer to the Cisco MDS 9000 Family CLI Configuration Guide or Cisco MDS 9000 Family Fabric Manager Configuration Guide for information on how to configure the MDS 9000
Installing the MDS 9513 Fabric 2 Modules and Activating Higher Bandwidth by Powering Down the Switch
To power down the switch to activate the increased bandwidth capabilities of the MDS 9513 Fabric 2 modules, follow these steps:
Step 1 Upgrade to Cisco
Step 2 Verify that the switch is running Cisco
Step 3 Enter the copy
Step 4 Power down the switch by turning the power supply switch at the rear of the power supply counterclockwise to the off position on both power supplies.
Step 5 Remove the MDS 9513 Fabric 1 modules and replace them with MDS 9513 Fabric 2 modules. See steps 5 through 10 in the “Installing MDS 9513 Fabric 2 Modules and Running Cisco
Step 6 Install the MDS 9000
Step 7 Power up the switch by turning the power supply switch at the rear of the power supply clockwise to the on position on both power supplies.
Step 8 Enter the show hardware
The following example shows the output of the show hardware
|
| Cisco MDS 9500 Series Hardware Installation Guide |
|
|
|
|
|
| |||
|
|
|
|
| |
|
|
|
|
