Appendix A Migrating to Generation 3
Migration Procedures for the MDS 9513 Director
Se n d d o c u m e n t a t i o n c o m m e n t s t o m d s f e e d b a ck - d o c @ c i s c o . c o m .
Step 14 Move the console cable to the console port on the active supervisor.
Step 15 Enter the show module command to confirm which supervisor module is active.
Step 16 Enter the
Step 17 Remove the
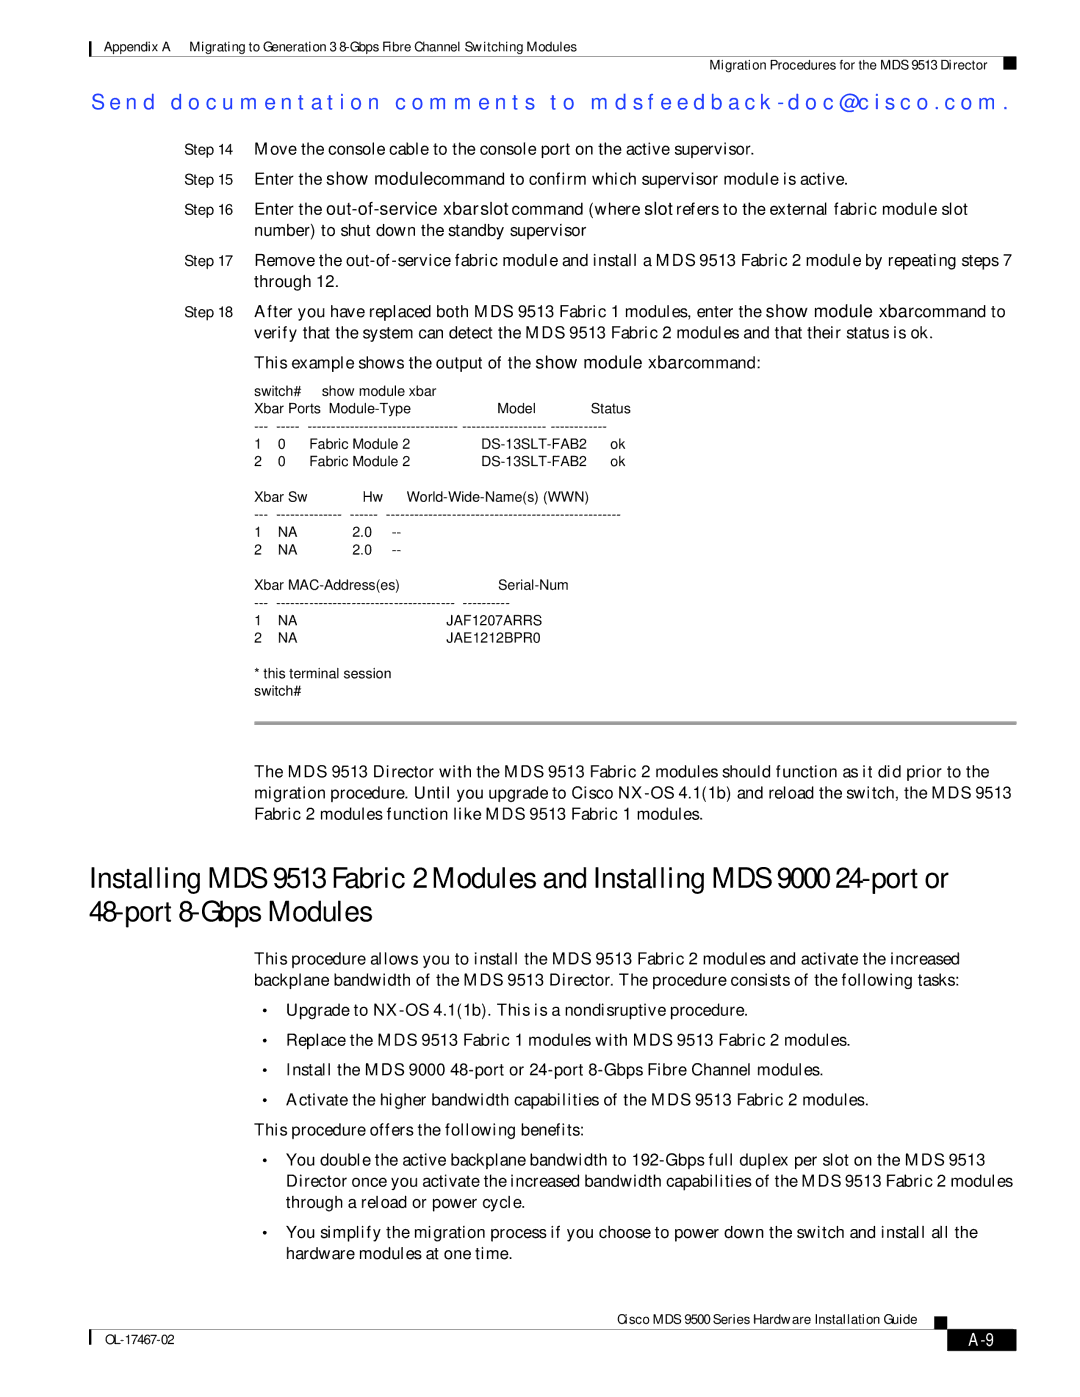
Step 18 After you have replaced both MDS 9513 Fabric 1 modules, enter the show module xbar command to
verify that the system can detect the MDS 9513 Fabric 2 modules and that their status is ok.
This example shows the output of the show module xbar command:
switch# show module xbar |
|
|
Xbar Ports | Model | Status |
---
1 | 0 | Fabric Module 2 | ok | |
2 | 0 | Fabric Module 2 | ok | |
Xbar | Sw | Hw |
| |
1 | NA | 2.0 |
| |
2 | NA | 2.0 |
| |
Xbar |
| |||
---
1 | NA | JAF1207ARRS |
2 | NA | JAE1212BPR0 |
*this terminal session switch#
The MDS 9513 Director with the MDS 9513 Fabric 2 modules should function as it did prior to the migration procedure. Until you upgrade to Cisco
Installing MDS 9513 Fabric 2 Modules and Installing MDS 9000
This procedure allows you to install the MDS 9513 Fabric 2 modules and activate the increased backplane bandwidth of the MDS 9513 Director. The procedure consists of the following tasks:
•Upgrade to
•Replace the MDS 9513 Fabric 1 modules with MDS 9513 Fabric 2 modules.
•Install the MDS 9000
•Activate the higher bandwidth capabilities of the MDS 9513 Fabric 2 modules. This procedure offers the following benefits:
•You double the active backplane bandwidth to
•You simplify the migration process if you choose to power down the switch and install all the hardware modules at one time.
Cisco MDS 9500 Series Hardware Installation Guide
|
| |
|
