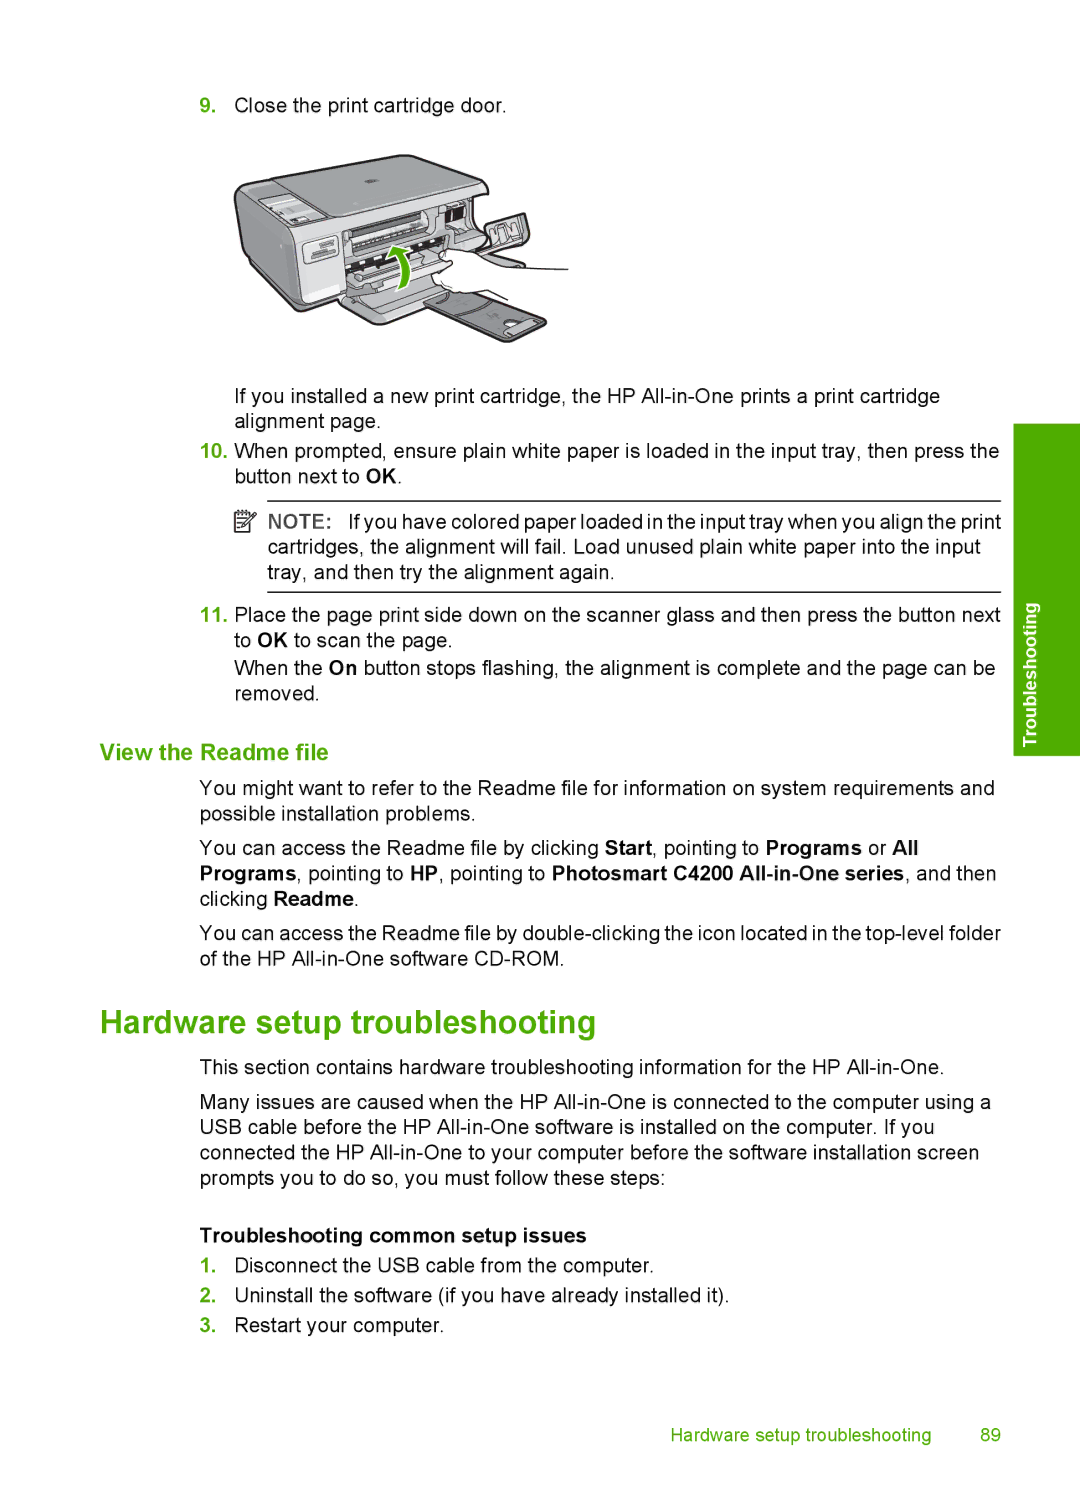
9.Close the print cartridge door.
If you installed a new print cartridge, the HP
10.When prompted, ensure plain white paper is loaded in the input tray, then press the button next to OK.
![]() NOTE: If you have colored paper loaded in the input tray when you align the print cartridges, the alignment will fail. Load unused plain white paper into the input tray, and then try the alignment again.
NOTE: If you have colored paper loaded in the input tray when you align the print cartridges, the alignment will fail. Load unused plain white paper into the input tray, and then try the alignment again.
11.Place the page print side down on the scanner glass and then press the button next to OK to scan the page.
When the On button stops flashing, the alignment is complete and the page can be removed.
View the Readme file
You might want to refer to the Readme file for information on system requirements and possible installation problems.
You can access the Readme file by clicking Start, pointing to Programs or All Programs, pointing to HP, pointing to Photosmart C4200
You can access the Readme file by
Troubleshooting
Hardware setup troubleshooting
This section contains hardware troubleshooting information for the HP
Many issues are caused when the HP
Troubleshooting common setup issues
1.Disconnect the USB cable from the computer.
2.Uninstall the software (if you have already installed it).
3.Restart your computer.
Hardware setup troubleshooting | 89 |
