. . . . . . . . . . . . . . . . . . . . . . . . . . . . .
Color balance choices are contained in two separate features — the lighting menu and the
Applying Color Balance to a Single Image
1.If you are not in the driver image window, return there now.
2.Click the image to be color balanced.
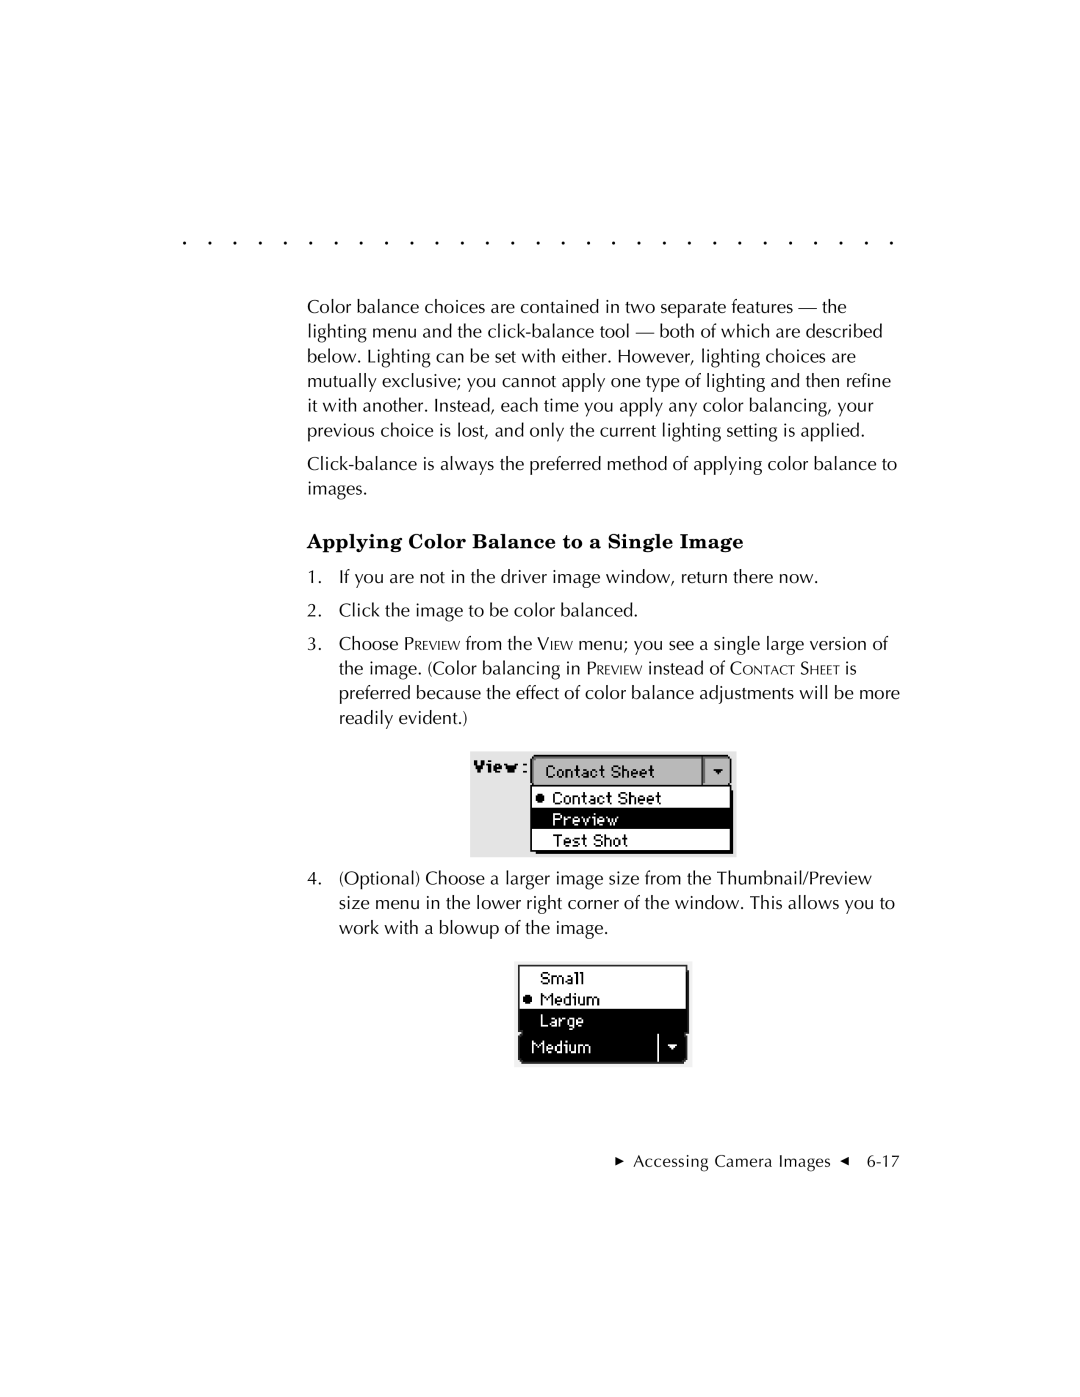
3.Choose PREVIEW from the VIEW menu; you see a single large version of the image. (Color balancing in PREVIEW instead of CONTACT SHEET is preferred because the effect of color balance adjustments will be more readily evident.)
4.(Optional) Choose a larger image size from the Thumbnail/Preview size menu in the lower right corner of the window. This allows you to work with a blowup of the image.
Accessing Camera Images G