. . . . . . . . . . . . . . . . . . . . . . . . . . . . .
Readying the EOS•DCS Camera
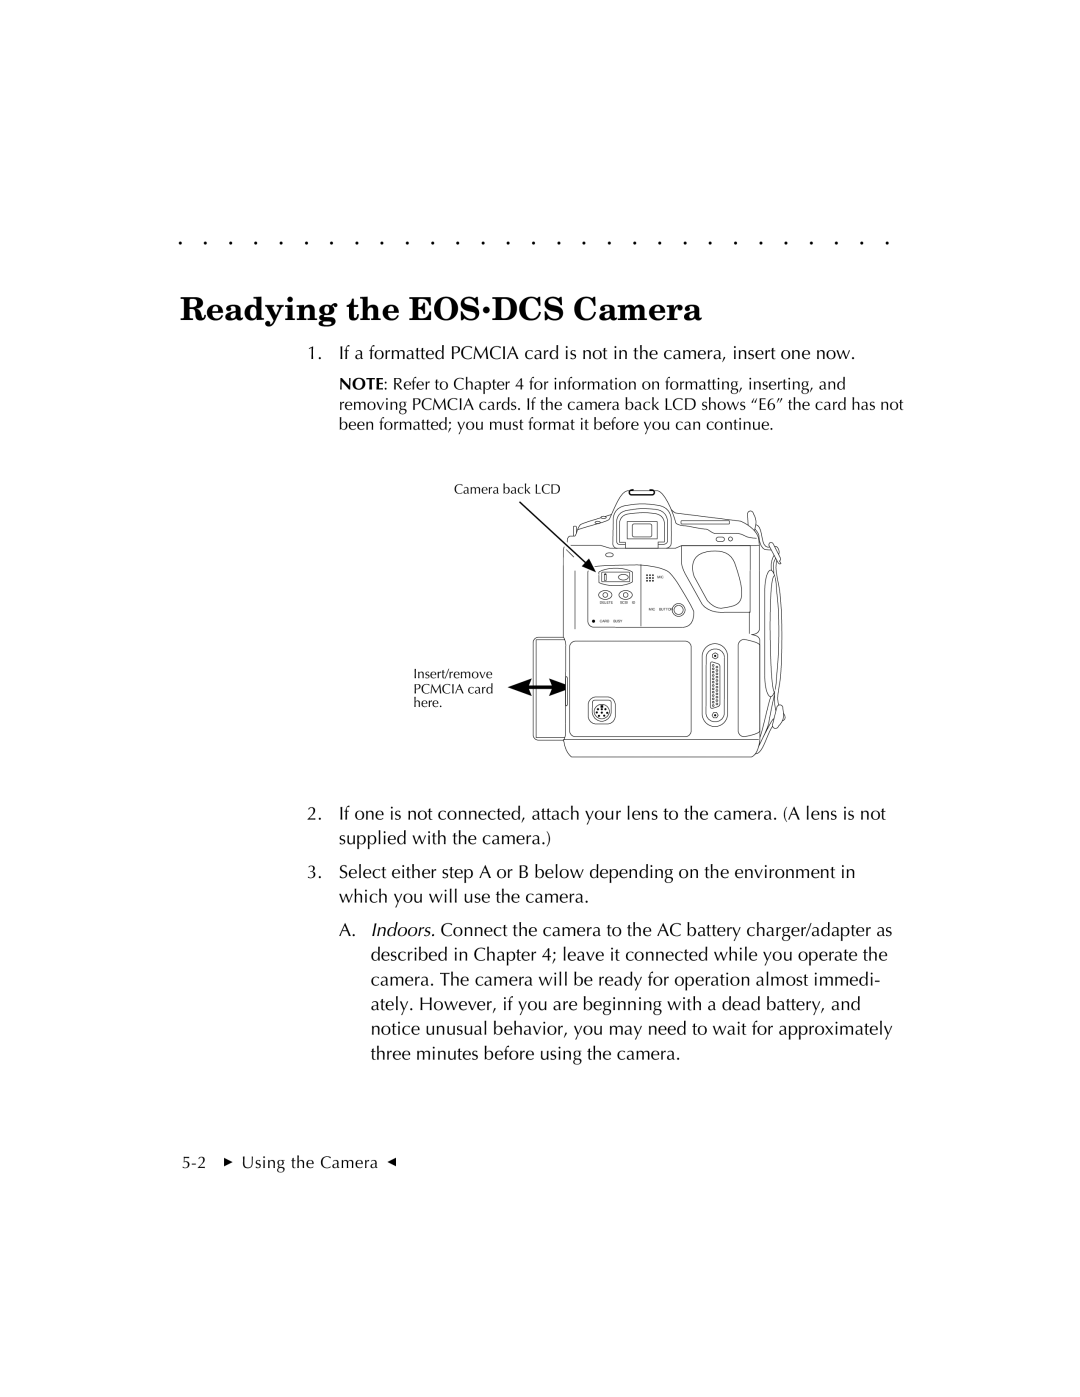
1.If a formatted PCMCIA card is not in the camera, insert one now.
NOTE: Refer to Chapter 4 for information on formatting, inserting, and removing PCMCIA cards. If the camera back LCD shows “E6” the card has not been formatted; you must format it before you can continue.
Camera back LCD
DELETE SCSI ID
CARD BUSY
MIC
MIC BUTTON
Insert/remove
PCMCIA card here.
2.If one is not connected, attach your lens to the camera. (A lens is not supplied with the camera.)
3.Select either step A or B below depending on the environment in which you will use the camera.
A.Indoors. Connect the camera to the AC battery charger/adapter as described in Chapter 4; leave it connected while you operate the camera. The camera will be ready for operation almost immedi- ately. However, if you are beginning with a dead battery, and notice unusual behavior, you may need to wait for approximately three minutes before using the camera.