. . . . . . . . . . . . . . . . . . . . . . . . . . . . .
5.Color balance the image using either method A (lighting menu) or method B
Method A: Lighting Menu
The lighting menu provides a simple, direct method of quickly applying one of several lighting choices to your image. Then later, once the image has been acquired, you can refine it if needed in Photoshop.
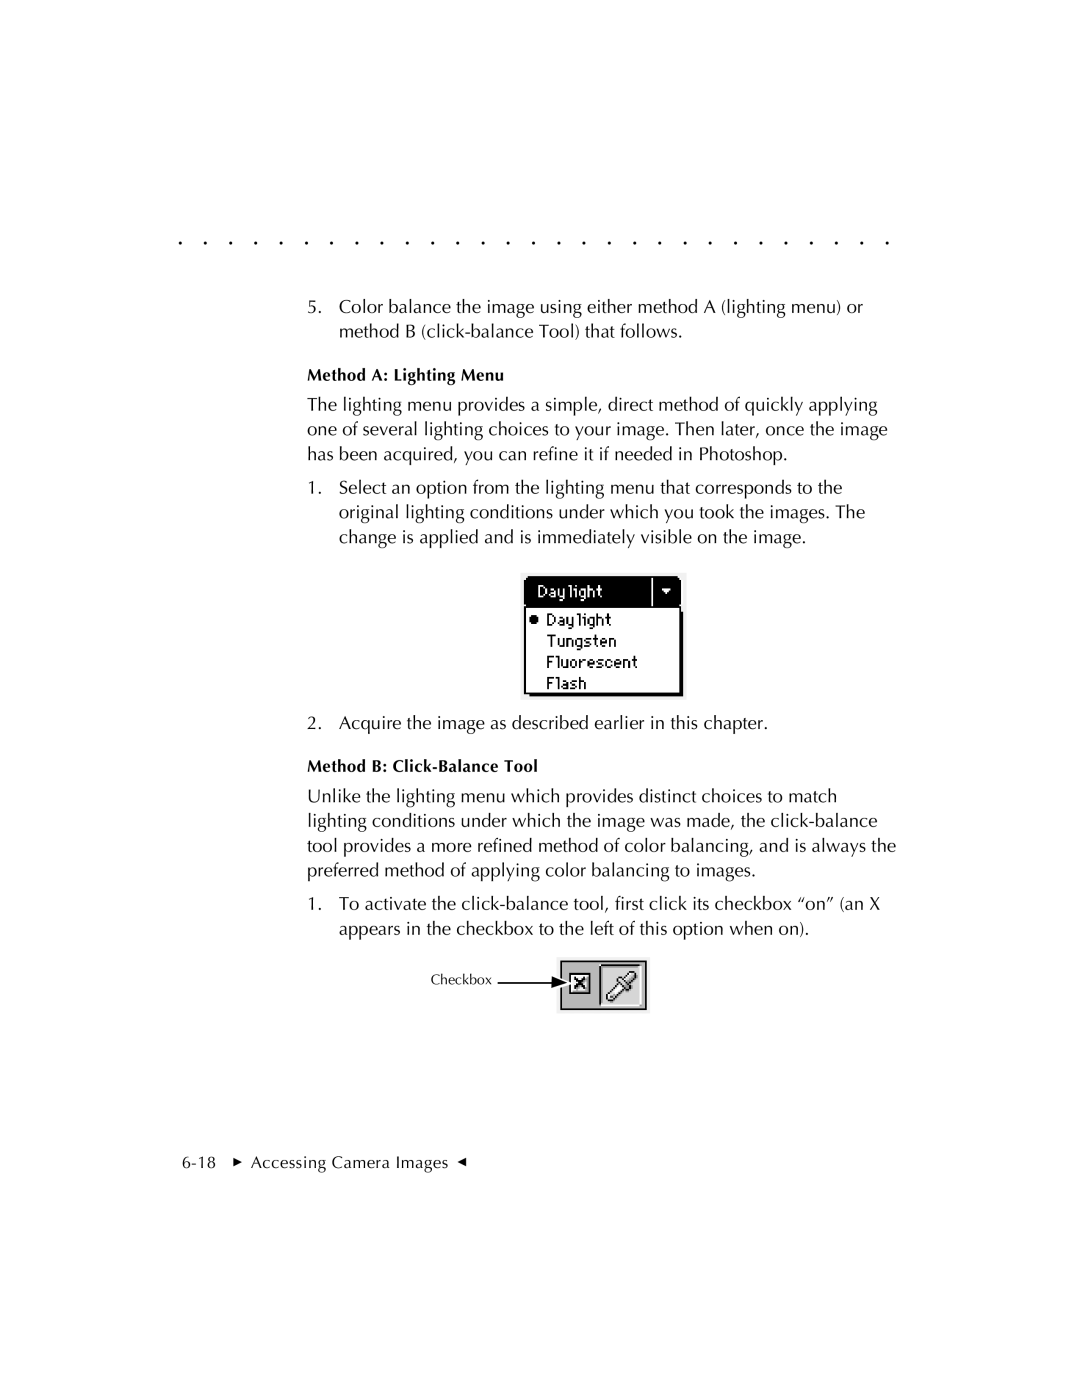
1.Select an option from the lighting menu that corresponds to the original lighting conditions under which you took the images. The change is applied and is immediately visible on the image.
2. Acquire the image as described earlier in this chapter.
Method B:
Unlike the lighting menu which provides distinct choices to match lighting conditions under which the image was made, the
1.To activate the
Checkbox