You’ll see the Properties screen appropriate for the type of object you selected. The values in the fields on the Properties screen reflect the current properties of the object selected.
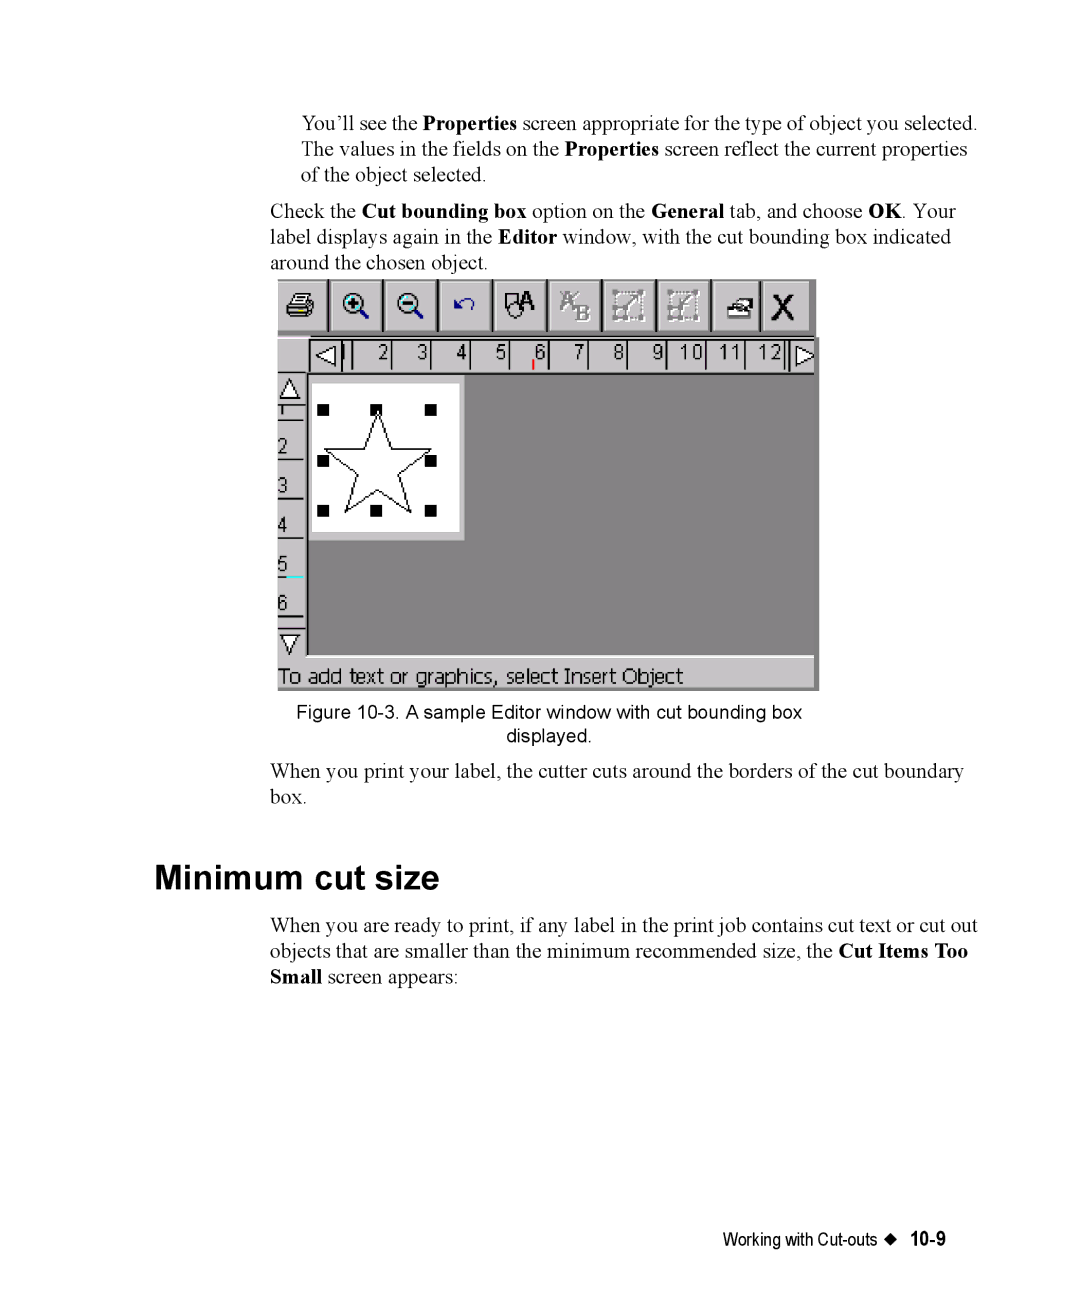
Check the Cut bounding box option on the General tab, and choose OK. Your label displays again in the Editor window, with the cut bounding box indicated around the chosen object.
Figure 10-3. A sample Editor window with cut bounding box
displayed.
When you print your label, the cutter cuts around the borders of the cut boundary box.
Minimum cut size
When you are ready to print, if any label in the print job contains cut text or cut out objects that are smaller than the minimum recommended size, the Cut Items Too Small screen appears:
Working with |
|