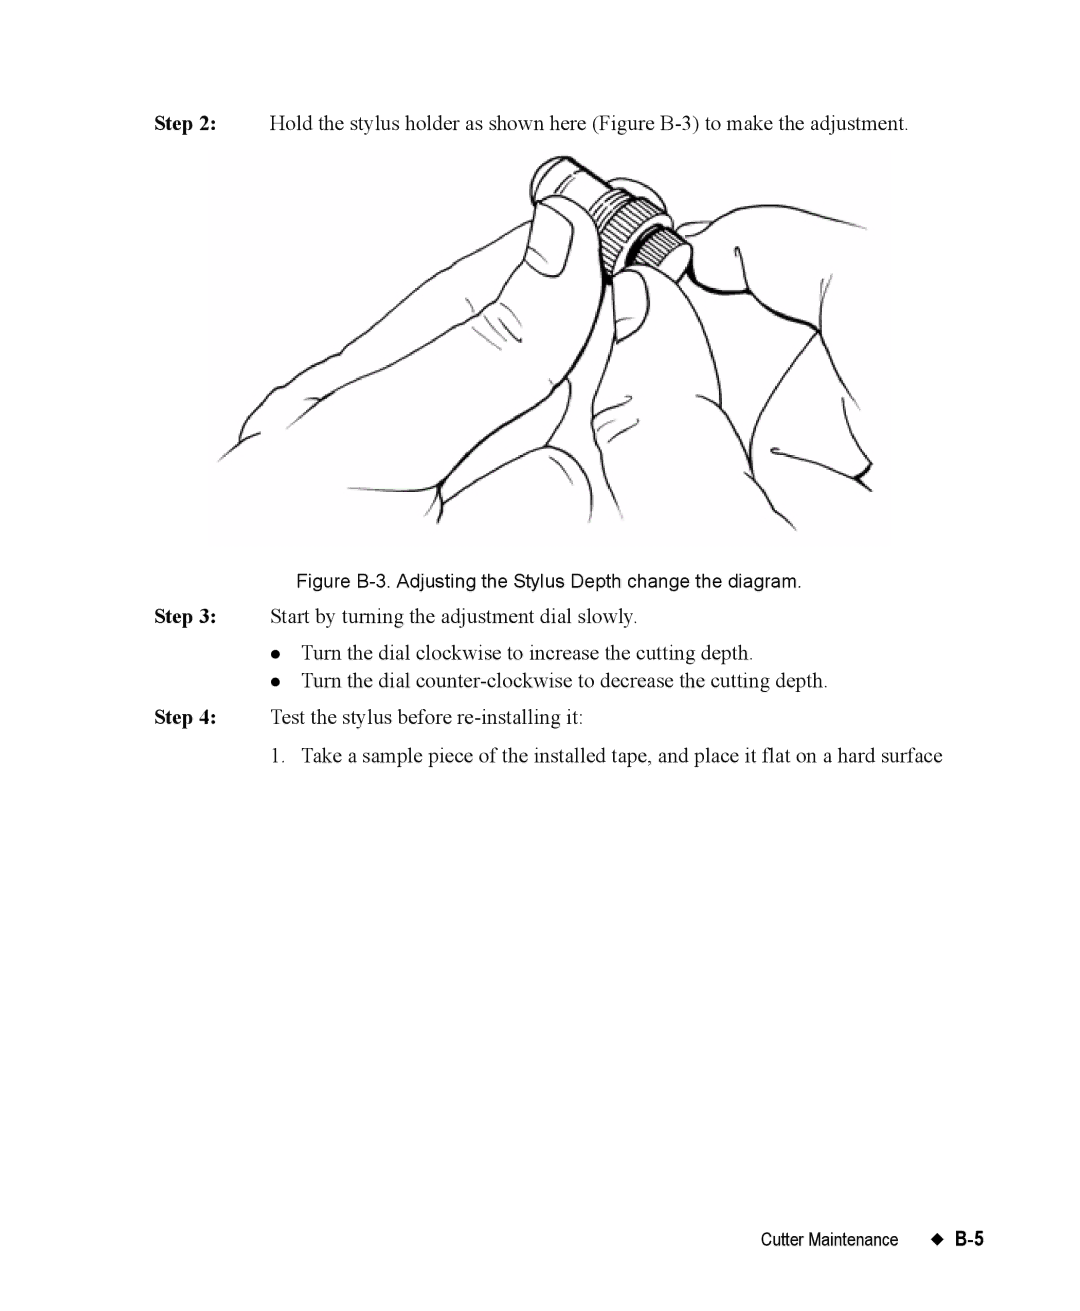
Step 2: Hold the stylus holder as shown here (Figure
Figure B-3. Adjusting the Stylus Depth change the diagram.
Step 3: Start by turning the adjustment dial slowly.
z Turn the dial clockwise to increase the cutting depth.
z Turn the dial
Step 4: Test the stylus before
1. Take a sample piece of the installed tape, and place it flat on a hard surface
Cutter Maintenance |
