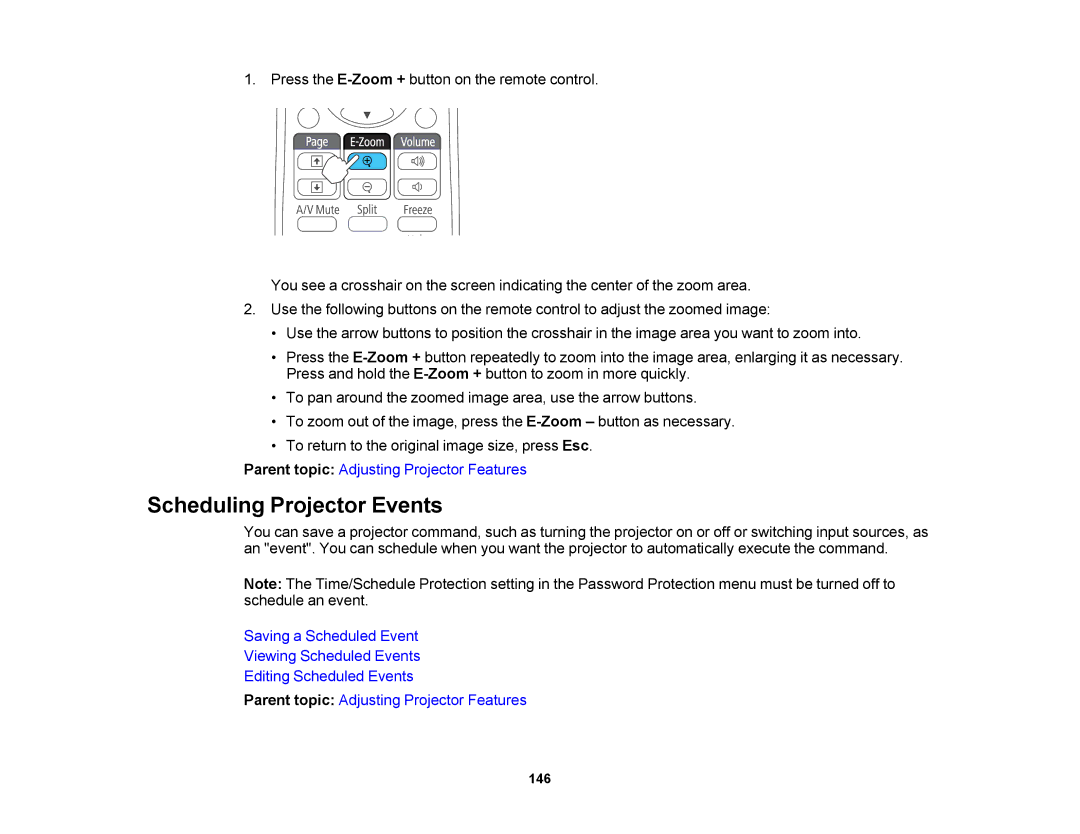
1. Press the
You see a crosshair on the screen indicating the center of the zoom area.
2.Use the following buttons on the remote control to adjust the zoomed image:
•Use the arrow buttons to position the crosshair in the image area you want to zoom into.
•Press the
•To pan around the zoomed image area, use the arrow buttons.
•To zoom out of the image, press the
•To return to the original image size, press Esc.
Parent topic: Adjusting Projector Features
Scheduling Projector Events
You can save a projector command, such as turning the projector on or off or switching input sources, as an "event". You can schedule when you want the projector to automatically execute the command.
Note: The Time/Schedule Protection setting in the Password Protection menu must be turned off to schedule an event.
Saving a Scheduled Event
Viewing Scheduled Events
Editing Scheduled Events
Parent topic: Adjusting Projector Features
146