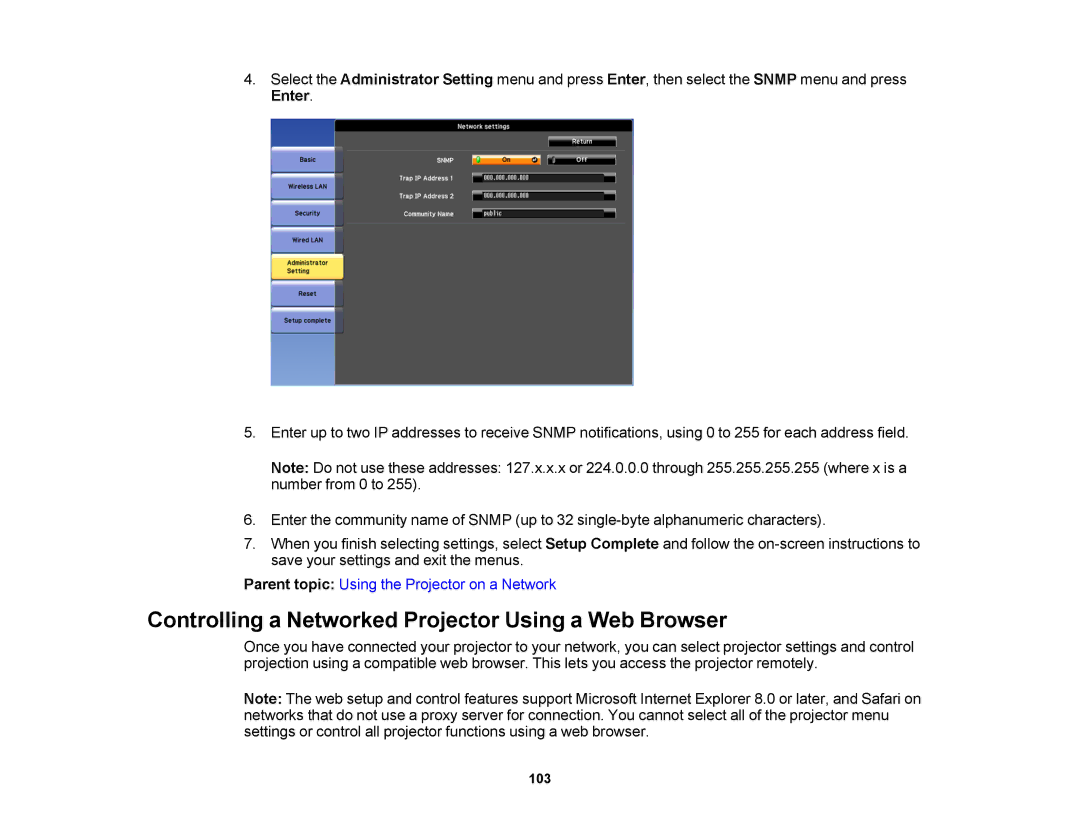
4.Select the Administrator Setting menu and press Enter, then select the SNMP menu and press Enter.
5.Enter up to two IP addresses to receive SNMP notifications, using 0 to 255 for each address field.
Note: Do not use these addresses: 127.x.x.x or 224.0.0.0 through 255.255.255.255 (where x is a number from 0 to 255).
6.Enter the community name of SNMP (up to 32
7.When you finish selecting settings, select Setup Complete and follow the
Parent topic: Using the Projector on a Network
Controlling a Networked Projector Using a Web Browser
Once you have connected your projector to your network, you can select projector settings and control projection using a compatible web browser. This lets you access the projector remotely.
Note: The web setup and control features support Microsoft Internet Explorer 8.0 or later, and Safari on networks that do not use a proxy server for connection. You cannot select all of the projector menu settings or control all projector functions using a web browser.
103