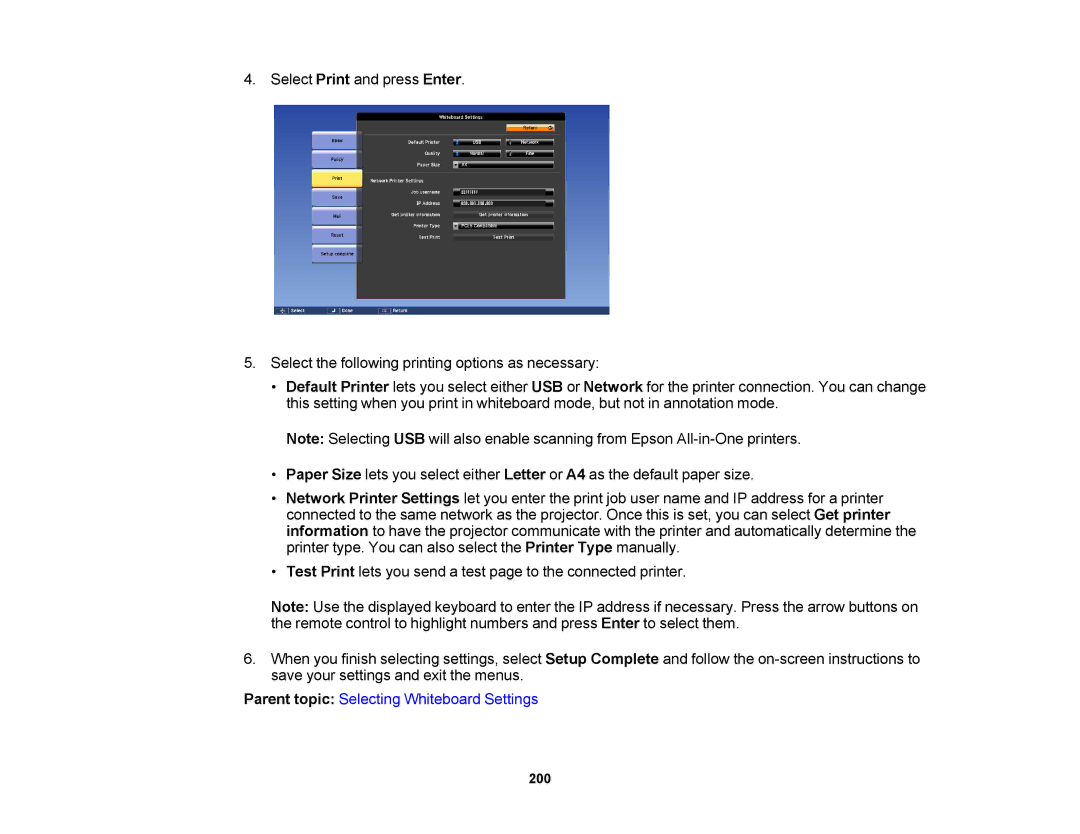
4. Select Print and press Enter.
5.Select the following printing options as necessary:
•Default Printer lets you select either USB or Network for the printer connection. You can change this setting when you print in whiteboard mode, but not in annotation mode.
Note: Selecting USB will also enable scanning from Epson
•Paper Size lets you select either Letter or A4 as the default paper size.
•Network Printer Settings let you enter the print job user name and IP address for a printer connected to the same network as the projector. Once this is set, you can select Get printer information to have the projector communicate with the printer and automatically determine the printer type. You can also select the Printer Type manually.
•Test Print lets you send a test page to the connected printer.
Note: Use the displayed keyboard to enter the IP address if necessary. Press the arrow buttons on the remote control to highlight numbers and press Enter to select them.
6.When you finish selecting settings, select Setup Complete and follow the
Parent topic: Selecting Whiteboard Settings