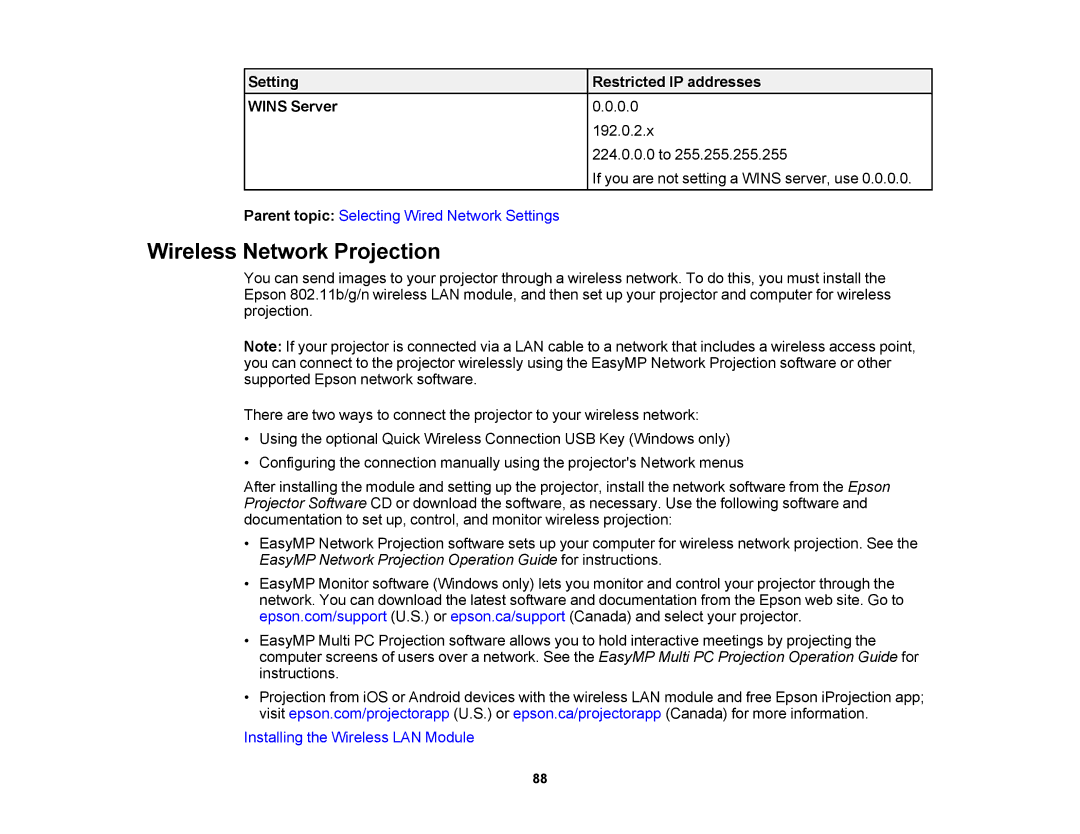
Setting
WINS Server
Restricted IP addresses
0.0.0.0
192.0.2.x
224.0.0.0 to 255.255.255.255
If you are not setting a WINS server, use 0.0.0.0.
Parent topic: Selecting Wired Network Settings
Wireless Network Projection
You can send images to your projector through a wireless network. To do this, you must install the Epson 802.11b/g/n wireless LAN module, and then set up your projector and computer for wireless projection.
Note: If your projector is connected via a LAN cable to a network that includes a wireless access point, you can connect to the projector wirelessly using the EasyMP Network Projection software or other supported Epson network software.
There are two ways to connect the projector to your wireless network:
•Using the optional Quick Wireless Connection USB Key (Windows only)
•Configuring the connection manually using the projector's Network menus
After installing the module and setting up the projector, install the network software from the Epson Projector Software CD or download the software, as necessary. Use the following software and documentation to set up, control, and monitor wireless projection:
•EasyMP Network Projection software sets up your computer for wireless network projection. See the EasyMP Network Projection Operation Guide for instructions.
•EasyMP Monitor software (Windows only) lets you monitor and control your projector through the network. You can download the latest software and documentation from the Epson web site. Go to epson.com/support (U.S.) or epson.ca/support (Canada) and select your projector.
•EasyMP Multi PC Projection software allows you to hold interactive meetings by projecting the computer screens of users over a network. See the EasyMP Multi PC Projection Operation Guide for instructions.
•Projection from iOS or Android devices with the wireless LAN module and free Epson iProjection app; visit epson.com/projectorapp (U.S.) or epson.ca/projectorapp (Canada) for more information.
Installing the Wireless LAN Module
88