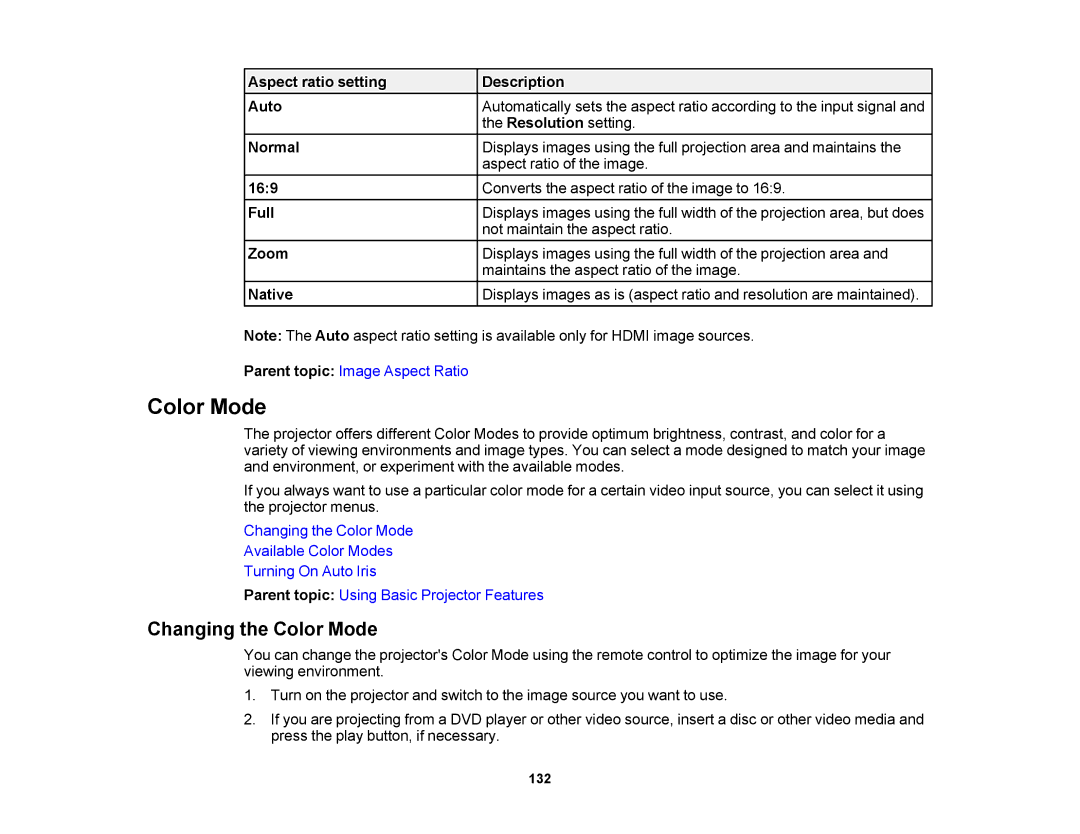
Aspect ratio setting | Description |
Auto | Automatically sets the aspect ratio according to the input signal and |
| the Resolution setting. |
Normal | Displays images using the full projection area and maintains the |
| aspect ratio of the image. |
16:9 | Converts the aspect ratio of the image to 16:9. |
Full | Displays images using the full width of the projection area, but does |
| not maintain the aspect ratio. |
Zoom | Displays images using the full width of the projection area and |
| maintains the aspect ratio of the image. |
Native | Displays images as is (aspect ratio and resolution are maintained). |
Note: The Auto aspect ratio setting is available only for HDMI image sources.
Parent topic: Image Aspect Ratio
Color Mode
The projector offers different Color Modes to provide optimum brightness, contrast, and color for a variety of viewing environments and image types. You can select a mode designed to match your image and environment, or experiment with the available modes.
If you always want to use a particular color mode for a certain video input source, you can select it using the projector menus.
Changing the Color Mode
Available Color Modes
Turning On Auto Iris
Parent topic: Using Basic Projector Features
Changing the Color Mode
You can change the projector's Color Mode using the remote control to optimize the image for your viewing environment.
1.Turn on the projector and switch to the image source you want to use.
2.If you are projecting from a DVD player or other video source, insert a disc or other video media and press the play button, if necessary.
132
