Chapter 4 Control Panel Functions
4.14 Color Menu
The Color Menu contains the settings related to the quality of printed color. Use the following procedure to enter the Color Menu:
1.Press the MENU button on the control panel.
2.Press the NEXT button until the text “Color Menu” is shown on the sec- ond line of the display.
3.Press the SELECT button to enter the Color menu.
4.Press the NEXT button to move through the submenus: Rendering Intent, Color Matching and Alignment.
5.Press the SELECT button to enter a submenu.
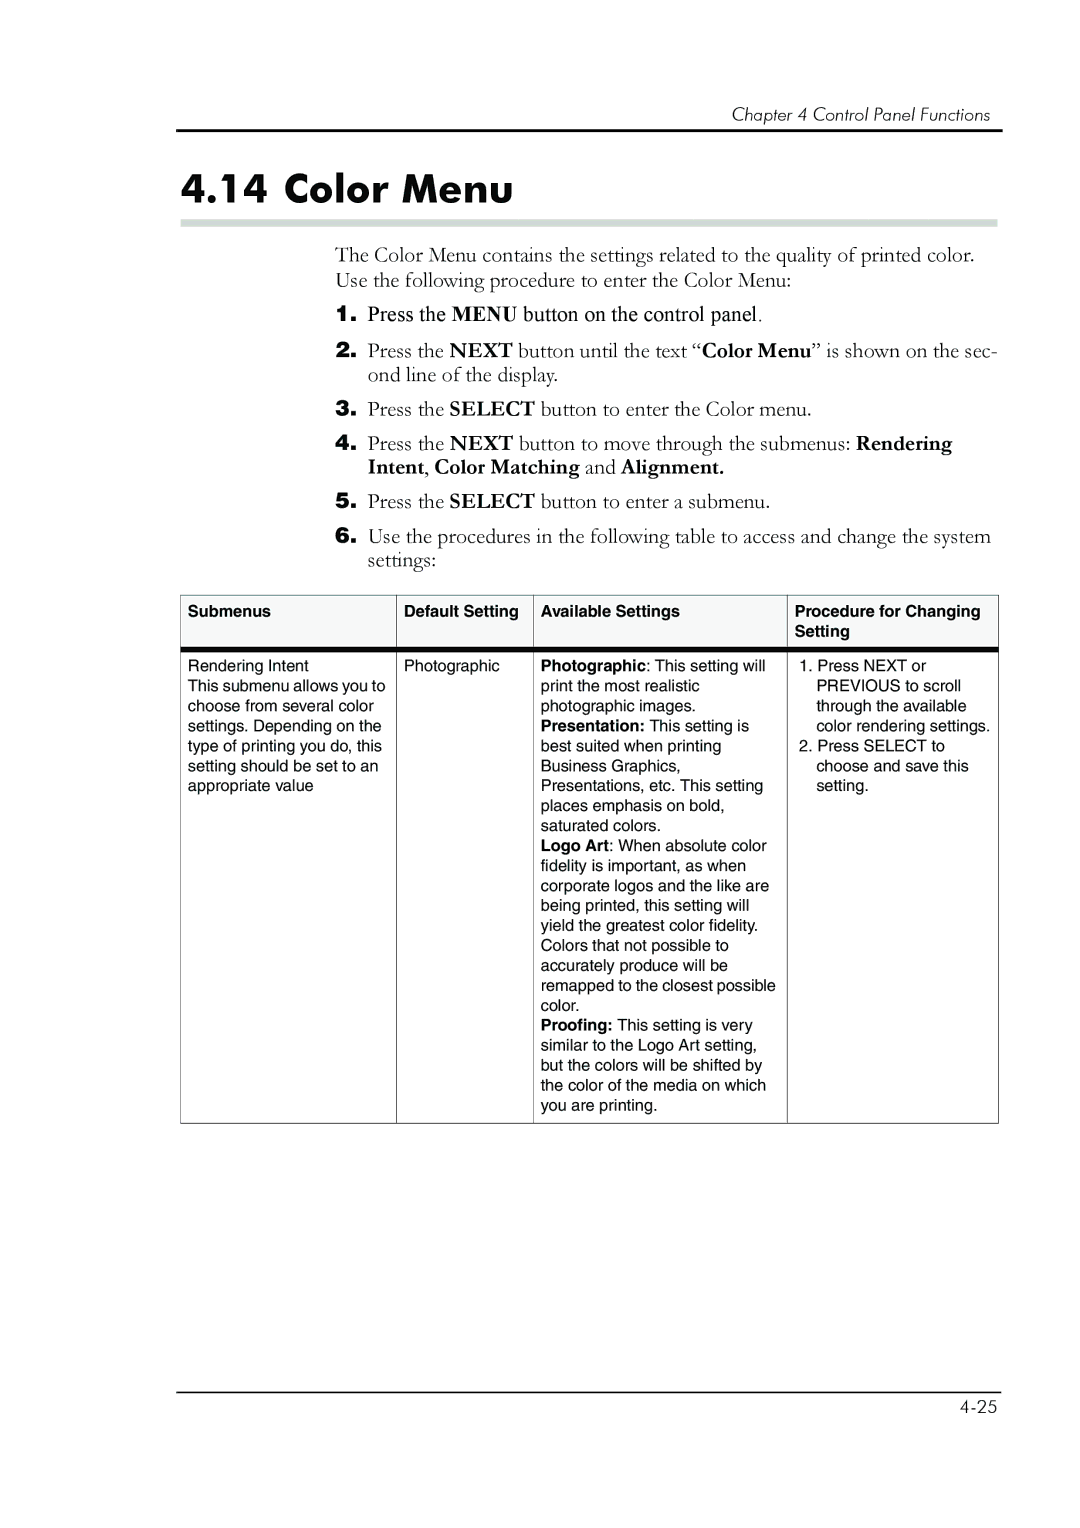
6.Use the procedures in the following table to access and change the system settings:
Submenus | Default Setting | Available Settings | Procedure for Changing |
|
|
| Setting |
|
|
|
|
Rendering Intent | Photographic | Photographic: This setting will | 1. Press NEXT or |
This submenu allows you to |
| print the most realistic | PREVIOUS to scroll |
choose from several color |
| photographic images. | through the available |
settings. Depending on the |
| Presentation: This setting is | color rendering settings. |
type of printing you do, this |
| best suited when printing | 2. Press SELECT to |
setting should be set to an |
| Business Graphics, | choose and save this |
appropriate value |
| Presentations, etc. This setting | setting. |
|
| places emphasis on bold, |
|
|
| saturated colors. |
|
|
| Logo Art: When absolute color |
|
|
| fidelity is important, as when |
|
|
| corporate logos and the like are |
|
|
| being printed, this setting will |
|
|
| yield the greatest color fidelity. |
|
|
| Colors that not possible to |
|
|
| accurately produce will be |
|
|
| remapped to the closest possible |
|
|
| color. |
|
|
| Proofing: This setting is very |
|
|
| similar to the Logo Art setting, |
|
|
| but the colors will be shifted by |
|
|
| the color of the media on which |
|
|
| you are printing. |
|
|
|
|
|
