Specifying Directory Users or Groups that can use the Print Queue
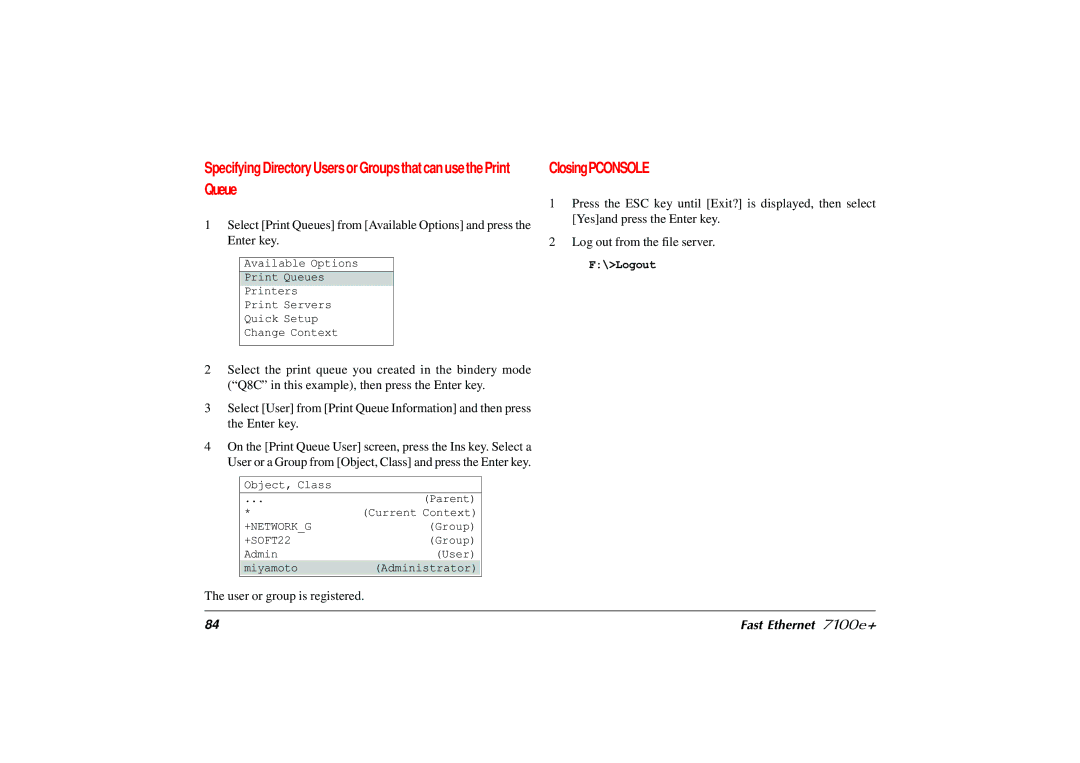
1Select [Print Queues] from [Available Options] and press the Enter key.
Available Options
Print Queues
Printers
Print Servers
Quick Setup
Change Context
2Select the print queue you created in the bindery mode (“Q8C” in this example), then press the Enter key.
3Select [User] from [Print Queue Information] and then press the Enter key.
4On the [Print Queue User] screen, press the Ins key. Select a User or a Group from [Object, Class] and press the Enter key.
Object, Class |
|
|
|
|
|
... | (Parent) |
|
* | (Current Context) |
|
+NETWORK_G | (Group) |
|
+SOFT22 | (Group) |
|
Admin | (User) |
|
miyamoto | (Administrator) |
|
|
|
|
The user or group is registered.
ClosingPCONSOLE
1Press the ESC key until [Exit?] is displayed, then select [Yes]and press the Enter key.
2Log out from the file server.
F:\>Logout
84 | Fast Ethernet 7100e+ |
