Allocating Print Queue to Printer
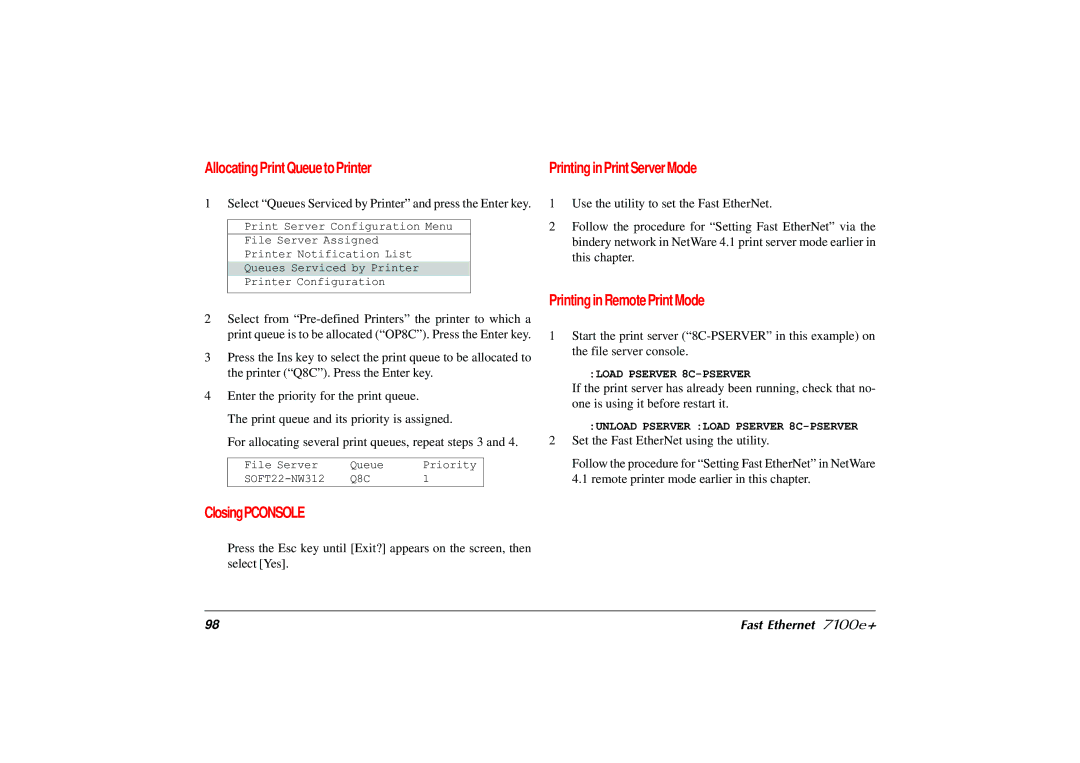
1 Select “Queues Serviced by Printer” and press the Enter key.
Print Server Configuration Menu
File Server Assigned
Printer Notification List
Queues Serviced by Printer
Printer Configuration
2Select from
3Press the Ins key to select the print queue to be allocated to the printer (“Q8C”). Press the Enter key.
4Enter the priority for the print queue.
The print queue and its priority is assigned.
For allocating several print queues, repeat steps 3 and 4.
File Server | Queue | Priority |
Q8C | 1 |
ClosingPCONSOLE
Press the Esc key until [Exit?] appears on the screen, then select [Yes].
Printing in Print Server Mode
1Use the utility to set the Fast EtherNet.
2Follow the procedure for “Setting Fast EtherNet” via the bindery network in NetWare 4.1 print server mode earlier in this chapter.
Printing in Remote Print Mode
1Start the print server
:LOAD PSERVER
If the print server has already been running, check that no- one is using it before restart it.
:UNLOAD PSERVER :LOAD PSERVER
2Set the Fast EtherNet using the utility.
Follow the procedure for “Setting Fast EtherNet” in NetWare 4.1 remote printer mode earlier in this chapter.
98 | Fast Ethernet 7100e+ |
