The green LED indicates that the docking station is connected to a power supply.
The yellow LED (steady) indicates that the monitor has been properly placed into the docking station.
The yellow LED (flashing) indicates data transfer (upload/download) is in process.
Note: Use only the AC adapter supplied by MediSense. Use of any other adapter might cause serious damage to the docking station and to the Precision PCx Monitor while it is in the docking station.
Connecting Cables to the Docking Station
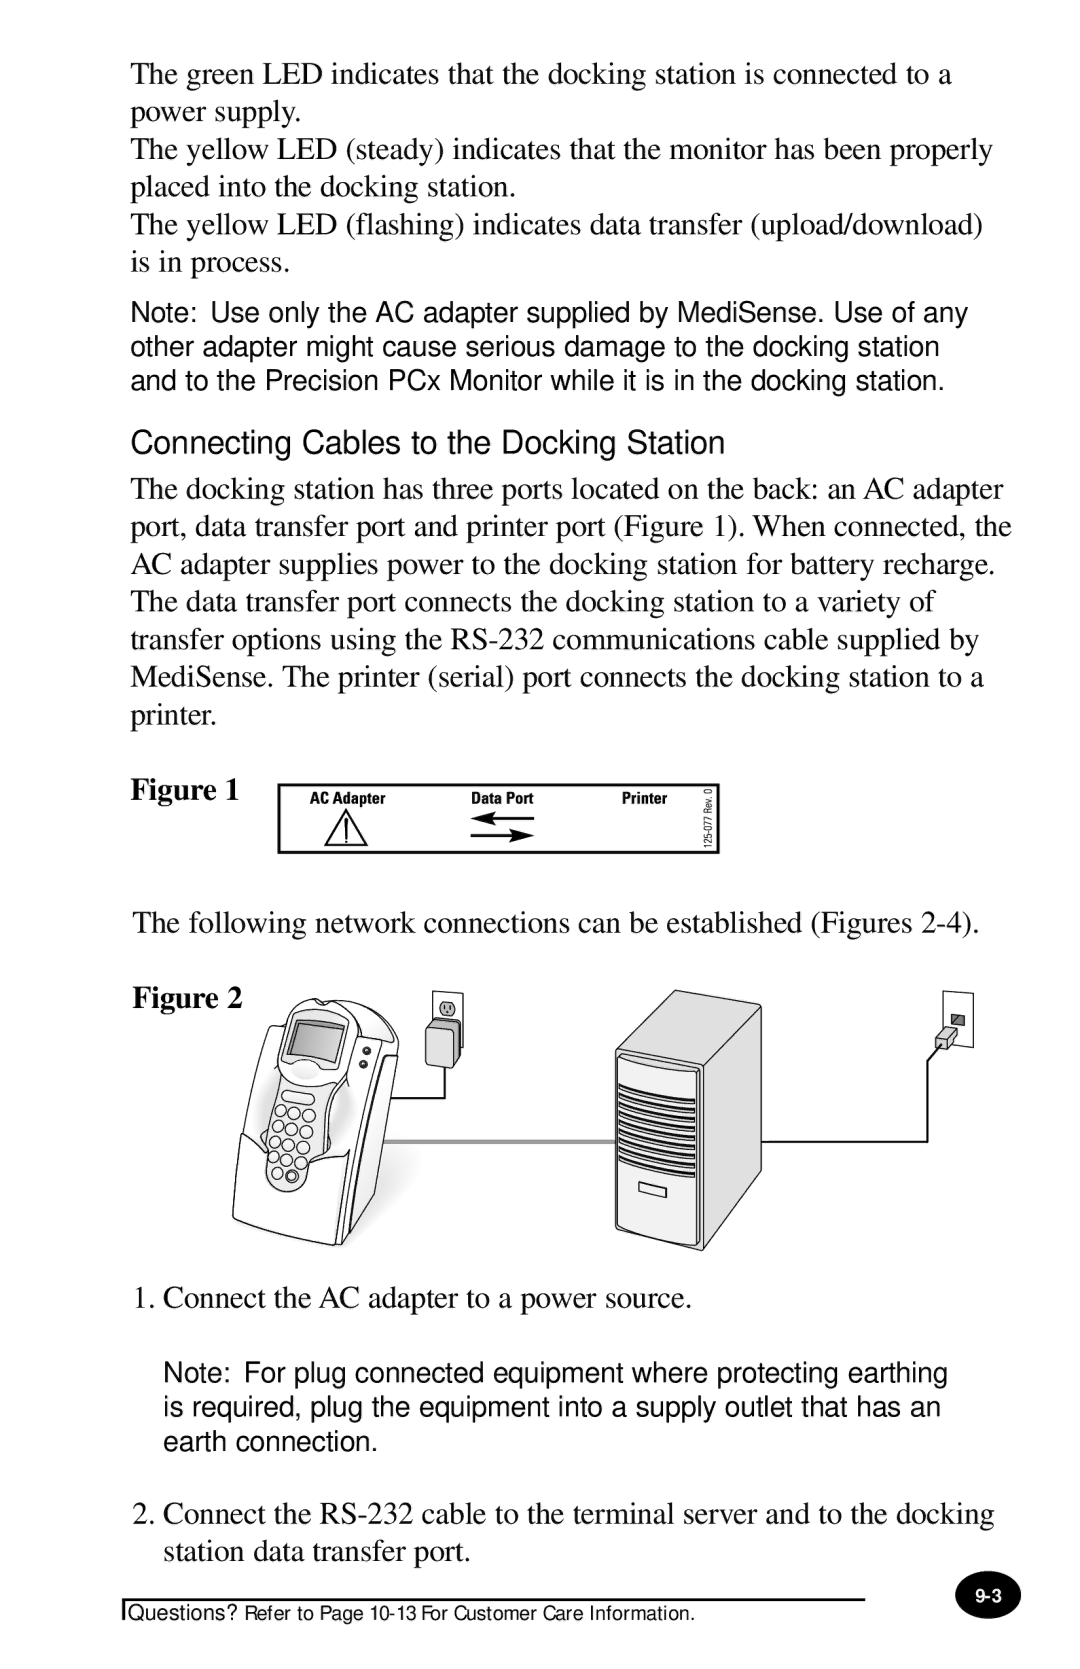
The docking station has three ports located on the back: an AC adapter port, data transfer port and printer port (Figure 1). When connected, the AC adapter supplies power to the docking station for battery recharge.
The data transfer port connects the docking station to a variety of transfer options using the
Figure 1
The following network connections can be established (Figures
Figure 2
1.Connect the AC adapter to a power source.
Note: For plug connected equipment where protecting earthing is required, plug the equipment into a supply outlet that has an earth connection.
2.Connect the
Questions? Refer to Page