6.Install the board in the slot.
7.Pivot the support bracket cover back into place and secure the pins in the bracket ends (see Figure
8.Replace the access cover.
!Insert the cover tabs into the slots in the chassis frame.
!Press the cover to secure it. Replace the screw (see Figure
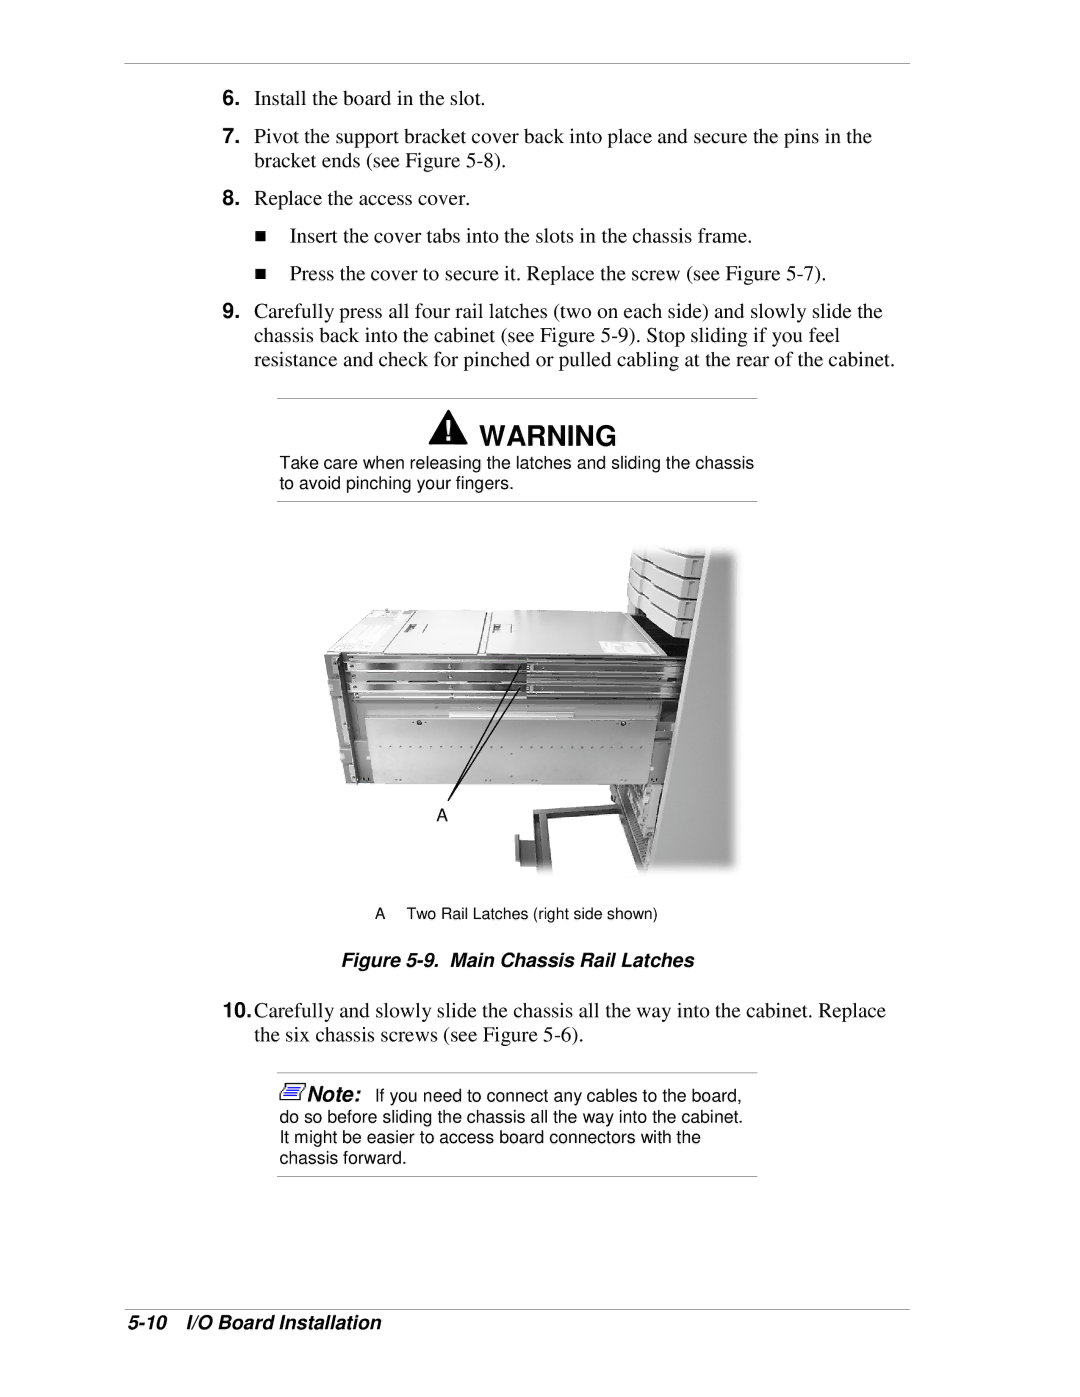
9.Carefully press all four rail latches (two on each side) and slowly slide the chassis back into the cabinet (see Figure
!WARNING
Take care when releasing the latches and sliding the chassis to avoid pinching your fingers.
A
A Two Rail Latches (right side shown)
Figure 5-9. Main Chassis Rail Latches
10.Carefully and slowly slide the chassis all the way into the cabinet. Replace the six chassis screws (see Figure
![]() Note: If you need to connect any cables to the board, do so before sliding the chassis all the way into the cabinet. It might be easier to access board connectors with the chassis forward.
Note: If you need to connect any cables to the board, do so before sliding the chassis all the way into the cabinet. It might be easier to access board connectors with the chassis forward.