Relative A/V Delay Testing
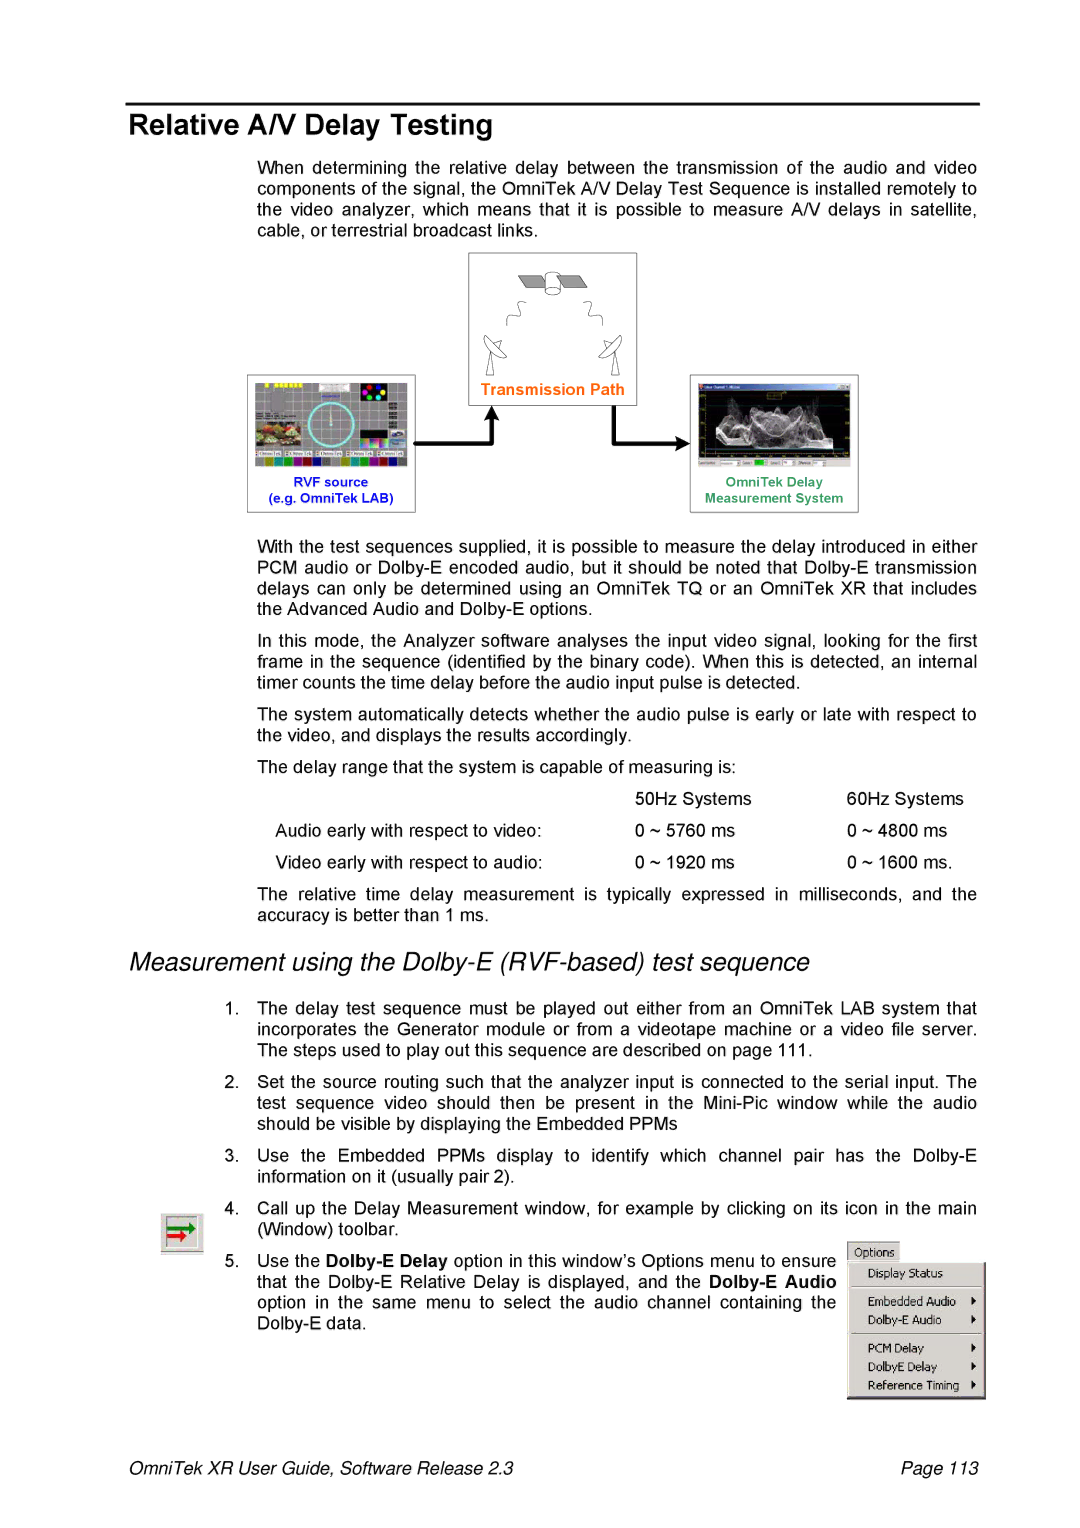
When determining the relative delay between the transmission of the audio and video components of the signal, the OmniTek A/V Delay Test Sequence is installed remotely to the video analyzer, which means that it is possible to measure A/V delays in satellite, cable, or terrestrial broadcast links.
Transmission Path |
RVF source
(e.g. OmniTek LAB)
OmniTek Delay
Measurement System
With the test sequences supplied, it is possible to measure the delay introduced in either PCM audio or
In this mode, the Analyzer software analyses the input video signal, looking for the first frame in the sequence (identified by the binary code). When this is detected, an internal timer counts the time delay before the audio input pulse is detected.
The system automatically detects whether the audio pulse is early or late with respect to the video, and displays the results accordingly.
The delay range that the system is capable of measuring is:
| 50Hz Systems | 60Hz Systems | |
Audio early with respect to video: | 0 ~ 5760 ms | 0 | ~ 4800 ms |
Video early with respect to audio: | 0 ~ 1920 ms | 0 | ~ 1600 ms. |
The relative time delay measurement is typically expressed in milliseconds, and the accuracy is better than 1 ms.
Measurement using the Dolby-E (RVF-based) test sequence
1.The delay test sequence must be played out either from an OmniTek LAB system that incorporates the Generator module or from a videotape machine or a video file server. The steps used to play out this sequence are described on page 111.
2.Set the source routing such that the analyzer input is connected to the serial input. The test sequence video should then be present in the
3.Use the Embedded PPMs display to identify which channel pair has the
4.Call up the Delay Measurement window, for example by clicking on its icon in the main (Window) toolbar.
5.Use the
OmniTek XR User Guide, Software Release 2.3 | Page 113 |
