Display Mode
OmniTek XR offers two display modes referred to as ‘Normal’ mode and ‘Full Screen’ mode.
In Normal mode, the screen follows standard Windows conventions, offering multiple windows, dialogues and toolbars. In this mode, there will be a menu bar at the top, with some toolbars underneath. Below that is a large area where various windows may be opened. At the bottom of the screen, there is a status bar.
In Full Screen mode, you see a
Full Screen mode offers control over major functions and keyboard presets can be defined to give additional functionality, but complete control is only available in Normal mode. However, unless the system has been locked in Full Screen mode, you can readily toggle between Normal mode and Full Screen mode simply by pressing ESCape.
After installation, OmniTek XR defaults to running in Full Screen mode. If you don’t want to start in Full Screen mode, you can change the default setting by selecting Configuration… from the Full Screen menu and clearing the tick box marked Startup in
Note: Settings made within dialogues typically only take effect when OK or Apply is clicked and moreover can be abandoned either by clicking Cancel or by clicking on the dialogue’s Close box (except where the settings have been applied). However, OmniTek XR also includes a range of ‘control windows’ in which settings are made that take immediate effect. The only way of abandoning settings made in these windows is by reversing the changes made, though in some cases the window includes the option to revert to default settings.
Video Setup
The next thing to do is to set the video standard you will be working in. This can either be selected from a drop down list, or it can be selected automatically by the system with a high degree of accuracy by analysing the serial input signal that has been connected.
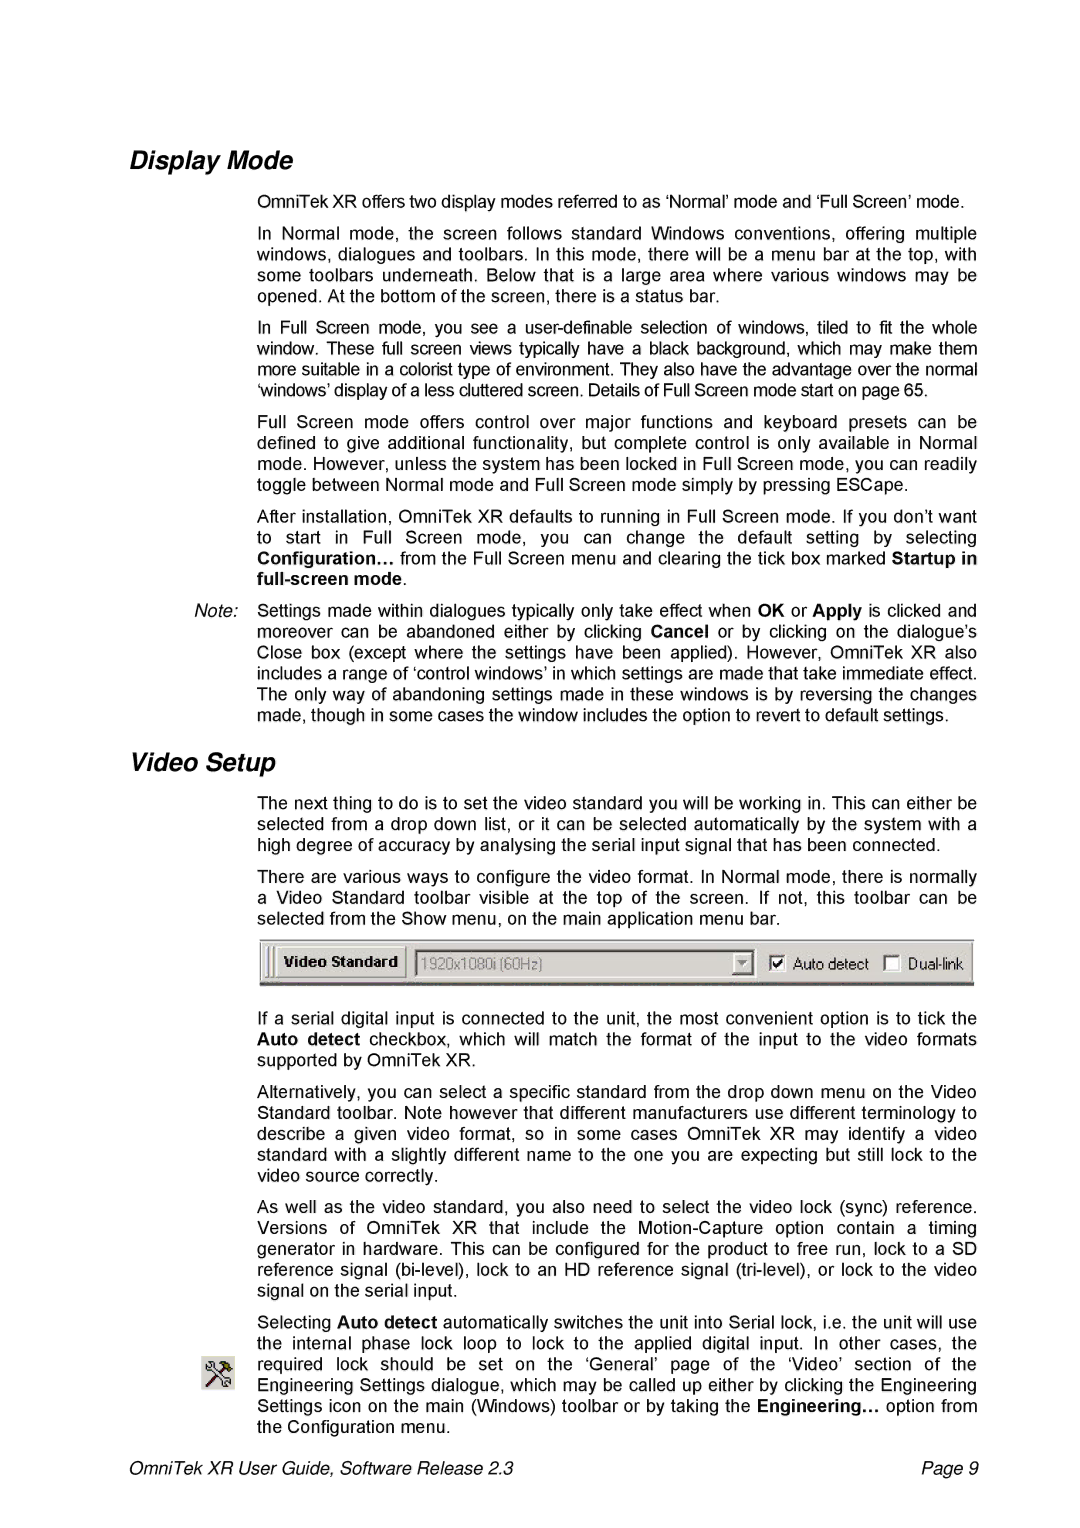
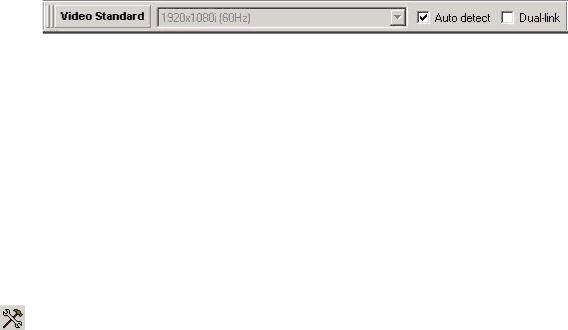
There are various ways to configure the video format. In Normal mode, there is normally a Video Standard toolbar visible at the top of the screen. If not, this toolbar can be selected from the Show menu, on the main application menu bar.
If a serial digital input is connected to the unit, the most convenient option is to tick the Auto detect checkbox, which will match the format of the input to the video formats supported by OmniTek XR.
Alternatively, you can select a specific standard from the drop down menu on the Video Standard toolbar. Note however that different manufacturers use different terminology to describe a given video format, so in some cases OmniTek XR may identify a video standard with a slightly different name to the one you are expecting but still lock to the video source correctly.
As well as the video standard, you also need to select the video lock (sync) reference. Versions of OmniTek XR that include the
Selecting Auto detect automatically switches the unit into Serial lock, i.e. the unit will use the internal phase lock loop to lock to the applied digital input. In other cases, the required lock should be set on the ‘General’ page of the ‘Video’ section of the Engineering Settings dialogue, which may be called up either by clicking the Engineering Settings icon on the main (Windows) toolbar or by taking the Engineering… option from the Configuration menu.
OmniTek XR User Guide, Software Release 2.3 | Page 9 |