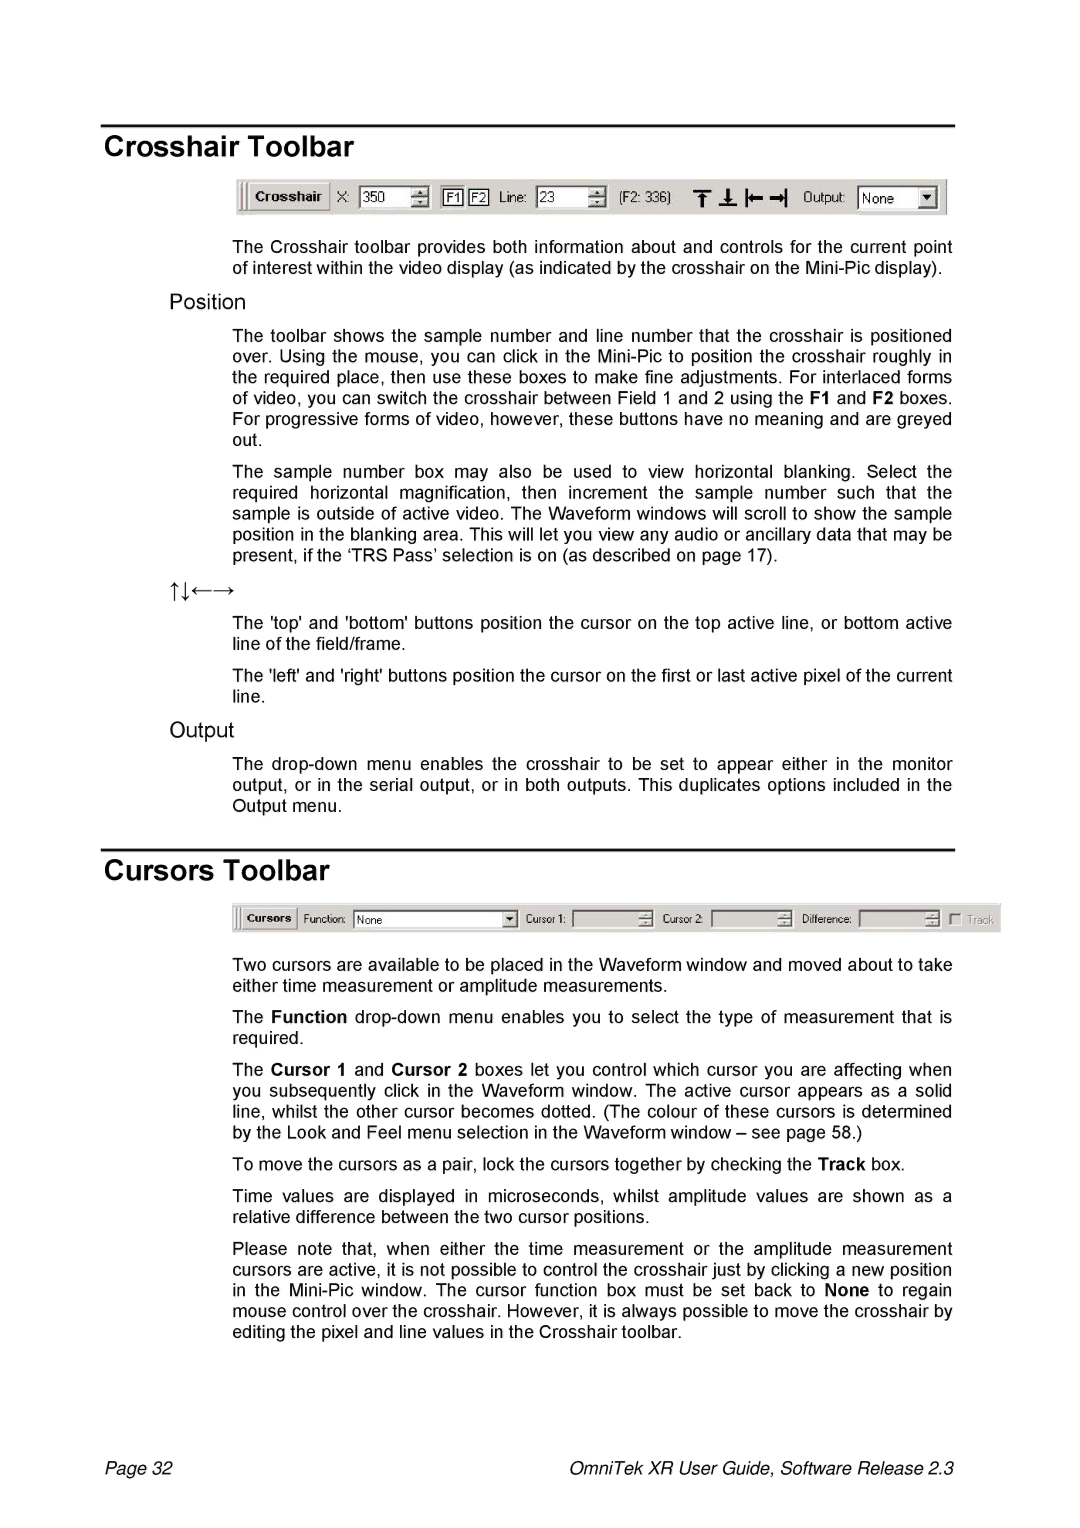
Crosshair Toolbar
The Crosshair toolbar provides both information about and controls for the current point of interest within the video display (as indicated by the crosshair on the
Position
The toolbar shows the sample number and line number that the crosshair is positioned over. Using the mouse, you can click in the
The sample number box may also be used to view horizontal blanking. Select the required horizontal magnification, then increment the sample number such that the sample is outside of active video. The Waveform windows will scroll to show the sample position in the blanking area. This will let you view any audio or ancillary data that may be present, if the ‘TRS Pass’ selection is on (as described on page 17).
↑↓←→
The 'top' and 'bottom' buttons position the cursor on the top active line, or bottom active line of the field/frame.
The 'left' and 'right' buttons position the cursor on the first or last active pixel of the current line.
Output
The
Cursors Toolbar
Two cursors are available to be placed in the Waveform window and moved about to take either time measurement or amplitude measurements.
The Function
The Cursor 1 and Cursor 2 boxes let you control which cursor you are affecting when you subsequently click in the Waveform window. The active cursor appears as a solid line, whilst the other cursor becomes dotted. (The colour of these cursors is determined by the Look and Feel menu selection in the Waveform window – see page 58.)
To move the cursors as a pair, lock the cursors together by checking the Track box.
Time values are displayed in microseconds, whilst amplitude values are shown as a relative difference between the two cursor positions.
Please note that, when either the time measurement or the amplitude measurement cursors are active, it is not possible to control the crosshair just by clicking a new position in the
Page 32 | OmniTek XR User Guide, Software Release 2.3 |