The principal effect of ticking this option is to control the action of the Auto Detect circuit. Ticking
Ticking
Note: Ticking
Window Toolbar
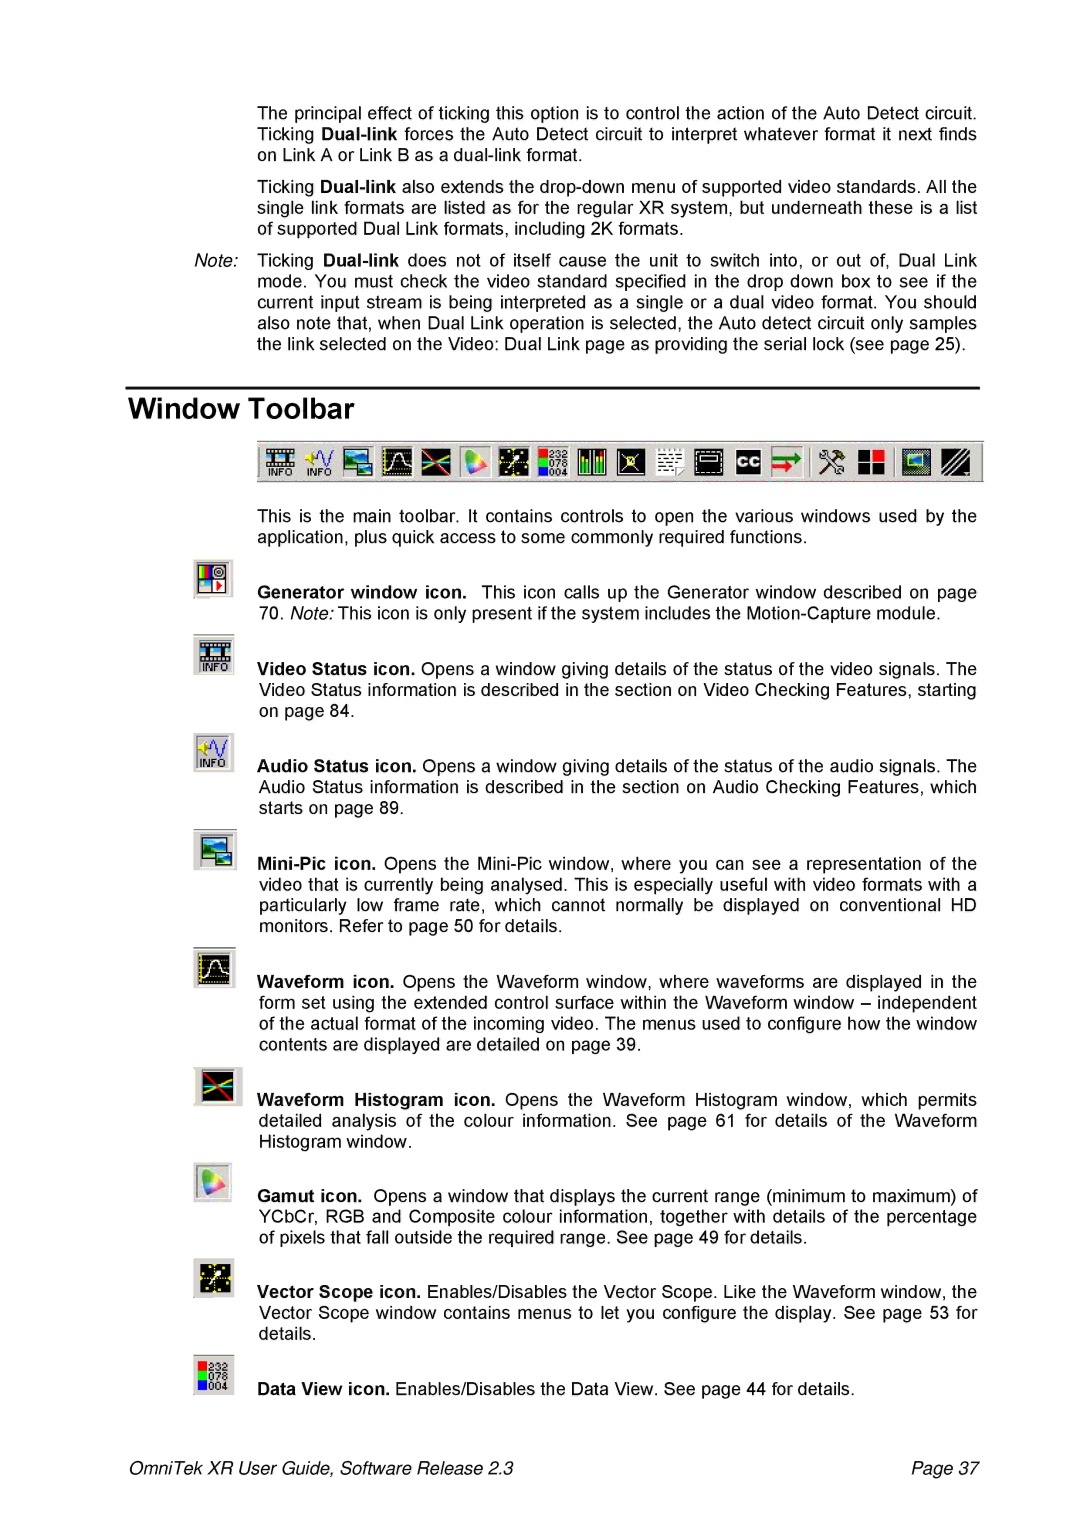
This is the main toolbar. It contains controls to open the various windows used by the application, plus quick access to some commonly required functions.
Generator window icon. This icon calls up the Generator window described on page 70. Note: This icon is only present if the system includes the
Video Status icon. Opens a window giving details of the status of the video signals. The Video Status information is described in the section on Video Checking Features, starting on page 84.
Audio Status icon. Opens a window giving details of the status of the audio signals. The Audio Status information is described in the section on Audio Checking Features, which starts on page 89.
Waveform icon. Opens the Waveform window, where waveforms are displayed in the form set using the extended control surface within the Waveform window – independent of the actual format of the incoming video. The menus used to configure how the window contents are displayed are detailed on page 39.
Waveform Histogram icon. Opens the Waveform Histogram window, which permits detailed analysis of the colour information. See page 61 for details of the Waveform Histogram window.
Gamut icon. Opens a window that displays the current range (minimum to maximum) of YCbCr, RGB and Composite colour information, together with details of the percentage of pixels that fall outside the required range. See page 49 for details.
Vector Scope icon. Enables/Disables the Vector Scope. Like the Waveform window, the Vector Scope window contains menus to let you configure the display. See page 53 for details.
Data View icon. Enables/Disables the Data View. See page 44 for details.
OmniTek XR User Guide, Software Release 2.3 | Page 37 |