● Press and hold down both the | and the |
●
●
●
Turn on the printer.
After a few seconds. release the buttons.
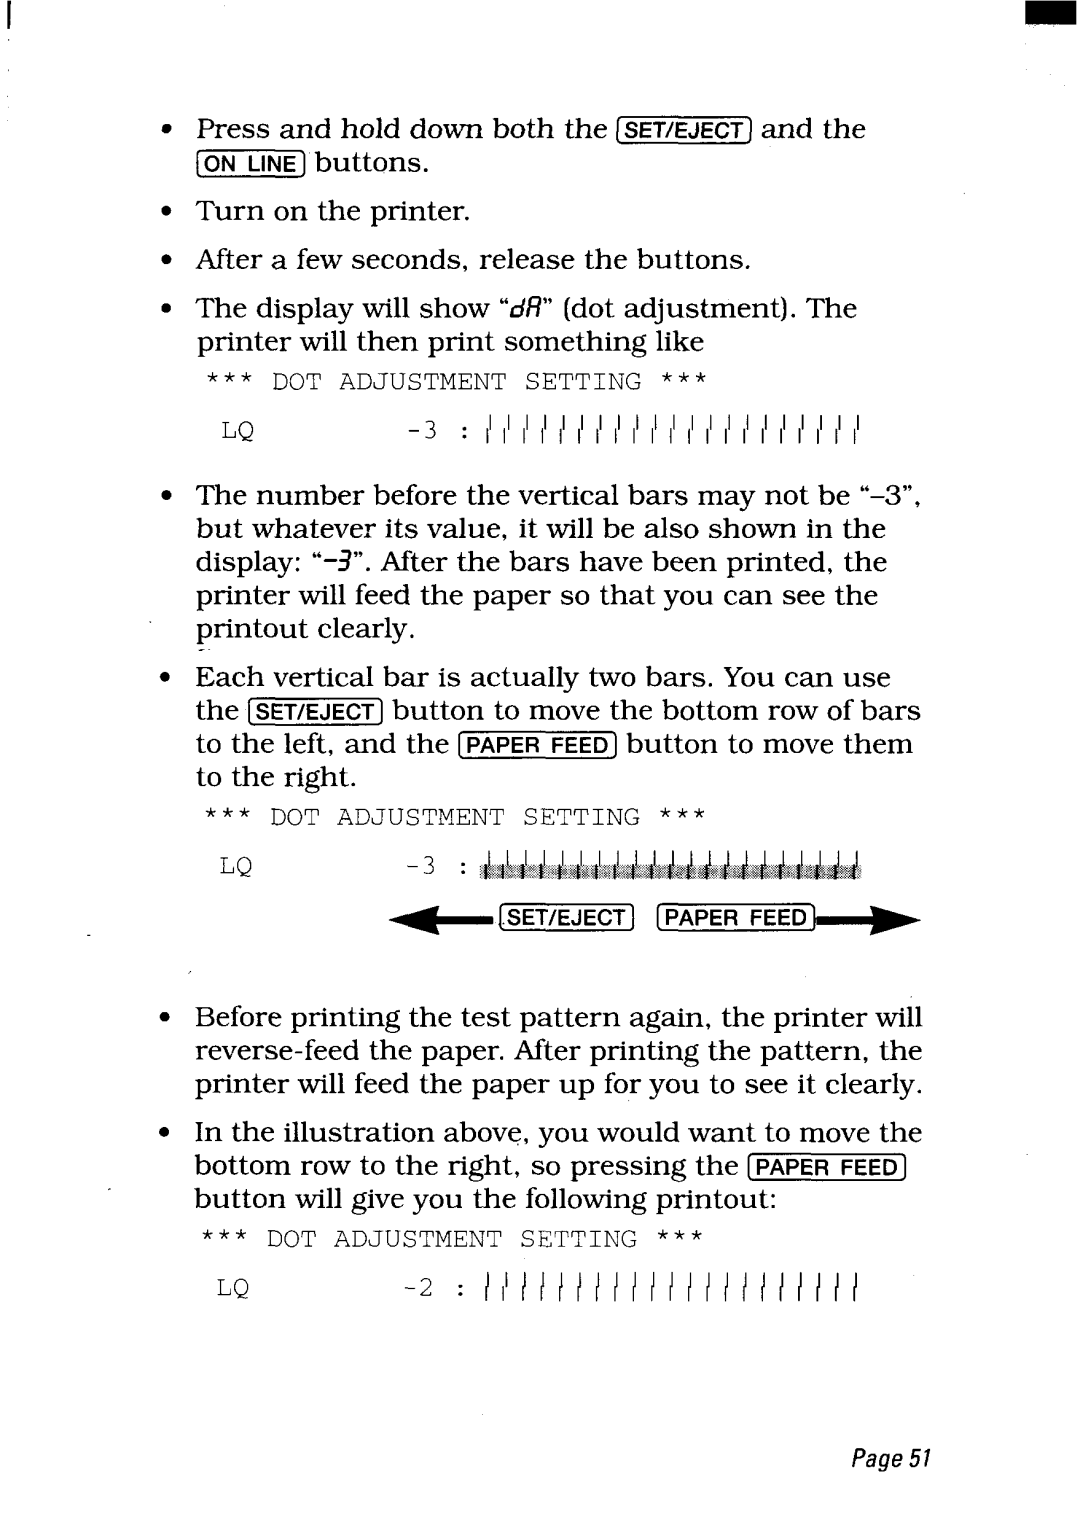
The display will show “d/?”(dot adjustment). The printer will then print something like
* * * DOT ADJUSTMENT SETTING * * *
LQ | : 1’1’1’1’1’1 1’1’1’1’1’1’1’1’1’1’1’1’1’1’1’ |
●
●
The number before the vertical bars may not be
display: “ After the bars have been printed, the printer will feed the paper so that you can see the
printout clearly.
.
Each vertical bar is actually two bars. You can use
the [ | button to move the bottom row of bars | |
to the left, and the | button to move them | |
to the right. |
| |
* * * | DOT ADJUSTMENT | SETTING * * * |
LQ |
~@ET/EJEcTl [PAPER FEED
●Before printing the test pattern again, the printer will
●In the illustration above, you would want to move the bottom row to the right, so pressing the
button will give you the following printout:
** * DOT ADJUSTMENT SETTING * * *
LQ |
