FM-3 Programming Module Reference Manual
An external device such as a Human Machine Interface (HMI) or PLC can be used to monitor or edit individual
In order to view or modify a parameter, a Modbus address must be assigned to the specific parameter. To do this, locate the parameter you wish to read/write to or from in the variables list in the middle of the view. Once you have found the proper parameter, click and hold the left mouse button over the parameter. While still holding the button on your mouse, drag the parameter into the Modbus window area on the right of the view. Now let go of the mouse button.
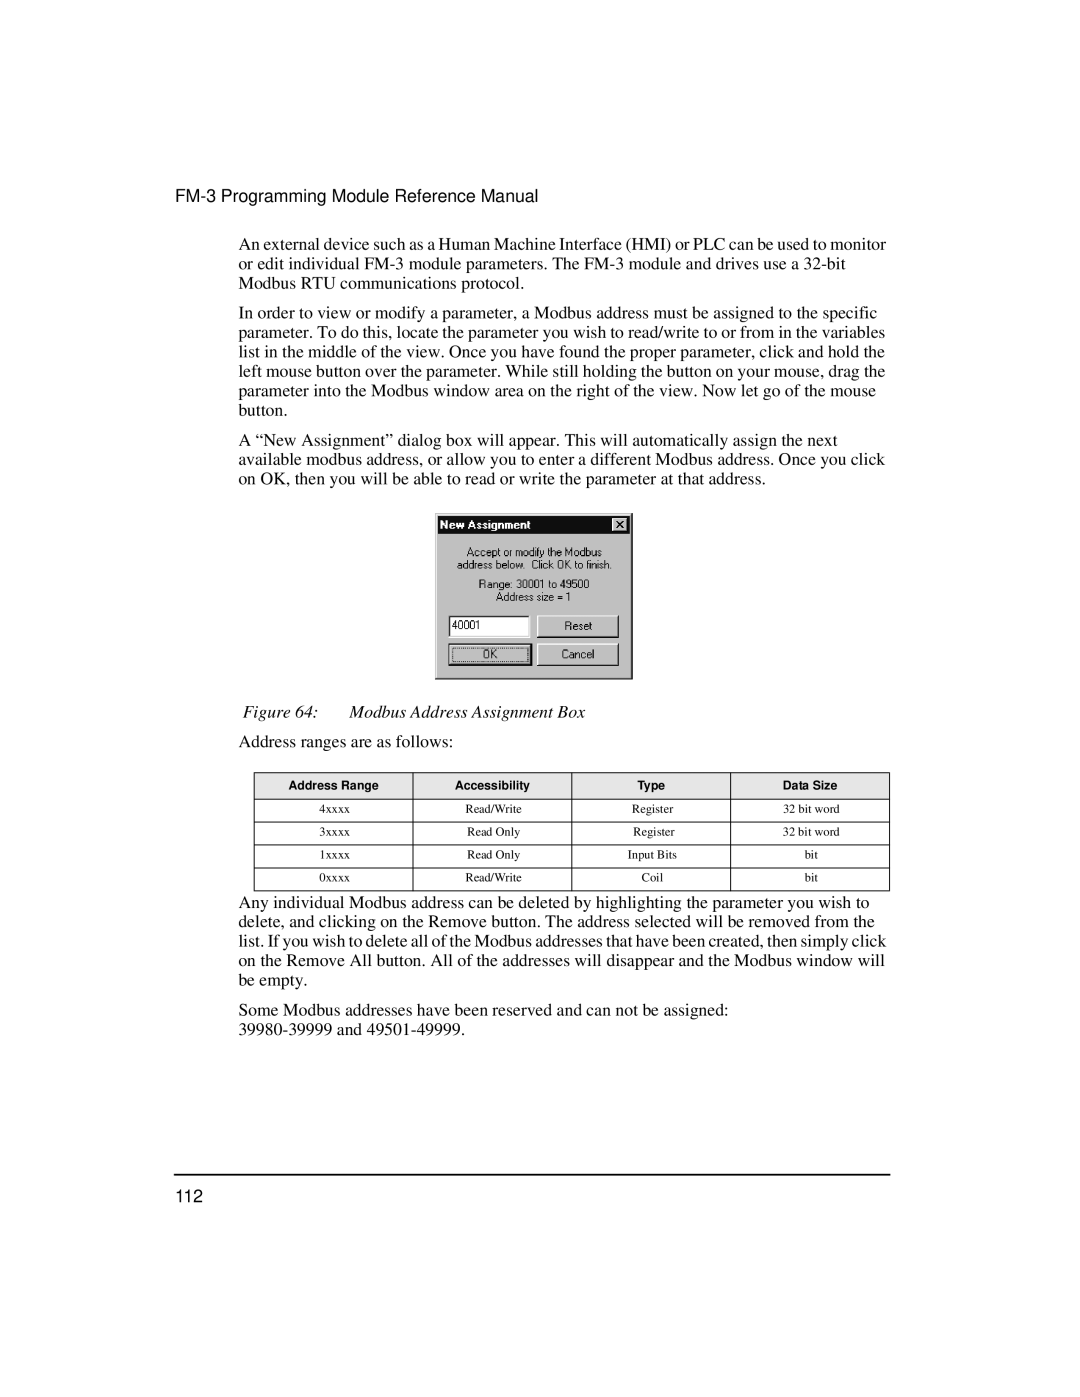
A “New Assignment” dialog box will appear. This will automatically assign the next available modbus address, or allow you to enter a different Modbus address. Once you click on OK, then you will be able to read or write the parameter at that address.
Figure 64: | Modbus Address Assignment Box |
|
| ||||
Address ranges are as follows: |
|
|
|
| |||
|
|
|
|
|
|
| |
| Address Range |
| Accessibility |
| Type | Data Size | |
|
|
|
|
|
|
|
|
|
| 4xxxx |
| Read/Write |
| Register | 32 bit word |
|
|
|
|
|
|
|
|
|
| 3xxxx |
| Read Only |
| Register | 32 bit word |
|
|
|
|
|
|
|
|
|
| 1xxxx |
| Read Only |
| Input Bits | bit |
|
|
|
|
|
|
|
|
|
| 0xxxx |
| Read/Write |
| Coil | bit |
|
|
|
|
|
|
|
|
Any individual Modbus address can be deleted by highlighting the parameter you wish to delete, and clicking on the Remove button. The address selected will be removed from the list. If you wish to delete all of the Modbus addresses that have been created, then simply click on the Remove All button. All of the addresses will disappear and the Modbus window will be empty.
Some Modbus addresses have been reserved and can not be assigned: