4.Select Folder from the Destination Type
![]() NOTE: Based on the option selected, the options on the Workflow Form dialog box change. This procedure applies to the Folder option. See the following sections for instructions for creating a workflow form for an FTP site or a printer.
NOTE: Based on the option selected, the options on the Workflow Form dialog box change. This procedure applies to the Folder option. See the following sections for instructions for creating a workflow form for an FTP site or a printer.
5.Select the Network Type from the
6.In the Authentication Settings section, click to select the Use credentials of user to connect after Sign In at the control panel option to have DSS use the credentials of the user that is logged into the device. Or click to select the Always use these credentials option and then type in the Windows Domain, Username, and Password. Click Verify Access to test the credentials.
7.Select a setting from the Image Presets
8.Under Scan Settings and File Settings, select the settings for the scanned file. These should be the settings that the
9.From the Meta Data File Settings section, select the file type for the metadata file from the File Format
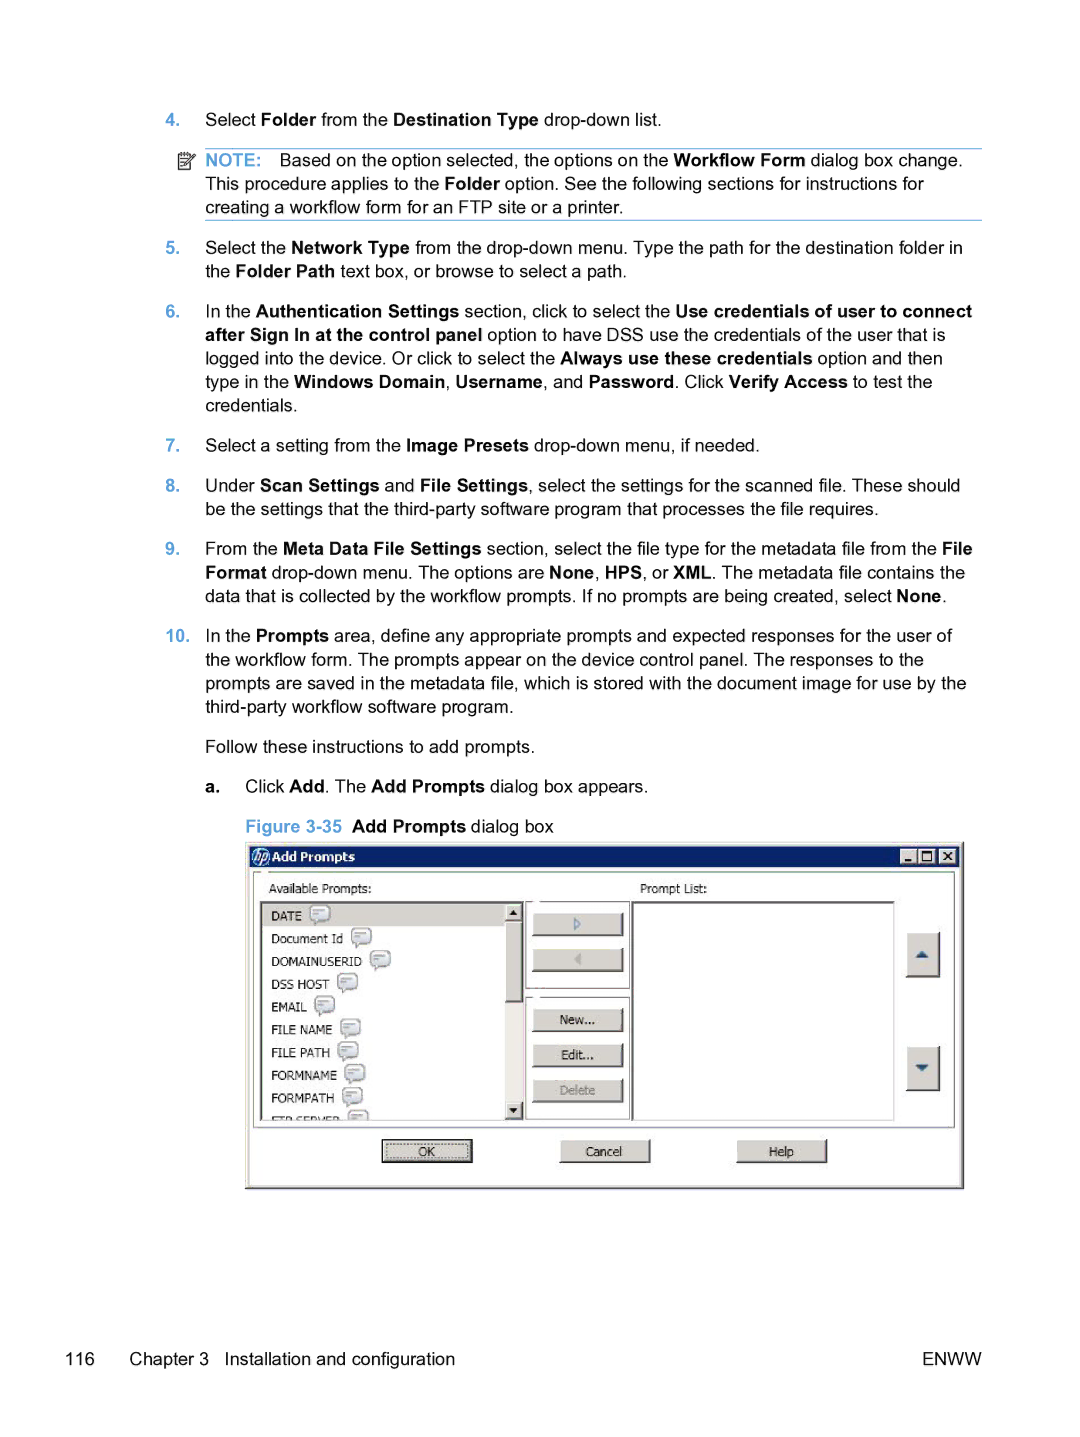
10.In the Prompts area, define any appropriate prompts and expected responses for the user of the workflow form. The prompts appear on the device control panel. The responses to the prompts are saved in the metadata file, which is stored with the document image for use by the
Follow these instructions to add prompts.
a.Click Add. The Add Prompts dialog box appears. Figure
116 | Chapter 3 Installation and configuration | ENWW |