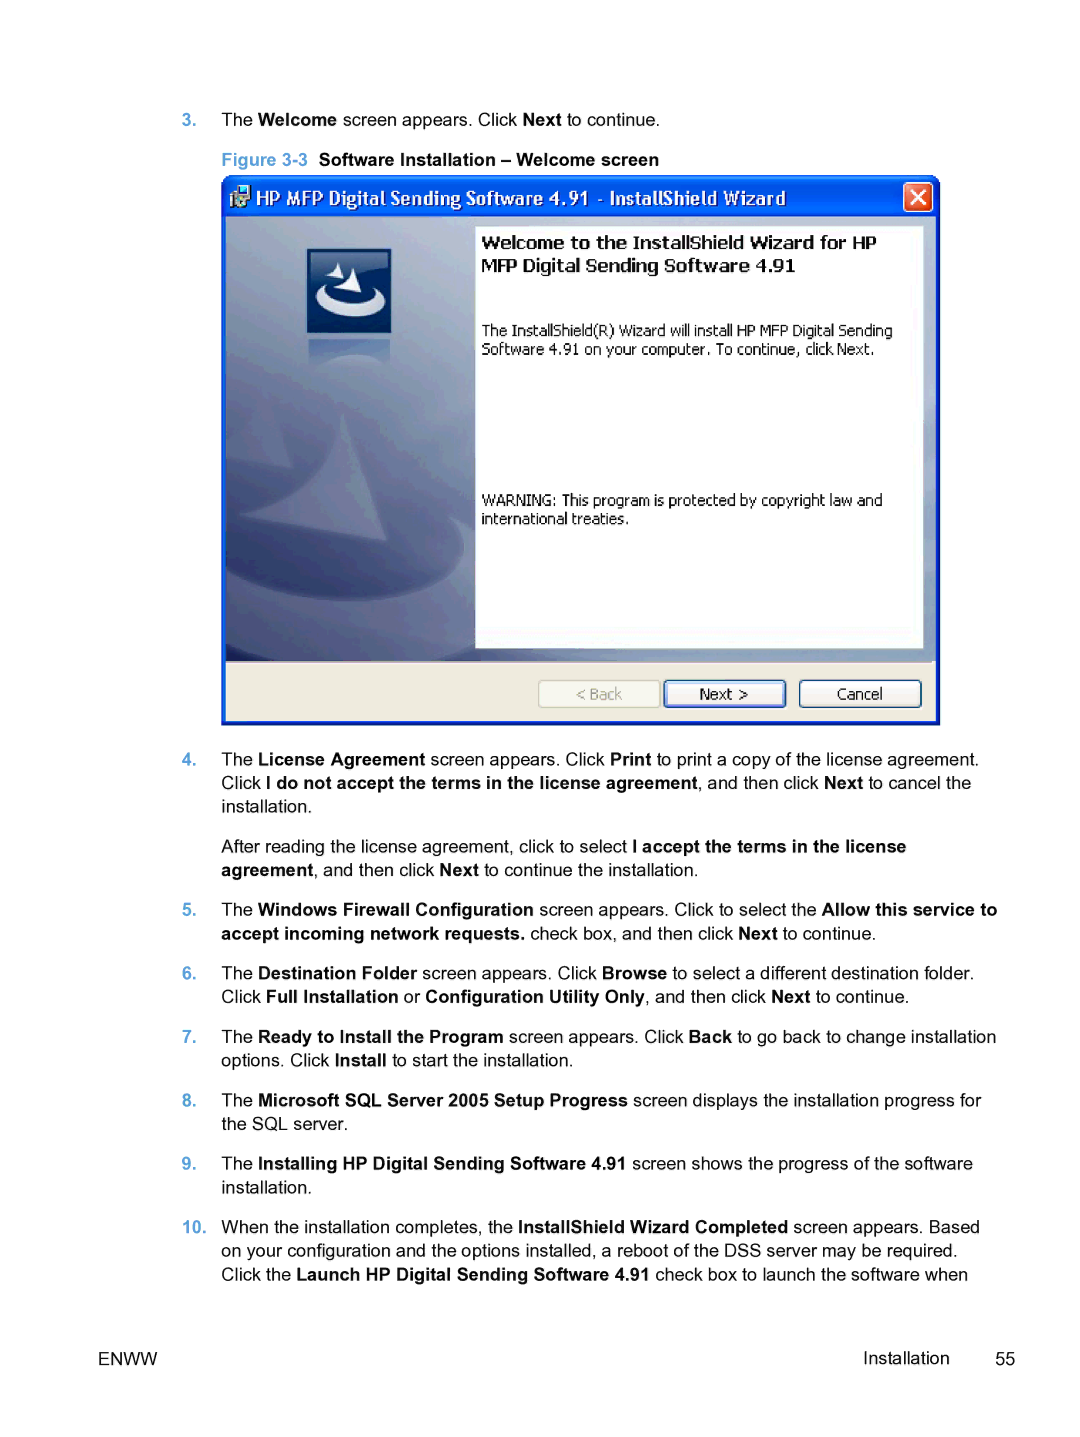
3.The Welcome screen appears. Click Next to continue.
Figure 3-3 Software Installation – Welcome screen
4.The License Agreement screen appears. Click Print to print a copy of the license agreement. Click I do not accept the terms in the license agreement, and then click Next to cancel the installation.
After reading the license agreement, click to select I accept the terms in the license agreement, and then click Next to continue the installation.
5.The Windows Firewall Configuration screen appears. Click to select the Allow this service to accept incoming network requests. check box, and then click Next to continue.
6.The Destination Folder screen appears. Click Browse to select a different destination folder. Click Full Installation or Configuration Utility Only, and then click Next to continue.
7.The Ready to Install the Program screen appears. Click Back to go back to change installation options. Click Install to start the installation.
8.The Microsoft SQL Server 2005 Setup Progress screen displays the installation progress for the SQL server.
9.The Installing HP Digital Sending Software 4.91 screen shows the progress of the software installation.
10.When the installation completes, the InstallShield Wizard Completed screen appears. Based on your configuration and the options installed, a reboot of the DSS server may be required. Click the Launch HP Digital Sending Software 4.91 check box to launch the software when
ENWW | Installation | 55 |