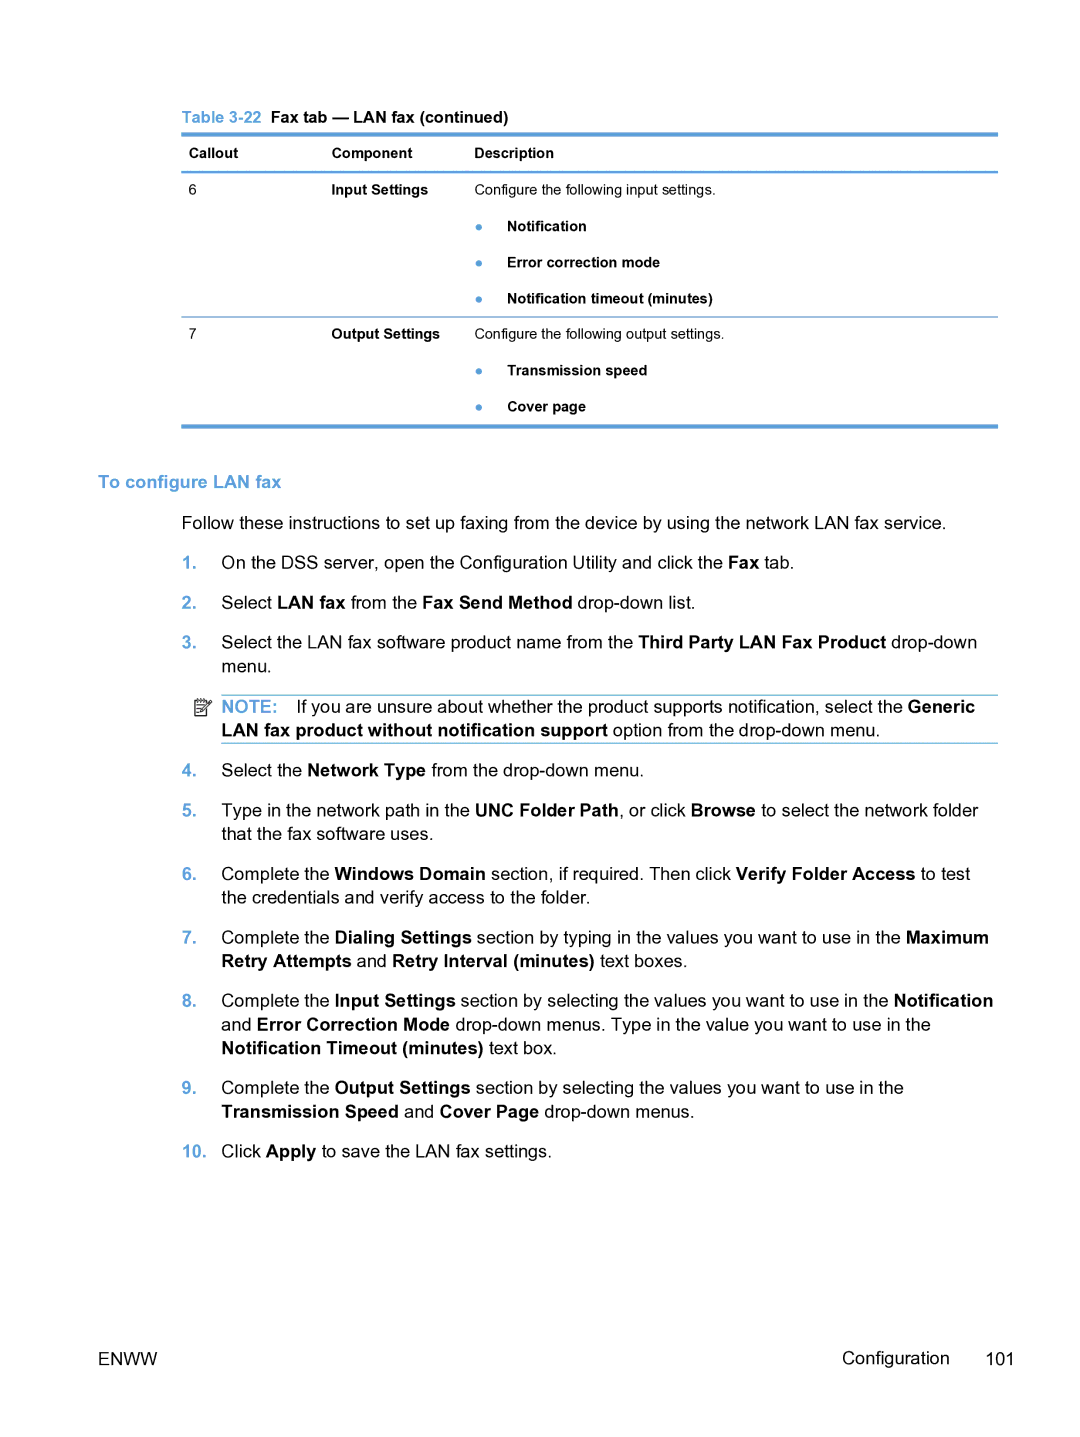
Table 3-22 Fax tab — LAN fax (continued)
Callout | Component | Description | |
|
|
| |
6 | Input Settings | Configure the following input settings. | |
|
| ● | Notification |
|
| ● | Error correction mode |
|
| ● | Notification timeout (minutes) |
|
|
| |
7 | Output Settings | Configure the following output settings. | |
|
| ● | Transmission speed |
|
| ● | Cover page |
|
|
|
|
To configure LAN fax
Follow these instructions to set up faxing from the device by using the network LAN fax service.
1.On the DSS server, open the Configuration Utility and click the Fax tab.
2.Select LAN fax from the Fax Send Method
3.Select the LAN fax software product name from the Third Party LAN Fax Product
![]() NOTE: If you are unsure about whether the product supports notification, select the Generic LAN fax product without notification support option from the
NOTE: If you are unsure about whether the product supports notification, select the Generic LAN fax product without notification support option from the
4.Select the Network Type from the
5.Type in the network path in the UNC Folder Path, or click Browse to select the network folder that the fax software uses.
6.Complete the Windows Domain section, if required. Then click Verify Folder Access to test the credentials and verify access to the folder.
7.Complete the Dialing Settings section by typing in the values you want to use in the Maximum Retry Attempts and Retry Interval (minutes) text boxes.
8.Complete the Input Settings section by selecting the values you want to use in the Notification and Error Correction Mode
9.Complete the Output Settings section by selecting the values you want to use in the Transmission Speed and Cover Page
10.Click Apply to save the LAN fax settings.
ENWW | Configuration 101 |
