Fan Array Housing
Removing the Fan Array Housing
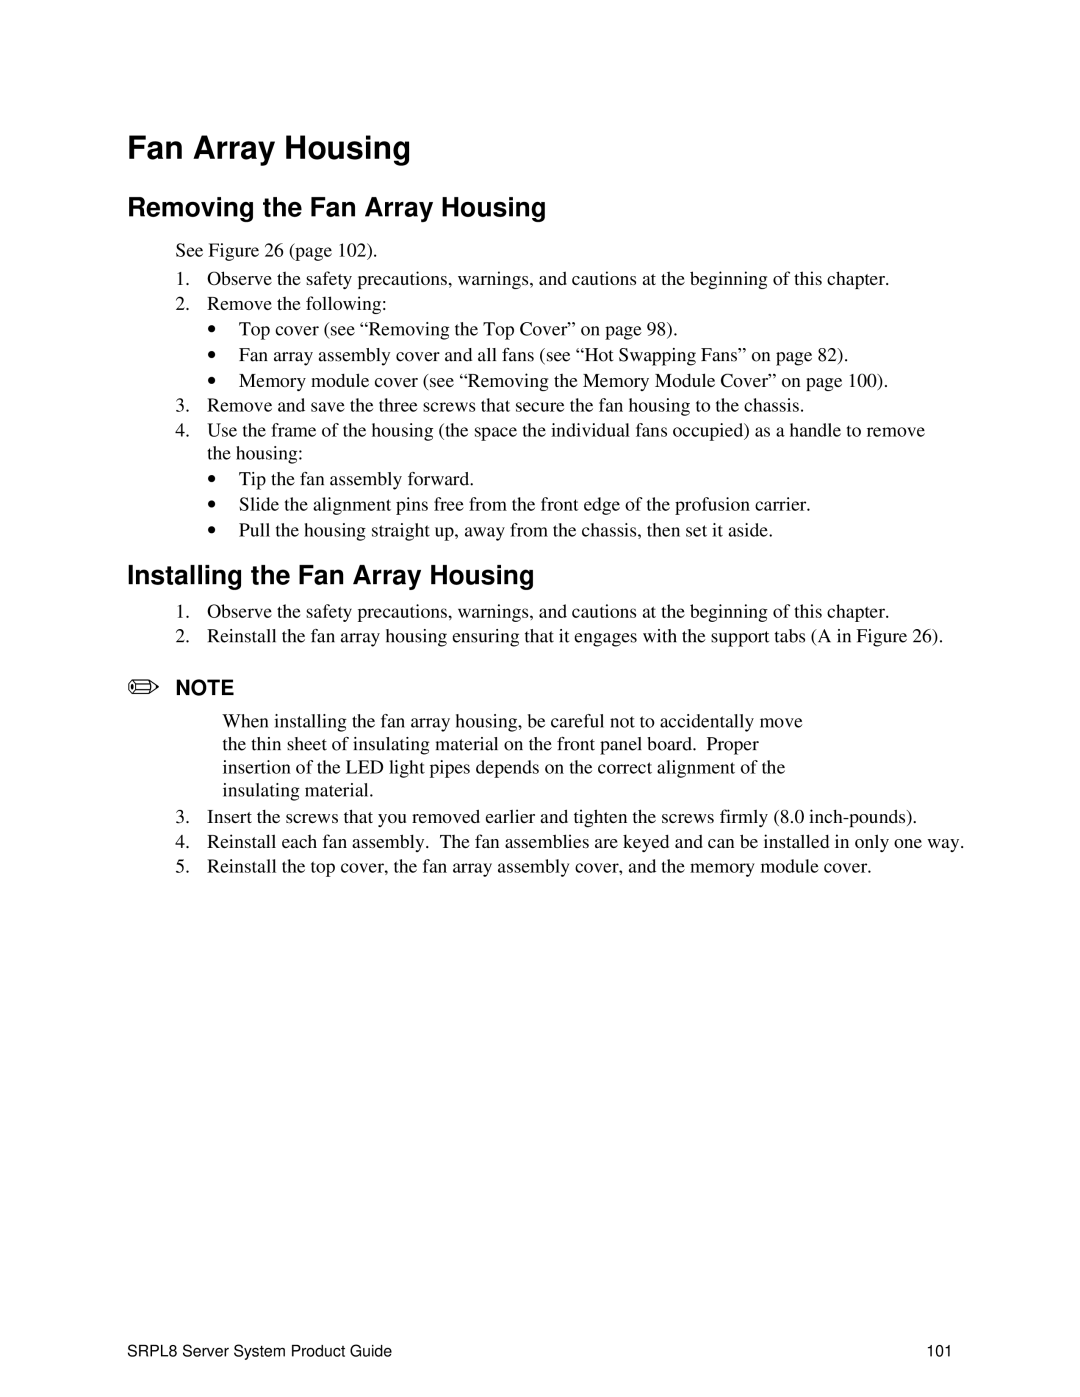
See Figure 26 (page 102).
1.Observe the safety precautions, warnings, and cautions at the beginning of this chapter.
2.Remove the following:
∙Top cover (see “Removing the Top Cover” on page 98).
∙Fan array assembly cover and all fans (see “ Hot Swapping Fans” on page 82).
∙Memory module cover (see “Removing the Memory Module Cover” on page 100).
3.Remove and save the three screws that secure the fan housing to the chassis.
4.Use the frame of the housing (the space the individual fans occupied) as a handle to remove the housing:
∙Tip the fan assembly forward.
∙Slide the alignment pins free from the front edge of the profusion carrier.
∙Pull the housing straight up, away from the chassis, then set it aside.
Installing the Fan Array Housing
1.Observe the safety precautions, warnings, and cautions at the beginning of this chapter.
2.Reinstall the fan array housing ensuring that it engages with the support tabs (A in Figure 26).
✏NOTE
When installing the fan array housing, be careful not to accidentally move the thin sheet of insulating material on the front panel board. Proper insertion of the LED light pipes depends on the correct alignment of the insulating material.
3.Insert the screws that you removed earlier and tighten the screws firmly (8.0
4.Reinstall each fan assembly. The fan assemblies are keyed and can be installed in only one way.
5.Reinstall the top cover, the fan array assembly cover, and the memory module cover.
SRPL8 Server System Product Guide | 101 |