Removing the PHP I/O Carrier
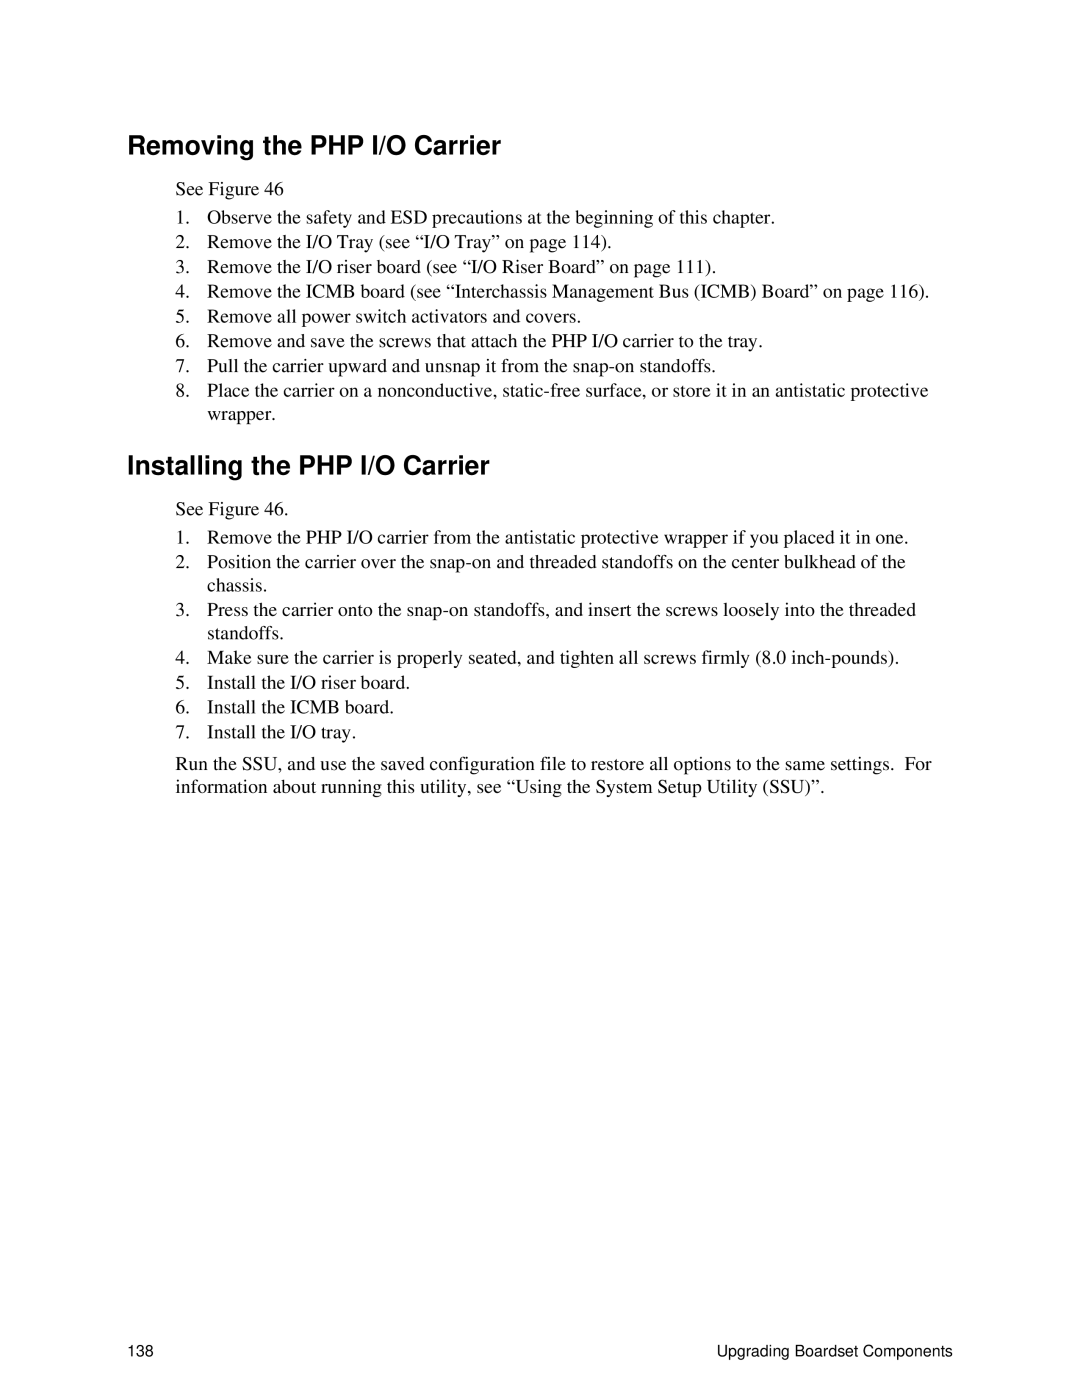
See Figure 46
1.Observe the safety and ESD precautions at the beginning of this chapter.
2.Remove the I/O Tray (see “I/O Tray” on page 114).
3.Remove the I/O riser board (see “I/O Riser Board” on page 111).
4.Remove the ICMB board (see “Interchassis Management Bus (ICMB) Board” on page 116).
5.Remove all power switch activators and covers.
6.Remove and save the screws that attach the PHP I/O carrier to the tray.
7.Pull the carrier upward and unsnap it from the
8.Place the carrier on a nonconductive,
Installing the PHP I/O Carrier
See Figure 46.
1.Remove the PHP I/O carrier from the antistatic protective wrapper if you placed it in one.
2.Position the carrier over the
3.Press the carrier onto the
4.Make sure the carrier is properly seated, and tighten all screws firmly (8.0
5.Install the I/O riser board.
6.Install the ICMB board.
7.Install the I/O tray.
Run the SSU, and use the saved configuration file to restore all options to the same settings. For information about running this utility, see “ Using the System Setup Utility (SSU)” .
138 | Upgrading Boardset Components |