Installing the LCD Module
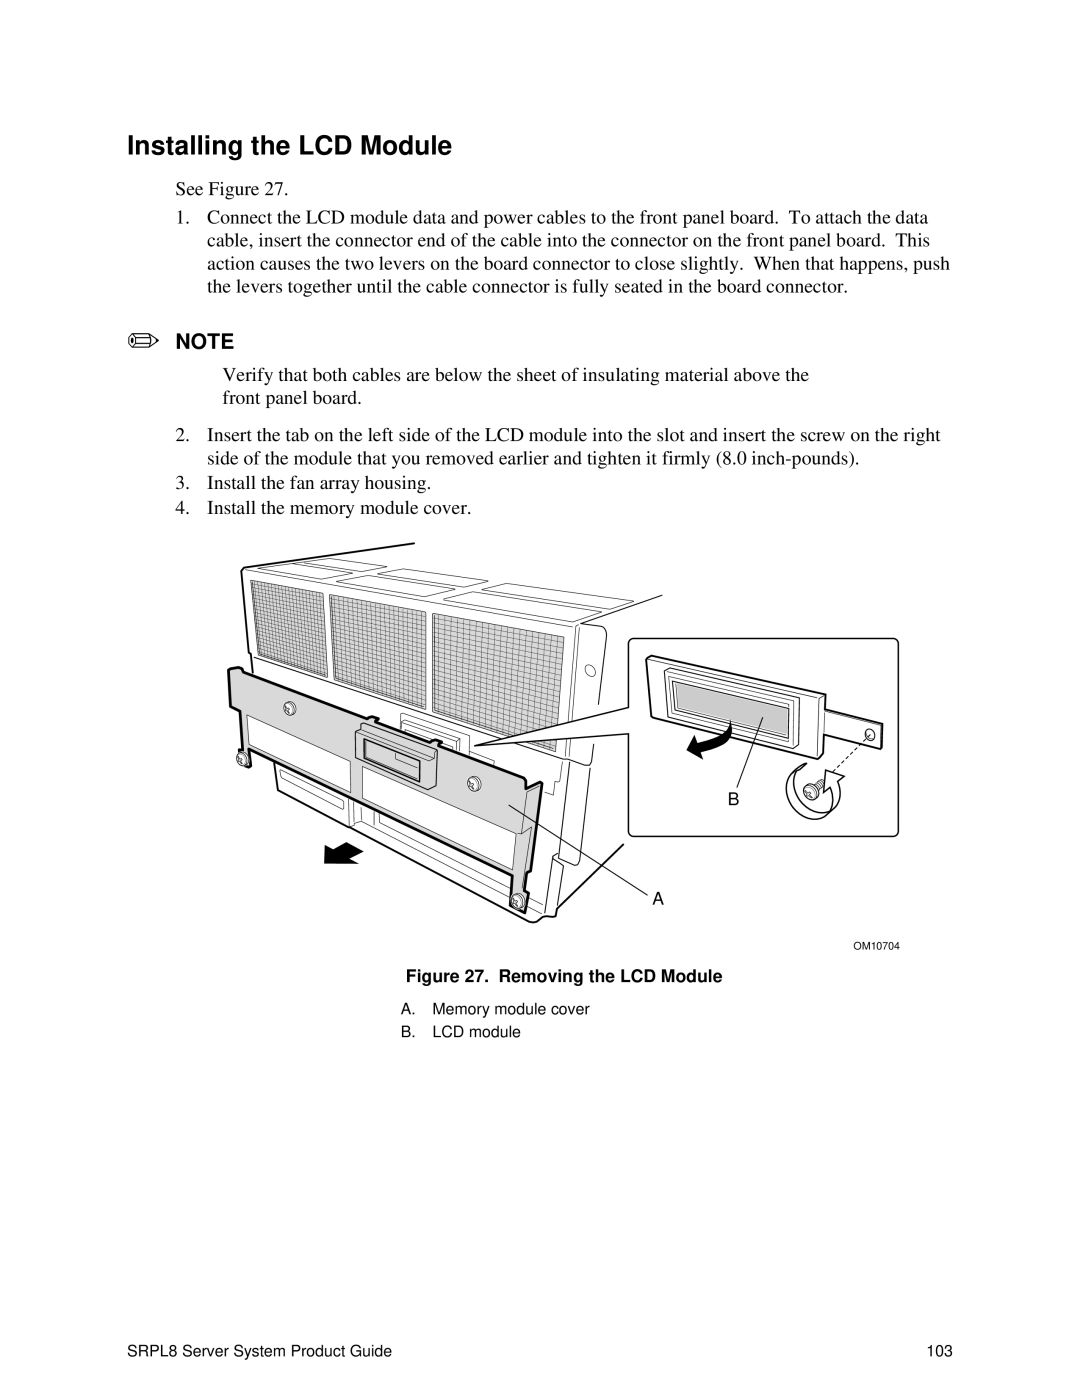
See Figure 27.
1.Connect the LCD module data and power cables to the front panel board. To attach the data cable, insert the connector end of the cable into the connector on the front panel board. This action causes the two levers on the board connector to close slightly. When that happens, push the levers together until the cable connector is fully seated in the board connector.
✏NOTE
Verify that both cables are below the sheet of insulating material above the front panel board.
2.Insert the tab on the left side of the LCD module into the slot and insert the screw on the right side of the module that you removed earlier and tighten it firmly (8.0
3.Install the fan array housing.
4.Install the memory module cover.
B
A
OM10704
Figure 27. Removing the LCD Module
A.Memory module cover
B.LCD module
SRPL8 Server System Product Guide | 103 |
