WARNING: English (US)
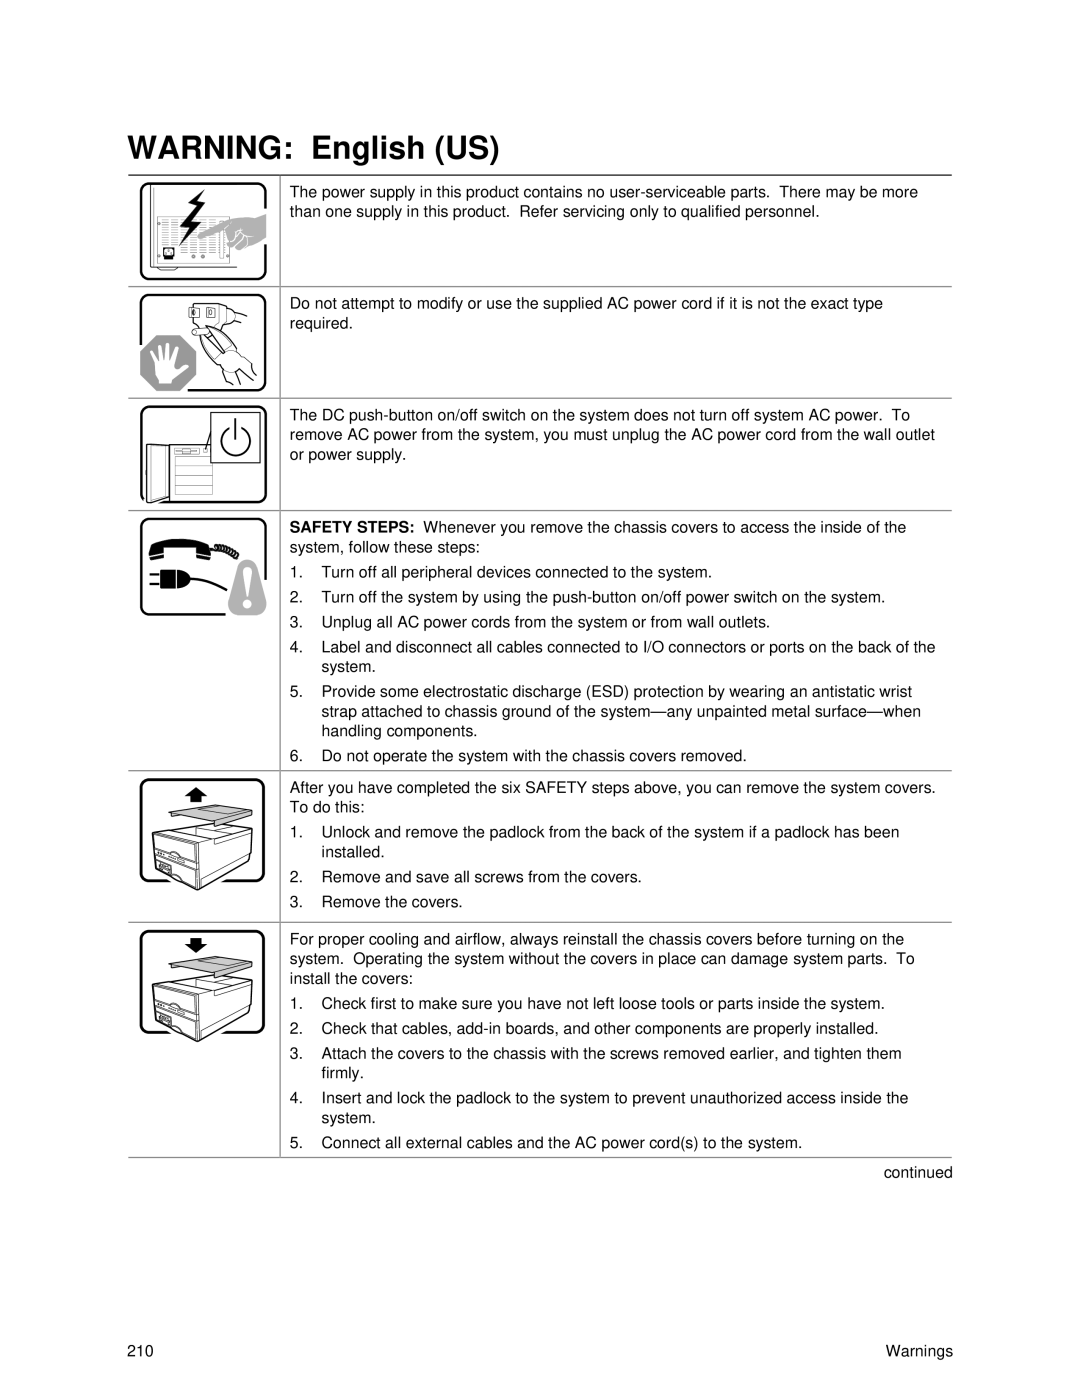
The power supply in this product contains no
Do not attempt to modify or use the supplied AC power cord if it is not the exact type required.
The DC
SAFETY STEPS: Whenever you remove the chassis covers to access the inside of the system, follow these steps:
1. Turn off all peripheral devices connected to the system.
2.Turn off the system by using the
3.Unplug all AC power cords from the system or from wall outlets.
4.Label and disconnect all cables connected to I/O connectors or ports on the back of the system.
5.Provide some electrostatic discharge (ESD) protection by wearing an antistatic wrist strap attached to chassis ground of the
6.Do not operate the system with the chassis covers removed.
After you have completed the six SAFETY steps above, you can remove the system covers. To do this:
1. Unlock and remove the padlock from the back of the system if a padlock has been installed.
2. Remove and save all screws from the covers.
3.Remove the covers.
For proper cooling and airflow, always reinstall the chassis covers before turning on the system. Operating the system without the covers in place can damage system parts. To install the covers:
1. Check first to make sure you have not left loose tools or parts inside the system.
2. Check that cables,
3.Attach the covers to the chassis with the screws removed earlier, and tighten them firmly.
4.Insert and lock the padlock to the system to prevent unauthorized access inside the system.
5.Connect all external cables and the AC power cord(s) to the system.
continued
210 | Warnings |
