Installing the I/O Tray
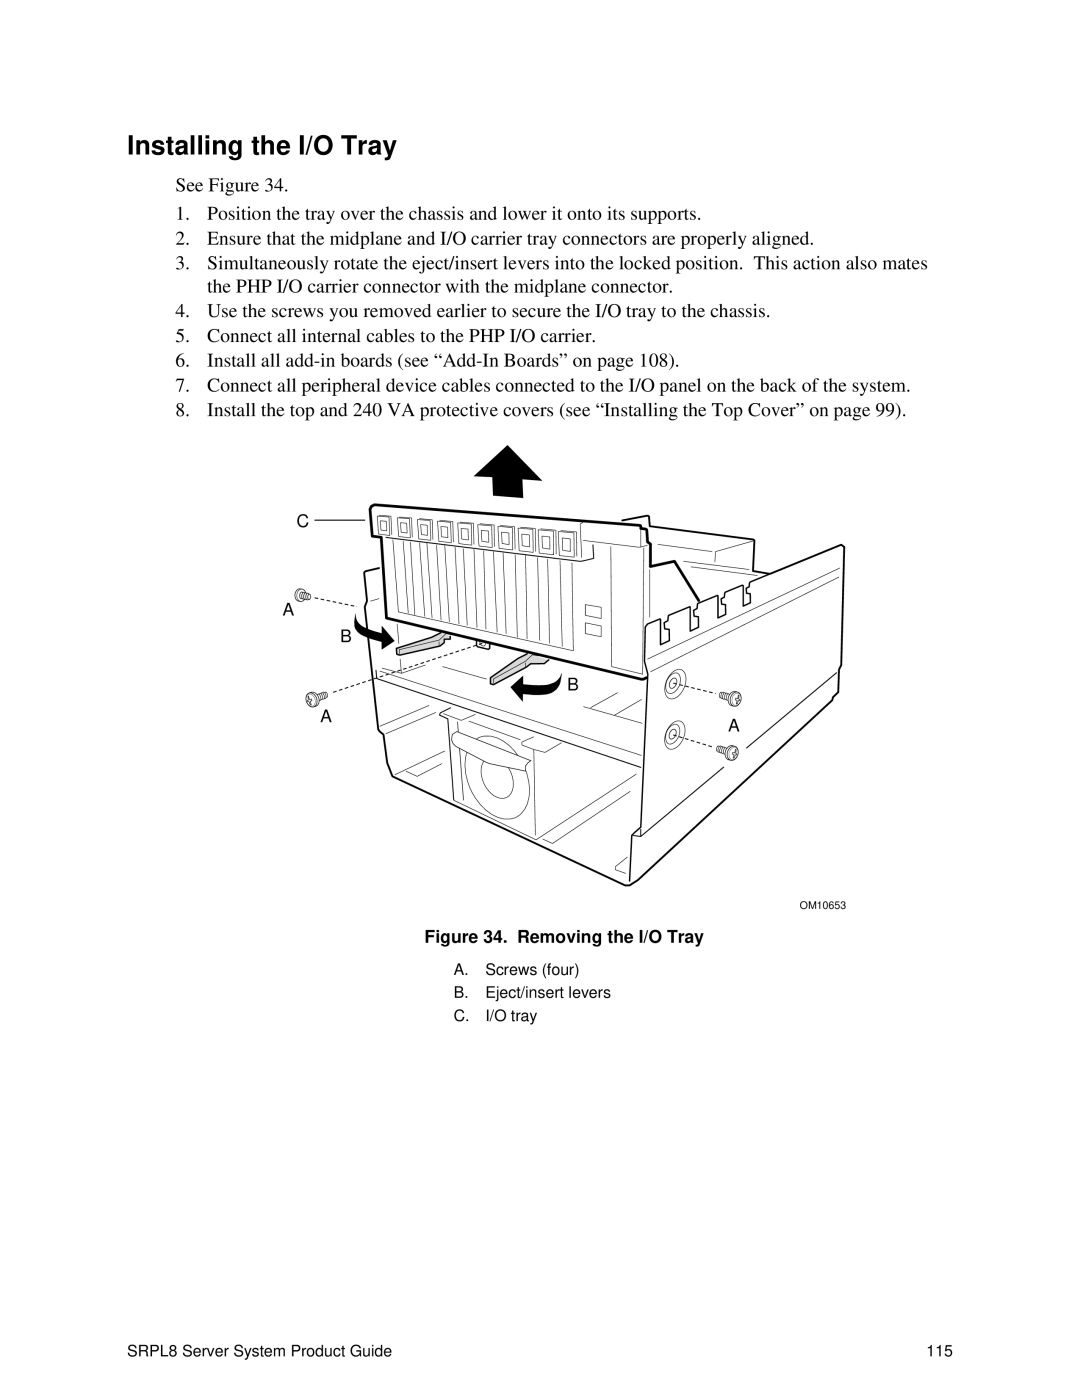
See Figure 34.
1.Position the tray over the chassis and lower it onto its supports.
2.Ensure that the midplane and I/O carrier tray connectors are properly aligned.
3.Simultaneously rotate the eject/insert levers into the locked position. This action also mates the PHP I/O carrier connector with the midplane connector.
4.Use the screws you removed earlier to secure the I/O tray to the chassis.
5.Connect all internal cables to the PHP I/O carrier.
6.Install all
7.Connect all peripheral device cables connected to the I/O panel on the back of the system.
8.Install the top and 240 VA protective covers (see “Installing the Top Cover” on page 99).
C
A
B ![]()
![]()
![]() B
B
A ![]()
![]()
![]()
![]() A
A
OM10653
Figure 34. Removing the I/O Tray
A.Screws (four)
B.Eject/insert levers
C.I/O tray
SRPL8 Server System Product Guide | 115 |