Chapter 8: Building Desktop Applications with WPF | 221 |
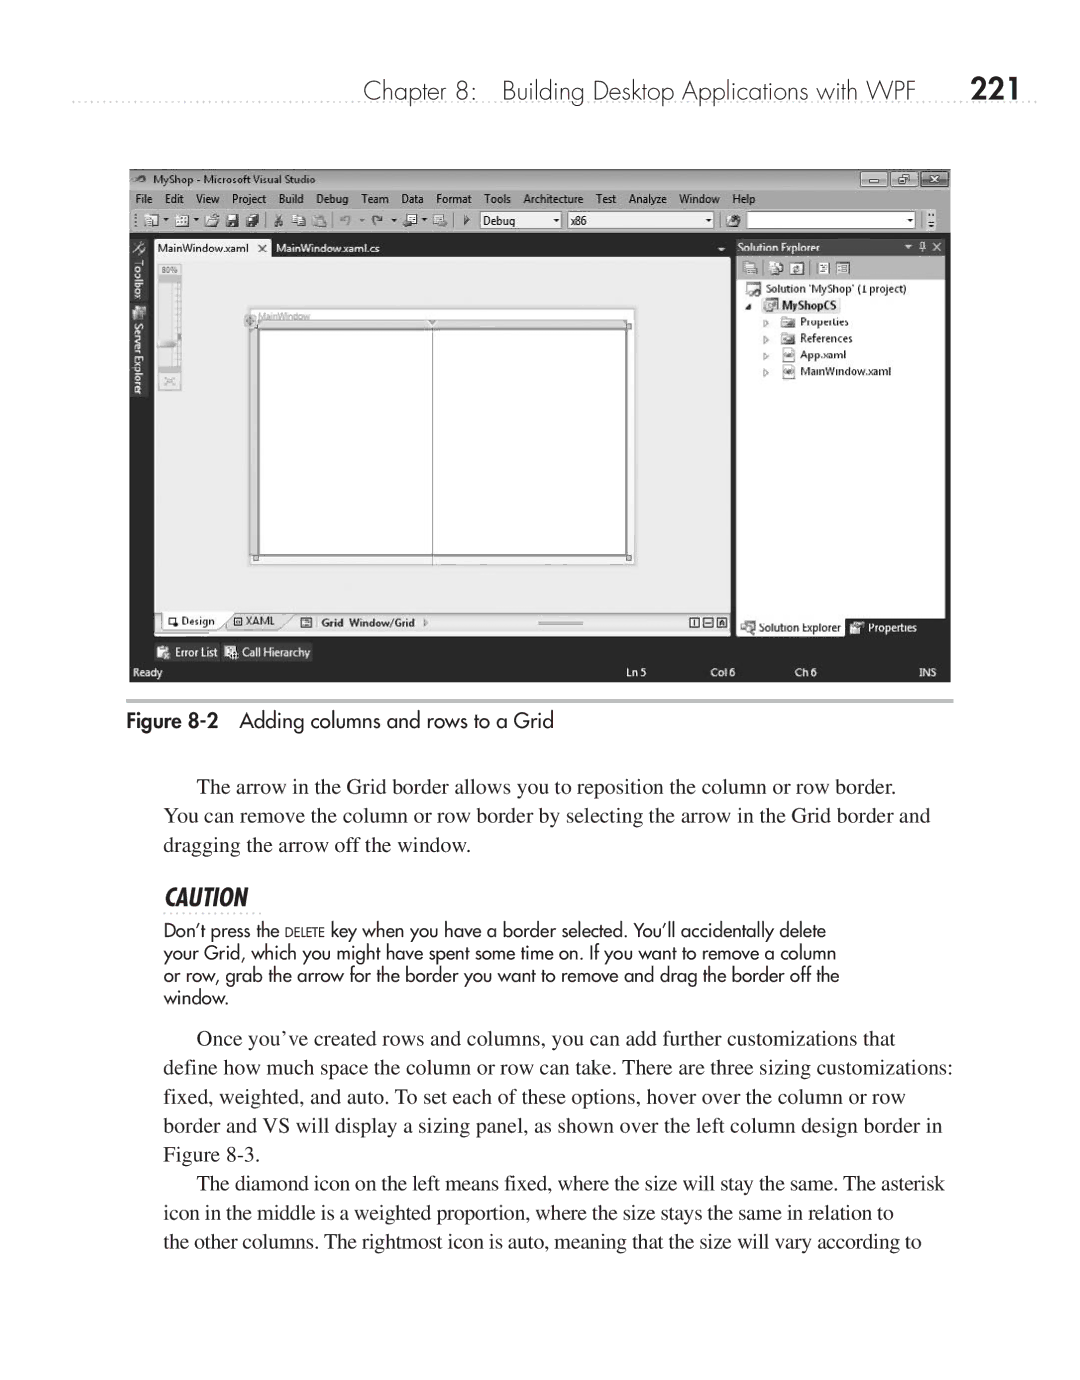
Figure 8-2 Adding columns and rows to a Grid
The arrow in the Grid border allows you to reposition the column or row border.
You can remove the column or row border by selecting the arrow in the Grid border and dragging the arrow off the window.
CAUTION
Don’t press the DELETE key when you have a border selected. You’ll accidentally delete your Grid, which you might have spent some time on. If you want to remove a column or row, grab the arrow for the border you want to remove and drag the border off the window.
Once you’ve created rows and columns, you can add further customizations that define how much space the column or row can take. There are three sizing customizations: fixed, weighted, and auto. To set each of these options, hover over the column or row border and VS will display a sizing panel, as shown over the left column design border in Figure
The diamond icon on the left means fixed, where the size will stay the same. The asterisk icon in the middle is a weighted proportion, where the size stays the same in relation to
the other columns. The rightmost icon is auto, meaning that the size will vary according to