Chapter 4: Learning Just Enough C# and VB.NET: Intermediate Syntax

97

Creating an Interface

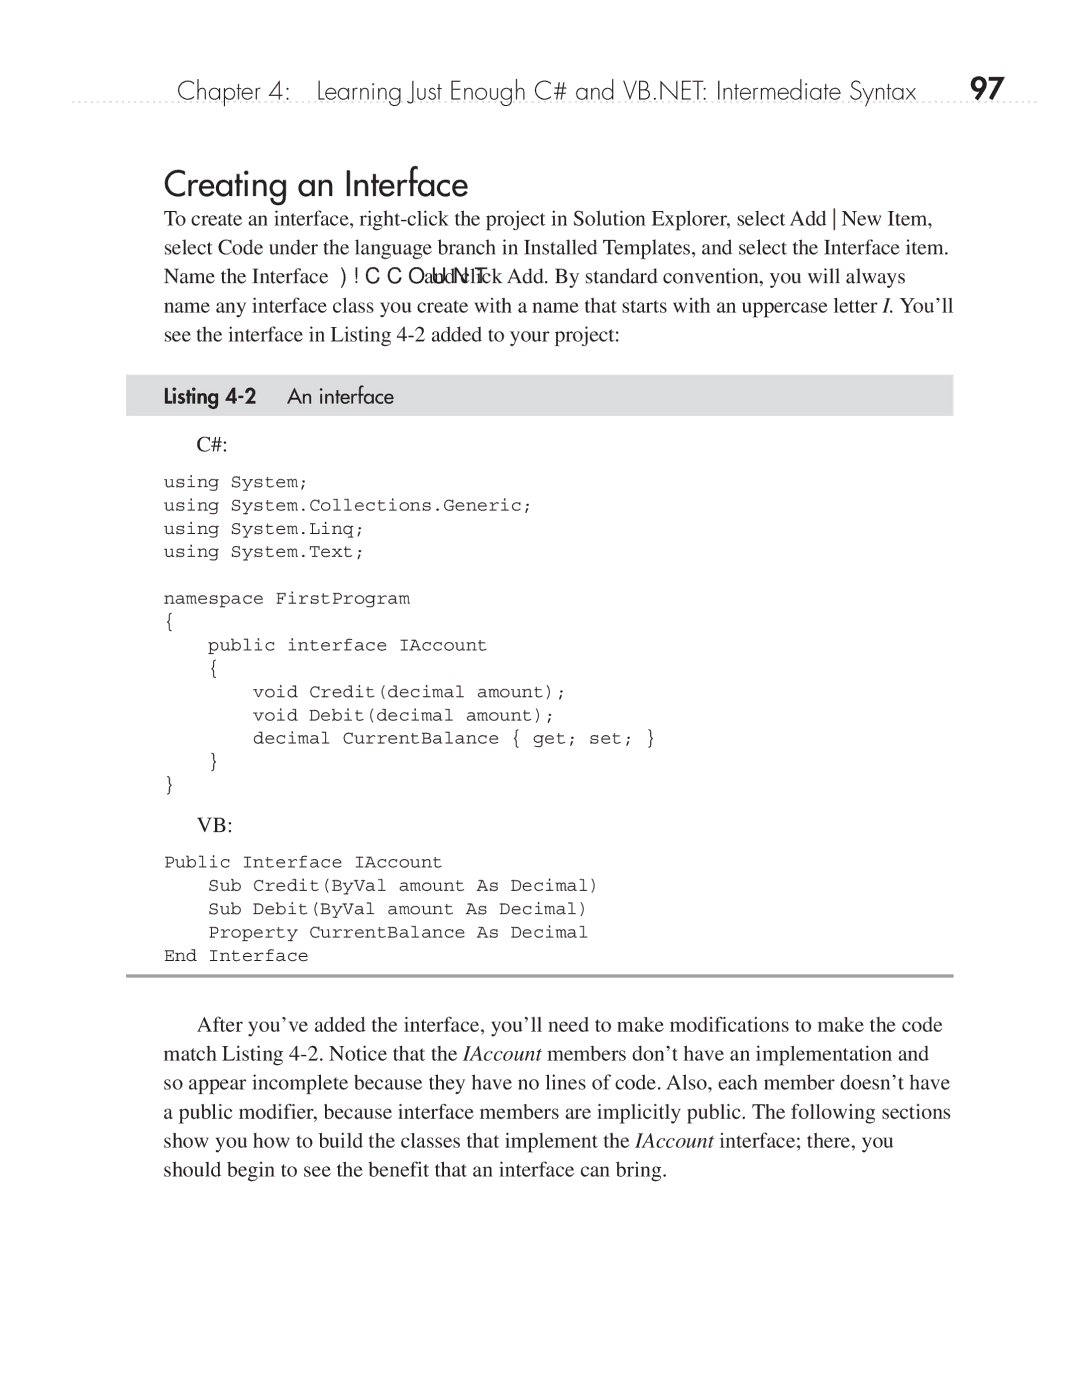
To create an interface, right-click the project in Solution Explorer, select Add New Item, select Code under the language branch in Installed Templates, and select the Interface item. Name the Interface IAccount and click Add. By standard convention, you will always name any interface class you create with a name that starts with an uppercase letter I. You’ll see the interface in Listing 4-2 added to your project:

Listing 4-2 An interface

C#:

using System;

using System.Collections.Generic; using System.Linq;

using System.Text;

namespace FirstProgram

{

public interface IAccount

{

void Credit(decimal amount); void Debit(decimal amount); decimal CurrentBalance { get; set; }

}

}

VB:

Public Interface IAccount

Sub Credit(ByVal amount As Decimal)

Sub Debit(ByVal amount As Decimal)

Property CurrentBalance As Decimal

End Interface

After you’ve added the interface, you’ll need to make modifications to make the code match Listing 4-2. Notice that the IAccount members don’t have an implementation and so appear incomplete because they have no lines of code. Also, each member doesn’t have a public modifier, because interface members are implicitly public. The following sections show you how to build the classes that implement the IAccount interface; there, you should begin to see the benefit that an interface can bring.

Page 120
Image 120
Microsoft 9GD00001 manual Creating an Interface, Listing 4-2 An interface